BMW E39 Rear Suspension
Well it’s been way too long since I’ve posted an update, but I have actually done some work on the car. I was able to spend some time working on it this summer, and my priority was to get the car rolling, which meant I needed to install the BMW E39 rear suspension in the vehicle.
Unfortunately I was working alone and in a bit of a time crunch, so I wasn’t able to get as many photos of the whole process as I would have liked, and the pictures I did take were just with my phone’s camera, so they aren’t that great. However, I got everything installed and I am very satisfied with the accuracy I was able to locate the rear subframe and how everything went together!
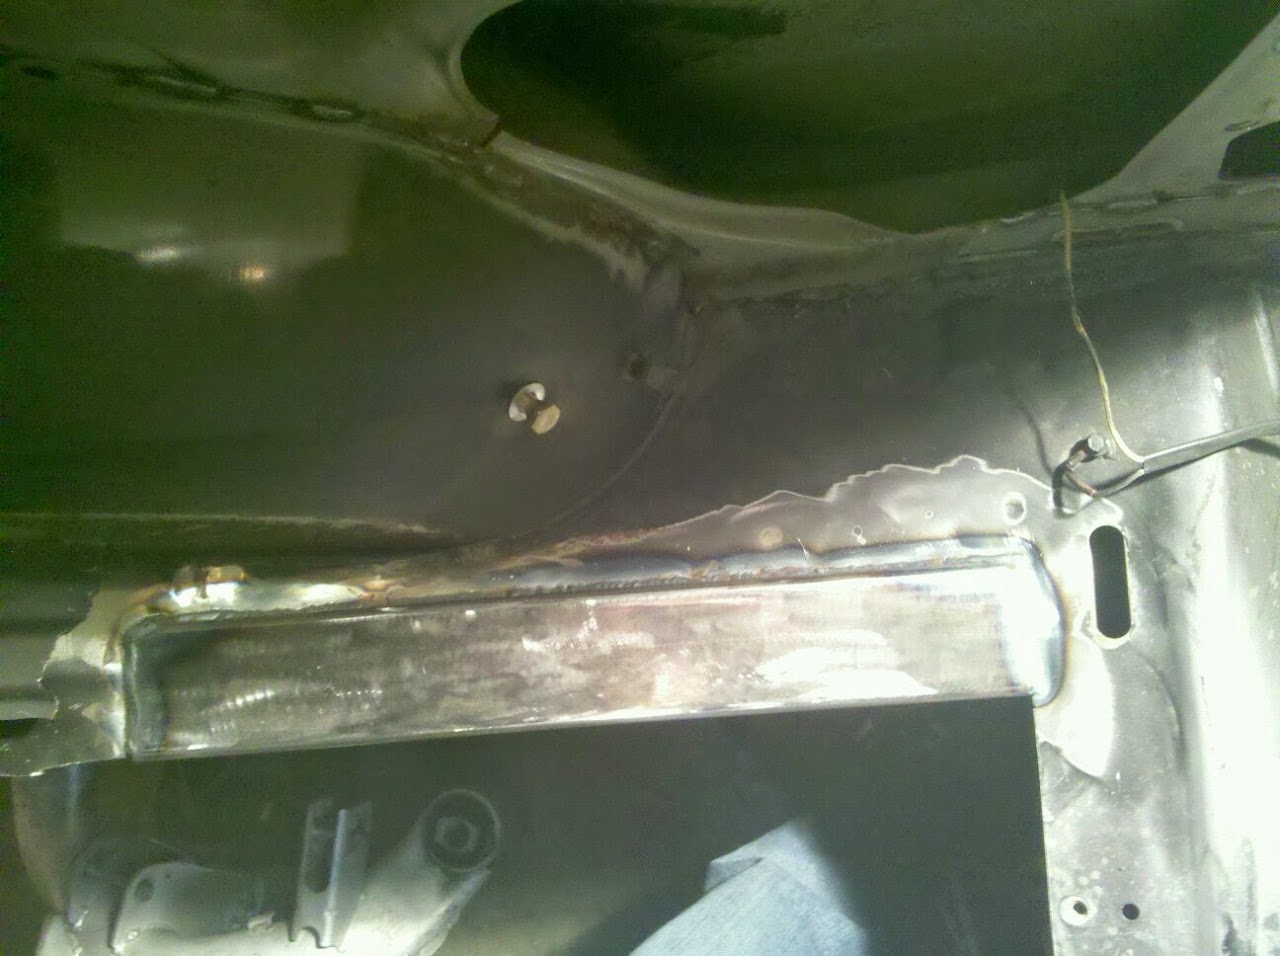
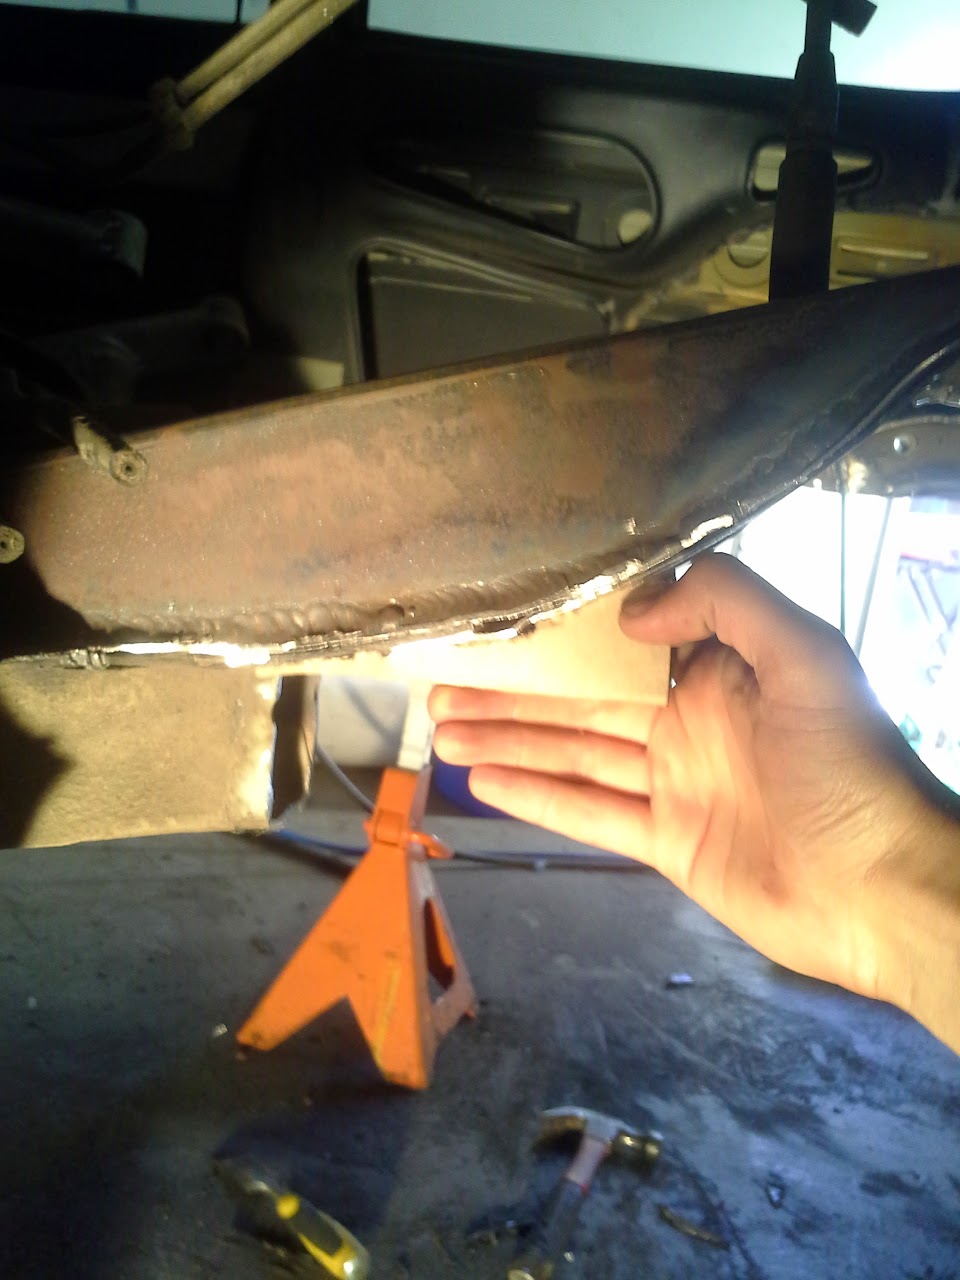
I had previously already removed the rear floor and wheel wells from the 242 and added some 3x2x0.120″ rectangular tube to the stock subframe rails for extra support since I knew I would be removing material in that area. Made a cardboard cutout, then duplicated it in steel and welded it into the body:


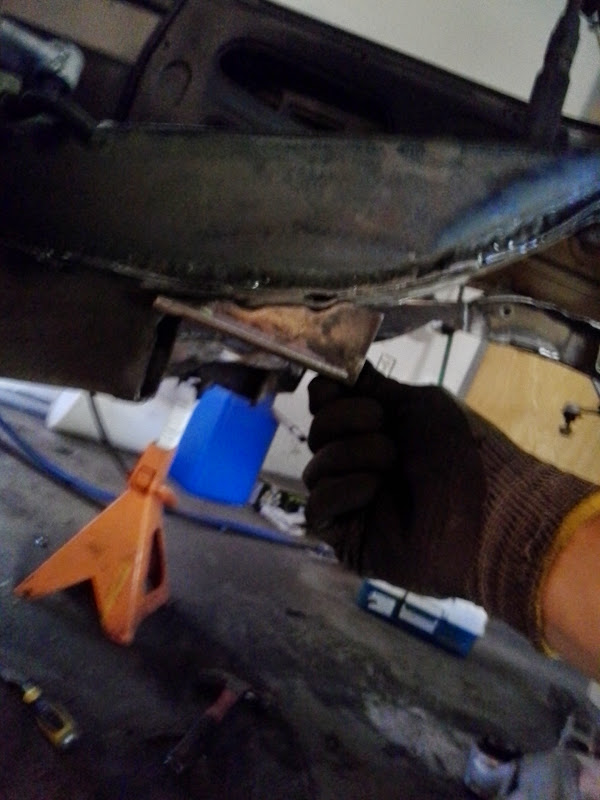
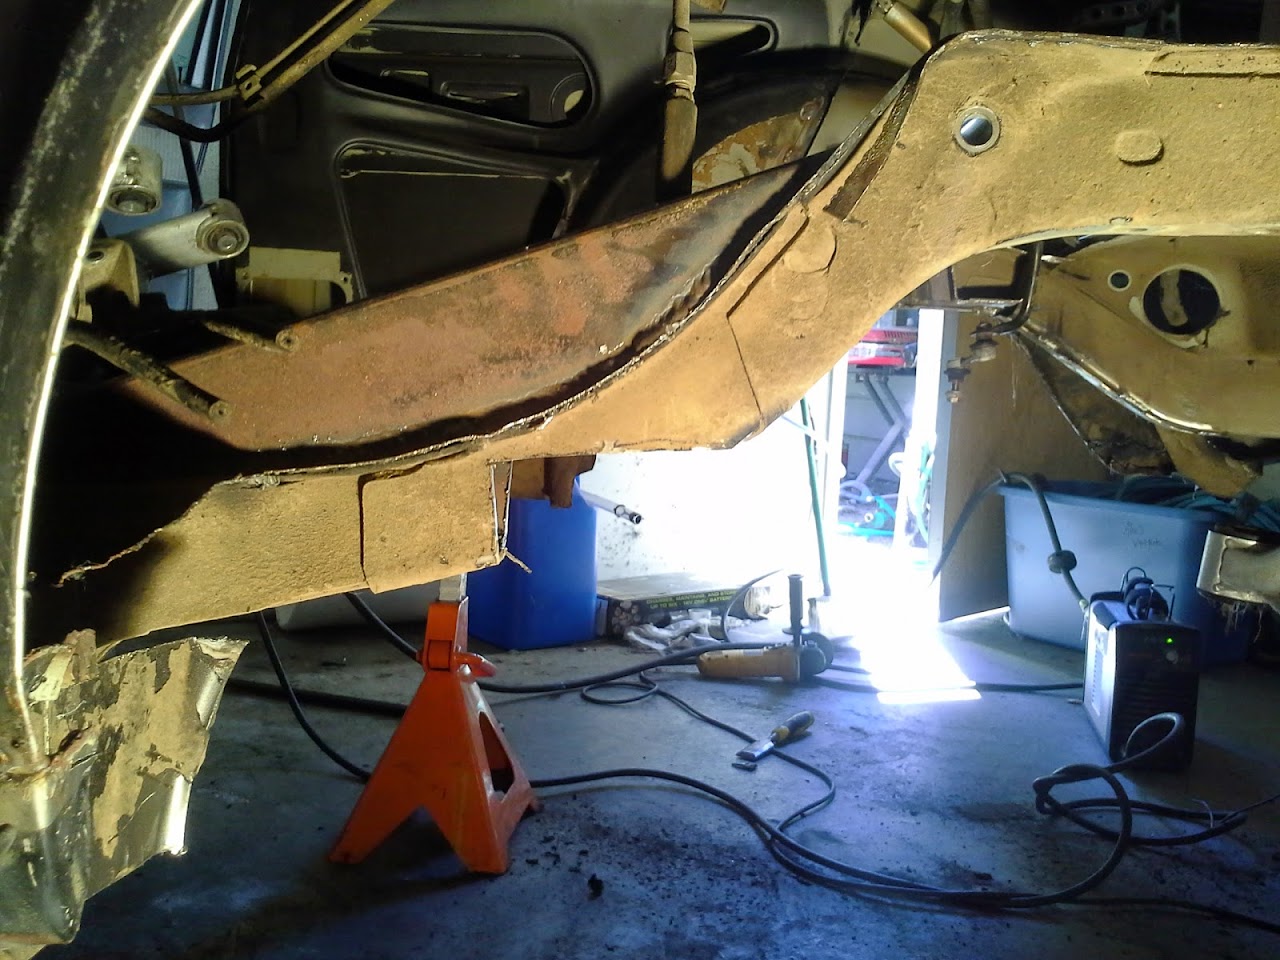
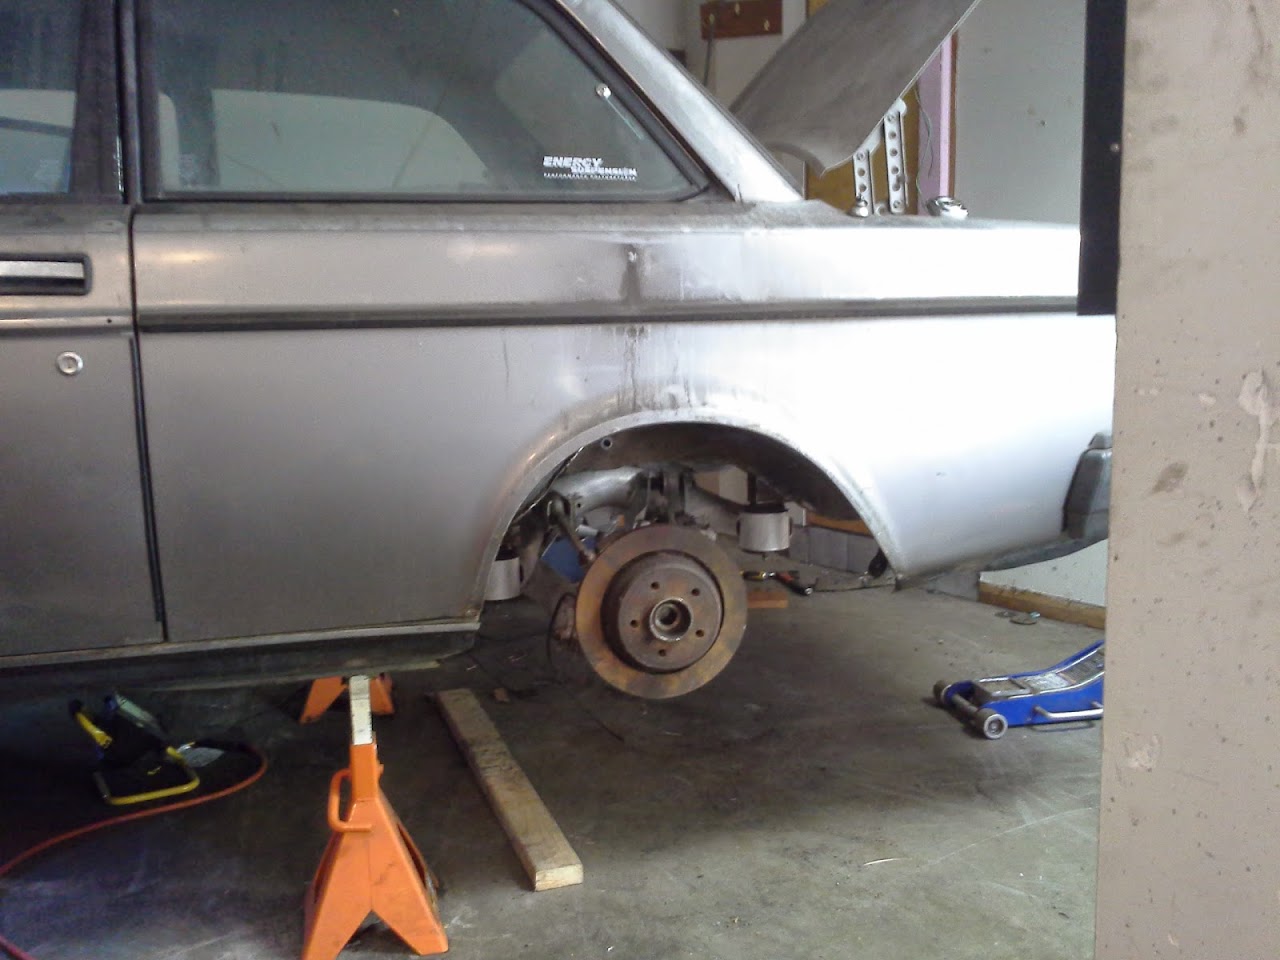
So with the stock subframe rails reinforced, it was time to get the car ready for accepting the BMW suspension. I leveled the car with a 48″ spirit level on jack stands using shims. I already knew what height I needed the subframe mounting pads to be at from taking measurements on the subframe, so I added that to the height the car was sitting above ride height, and cut a notch in the frame rail to get started.


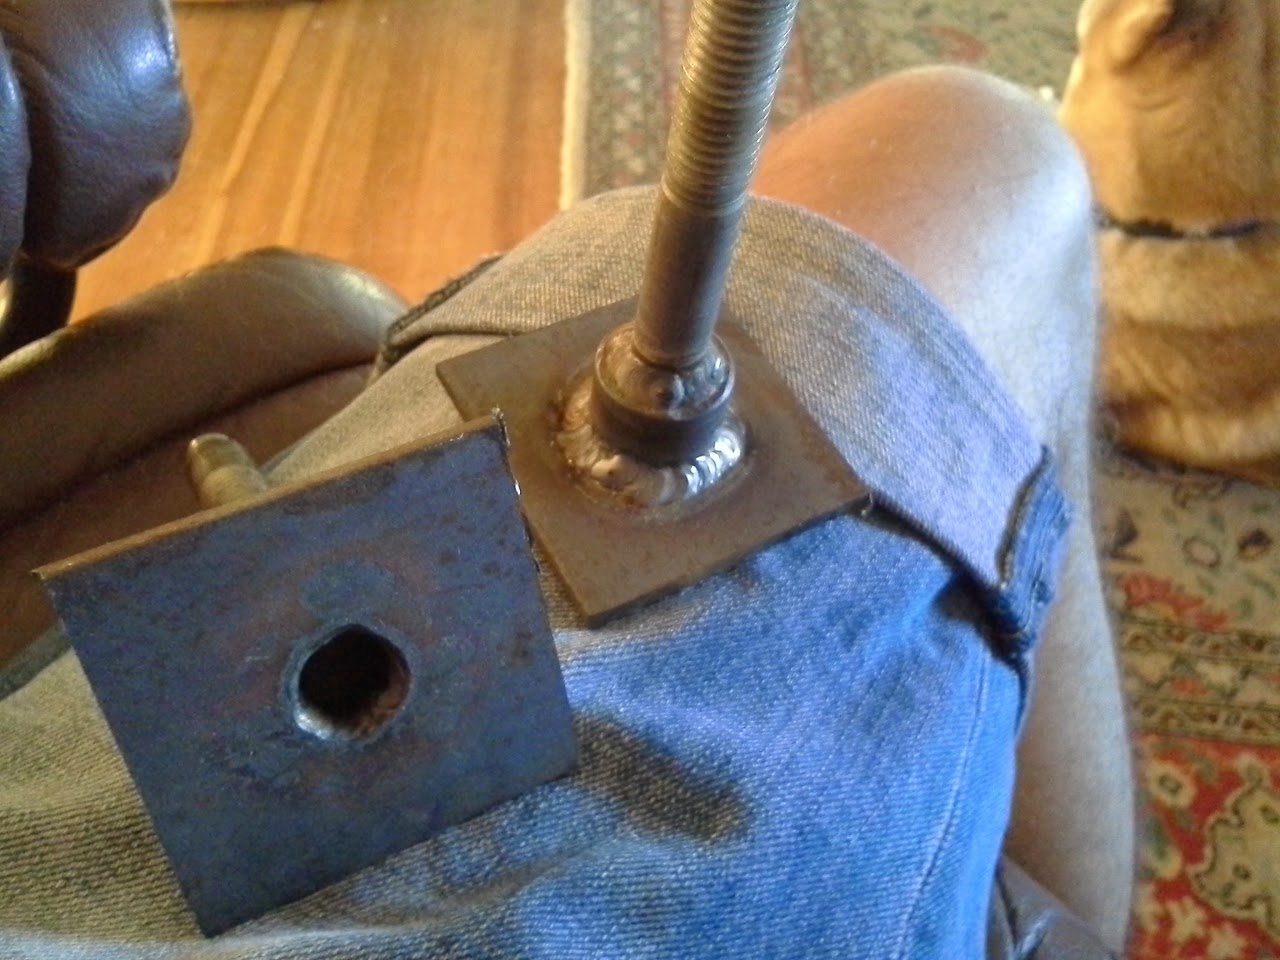
As you can see, I wasn’t able to get the subframe up to the correct height before I ran into a clearance issue with the front upper control arm mount. Because of this, I removed more of the stock subframe rail to get the clearance I needed. Now that the subframe was able to sit at the right height, I started making the mount pads for the subframe. First I used my lathe to turn some locating collars to position the subframe, and welded these to some M14 torque rod bolts from a 740. Then I added a 50x50mm steel square to the top of these that could be welded to the vehicle mount.

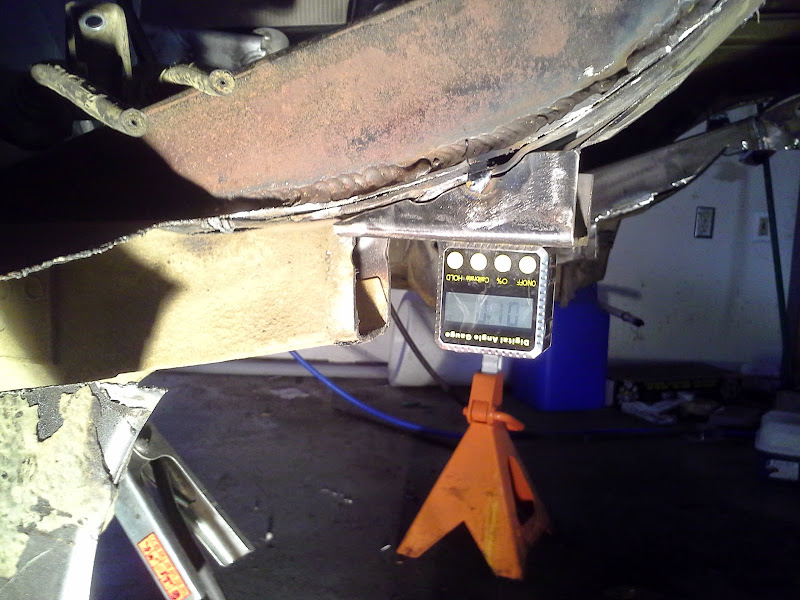
After this I made the front mounting platforms for the subframe out of some cardboard, and then duplicated them in steel and tack welded them in place. I used the digital angle finder to get in the ballpark, and then used the long spirit level to make sure they ended up perfectly level with the mount on the other side of the vehicle.

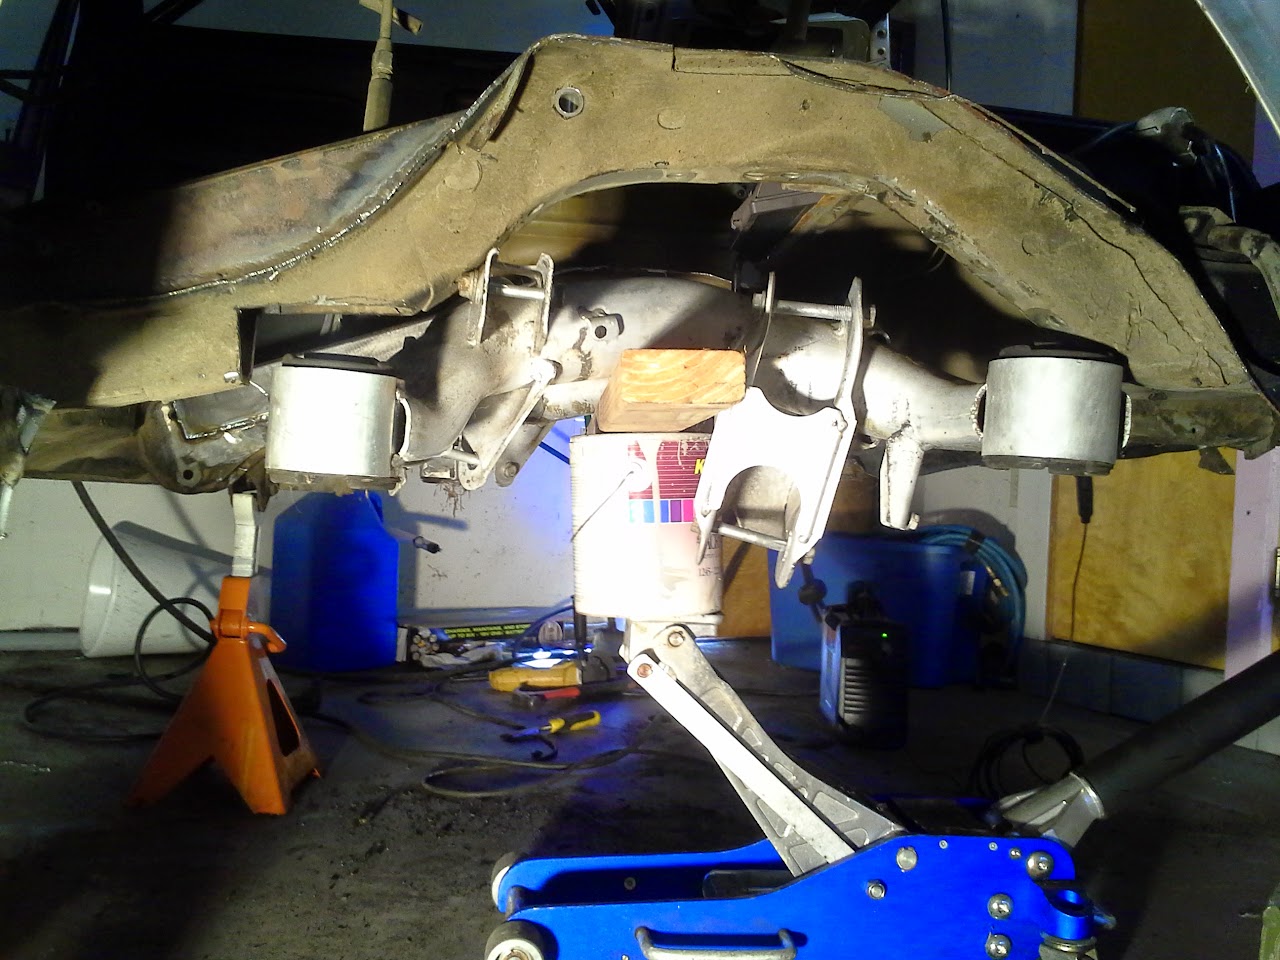
Now that the front two mount platforms were tack welded to the car, it was time to locate the subframe. I put the bolts with locating collars into the front subframe holes and tightened them on with nuts so that the 50x50mm square was on top. Then the BMW subframe was lifted up into position with the floor jack so that the 50x50mm squares were against the front platforms, and the rear of the subframe was at the correct height. Next I used a piece of white sewing thread and threaded it through the left 242 shock mount hole, then over through the right shock mount hole, and attached a heavy nut on each end for weight. With a metal ruler I was then able to measure the distance from the thread to the BMW subframe at the front upper control arm mount position, both laterally and longitudinally. By doing this I was able to adjust the subframe to be located within 1mm of accuracy to the stock suspension mounting locations. When it was in place, I tacked the 50x50mm pieces of steel to the mounting platforms.

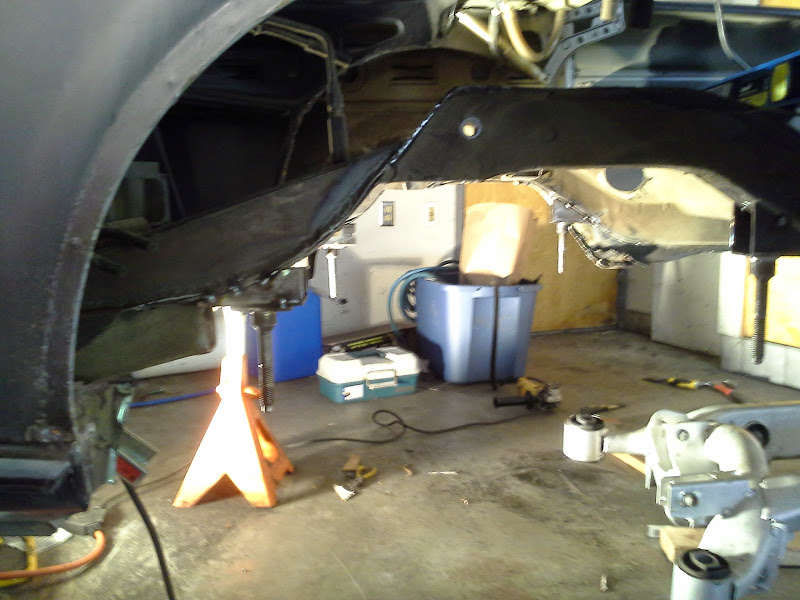
Now it was time to create the rear mounting platforms for the subframe. Since I did not have to remove any material for the rear mounts, I was able to just make some wedge shapes out of some more 3x2x0.120″ steel. When I had the shapes close enough to their final shape, I marked where the bolts should be on them and welded the two other M14 bolts with locating collars to the wedges. Then it was just a matter of grinding and fitting the wedges until they lined up great with the subframe rail, while making sure they were level from left to right. After I got these fitting and everything checked out, I tack welded those in place and removed the subframe for final welding.
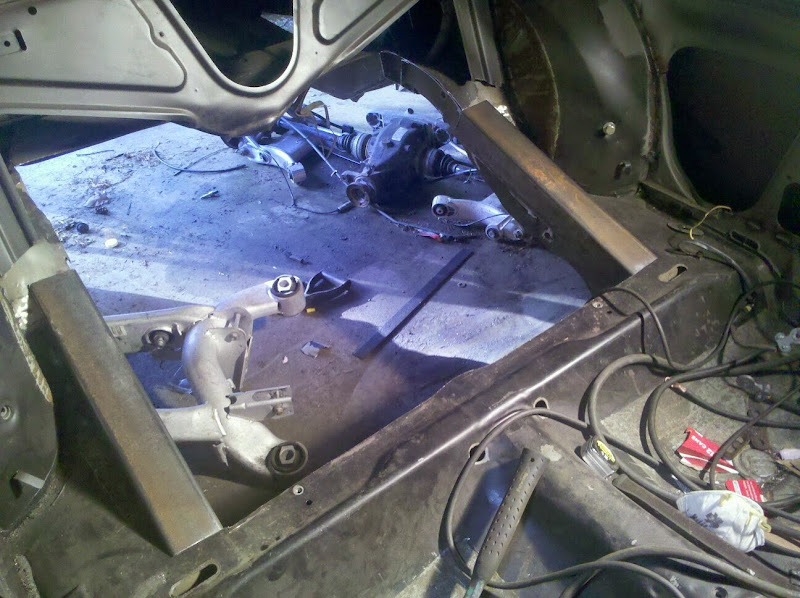
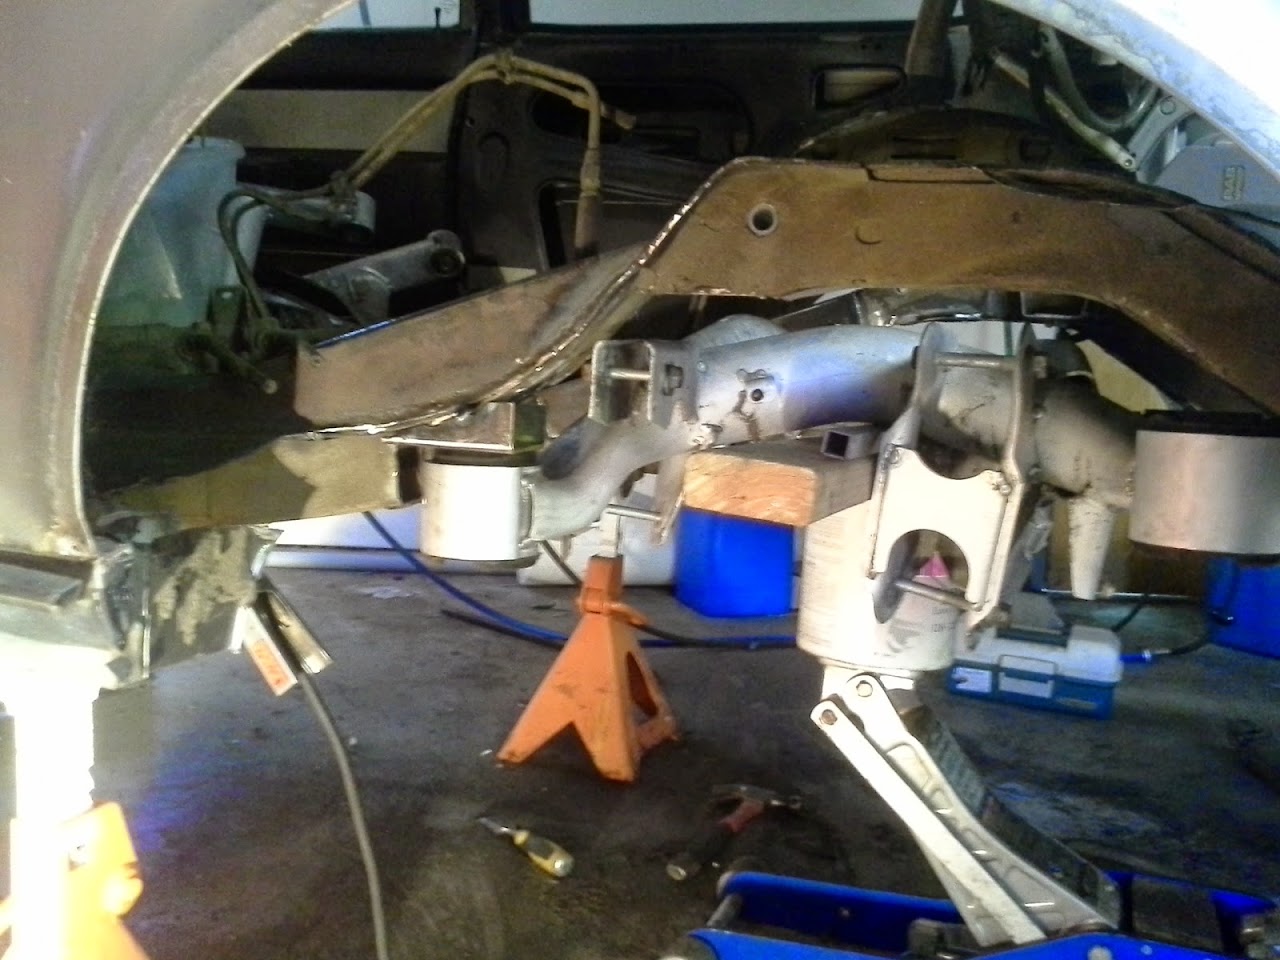
With the suspension linkages reinstalled, I lifted the subframe back into place and bolted it to the car:

And then with some stock E39 wheels I was able to set the car down on the ground and roll it around on its own wheels for the first time in years! After I got done with this, I spent the rest of the summer going on trips and hanging out with friends and family, so I didn’t even bother to take better photos of the install. I guess I will have to get around to that next time I am in the US! *Here is the car sitting on its own wheels:

I had been putting off doing this installation for a long time because it seemed like a big project, but I ended up being able to get it done in about 3 days working alone. Lots of the time was spent running around picking up materials, or going across town to use my TIG welder for some parts, or just staring at the car trying to figure out the best way to do it. Would I do it again? Yeah, and it would go a lot faster.


 Wish i even had a garage so i could atleast do my own engine stuff and similar things...
