The Beginning (continued...)
Engine/Powertrain
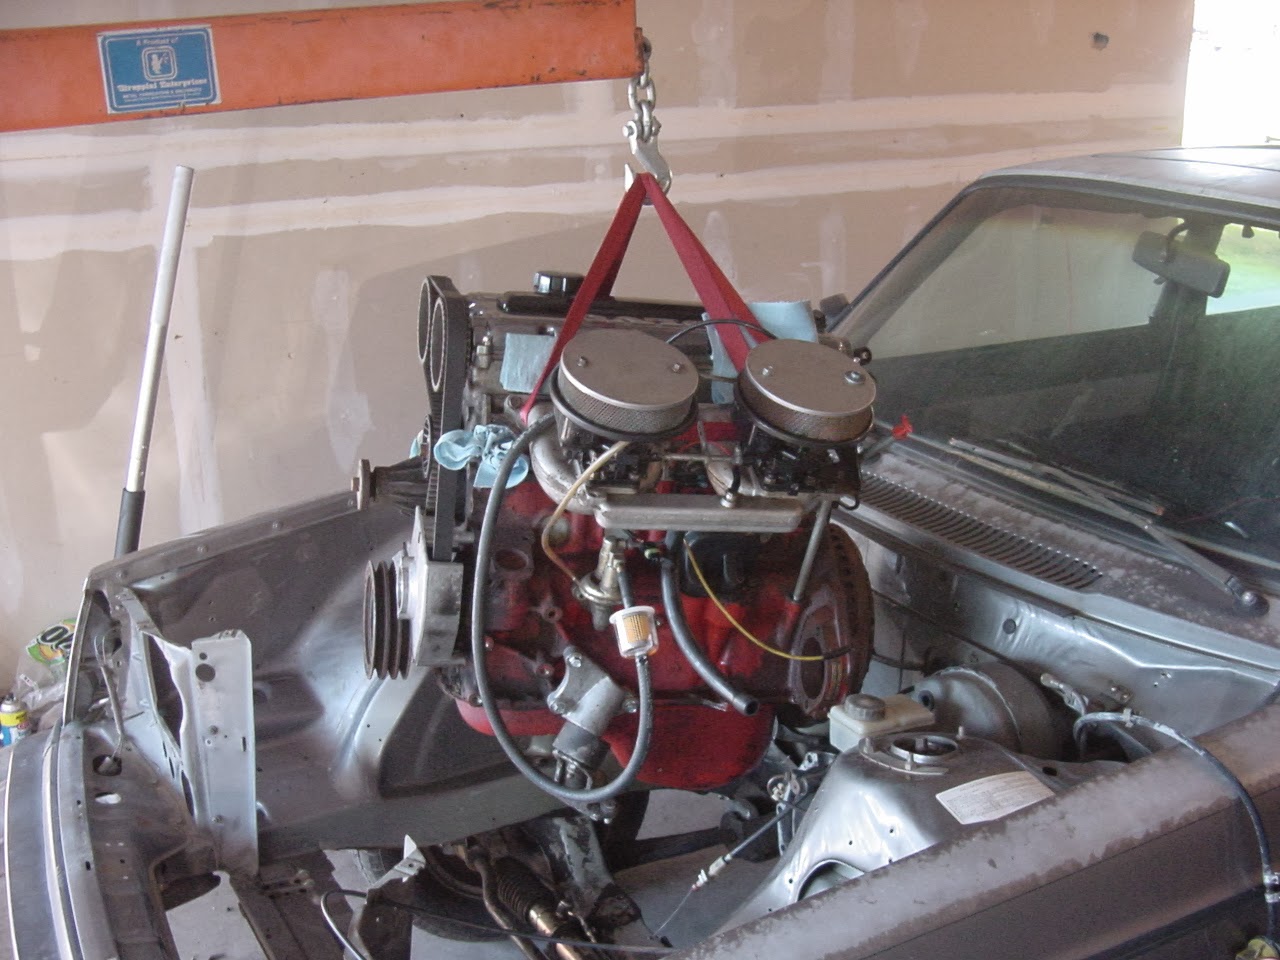
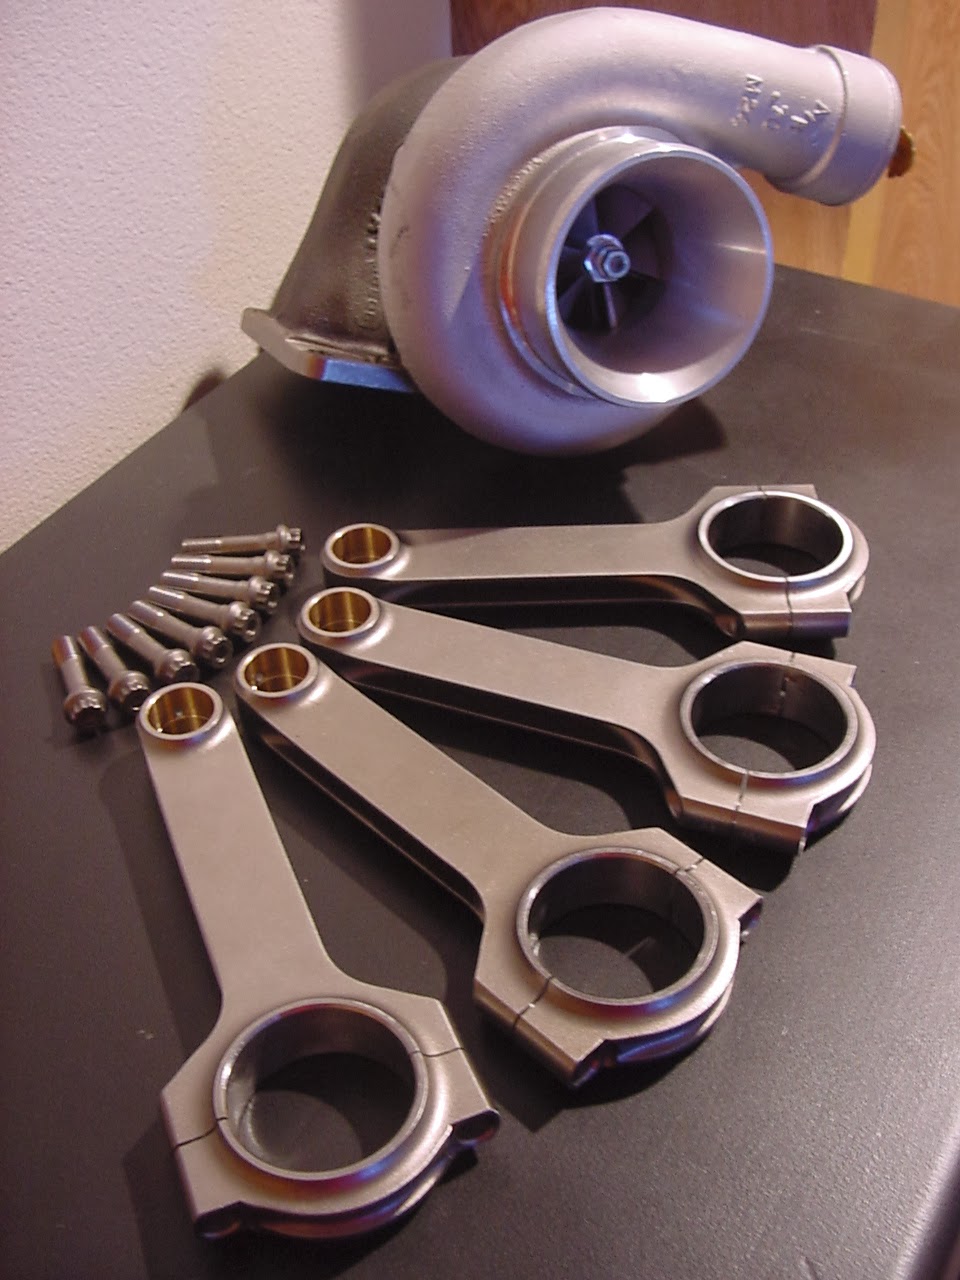
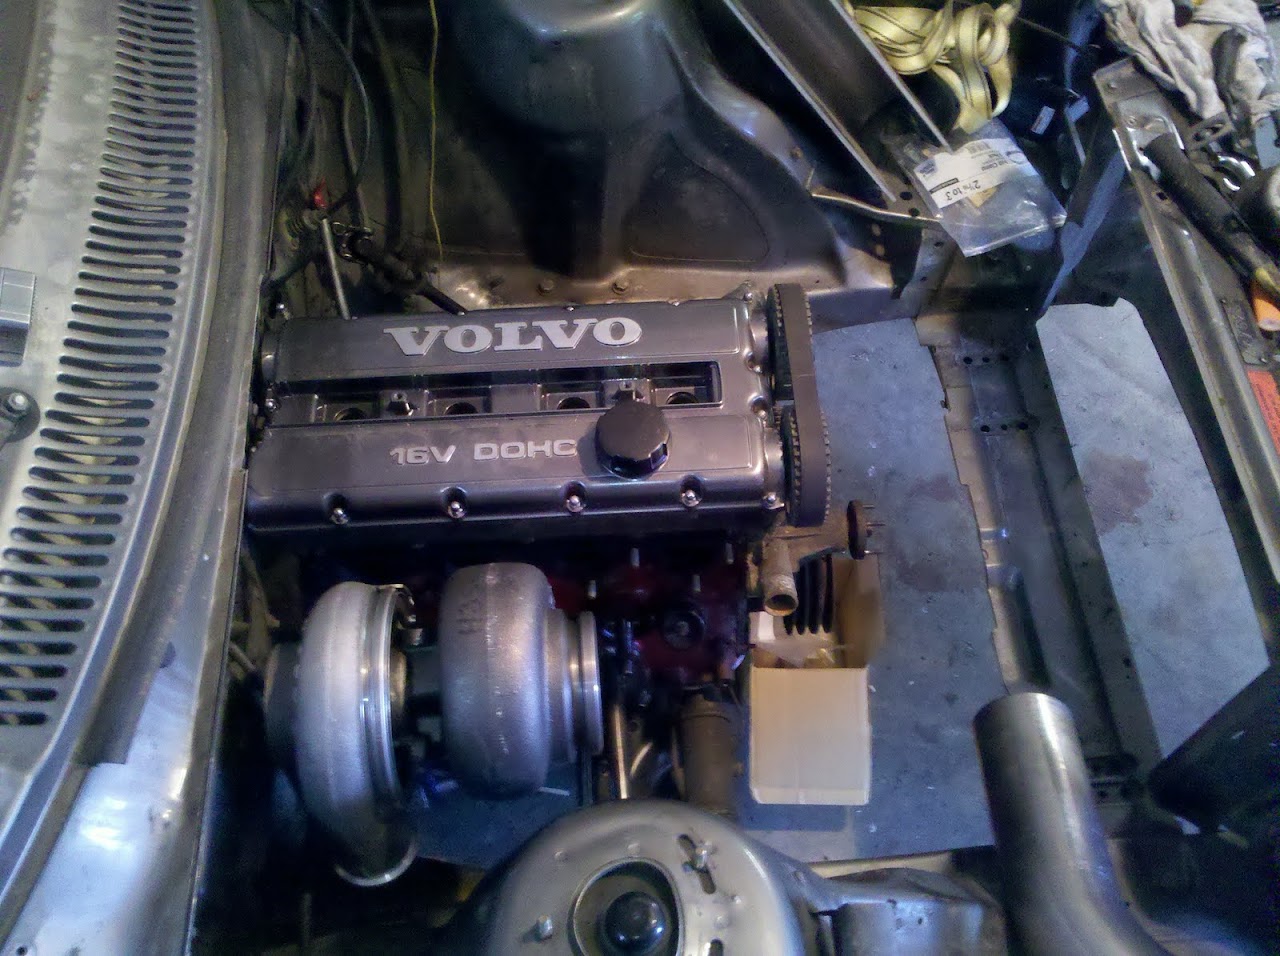
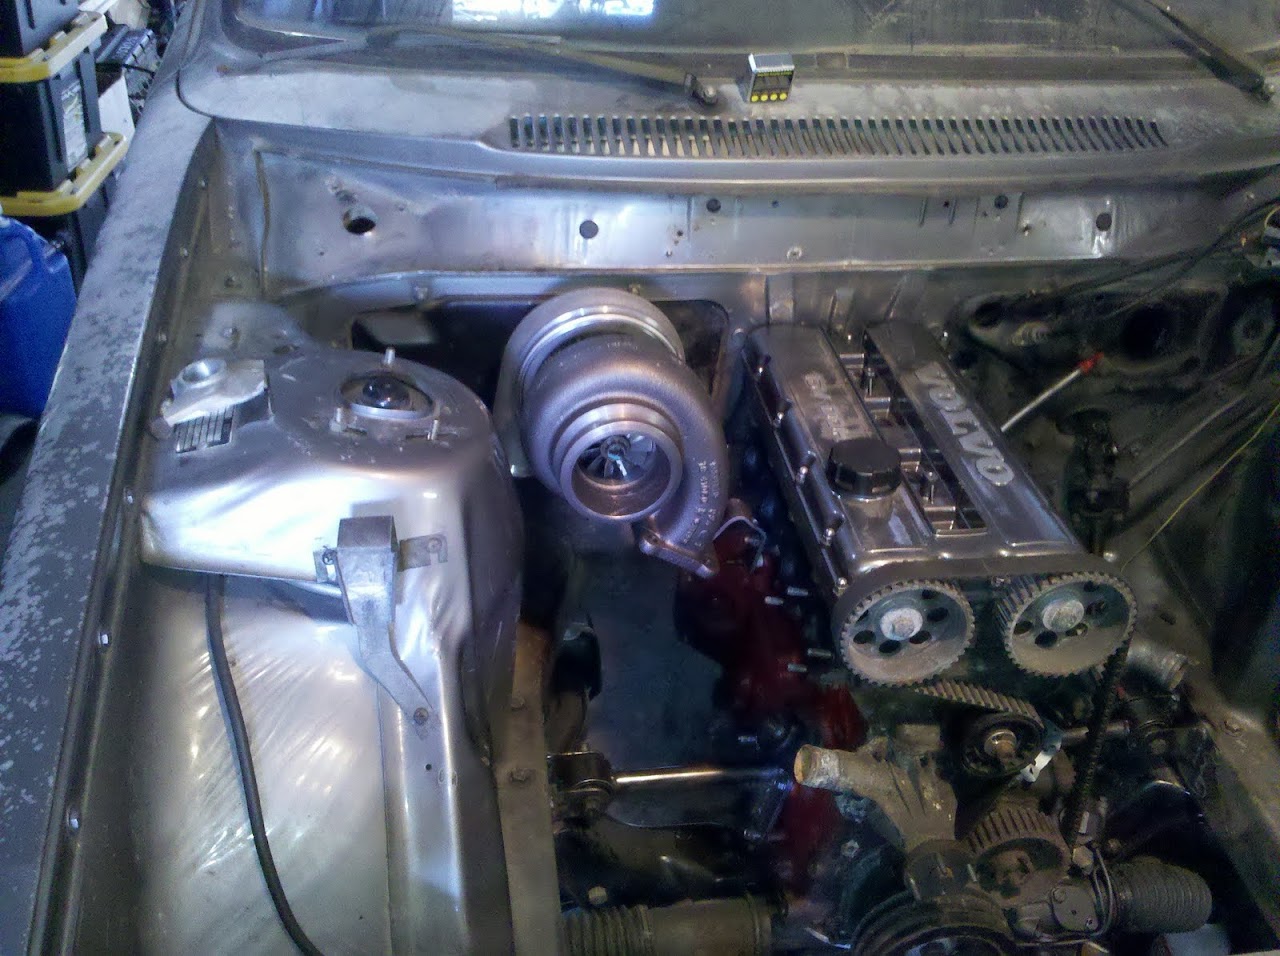
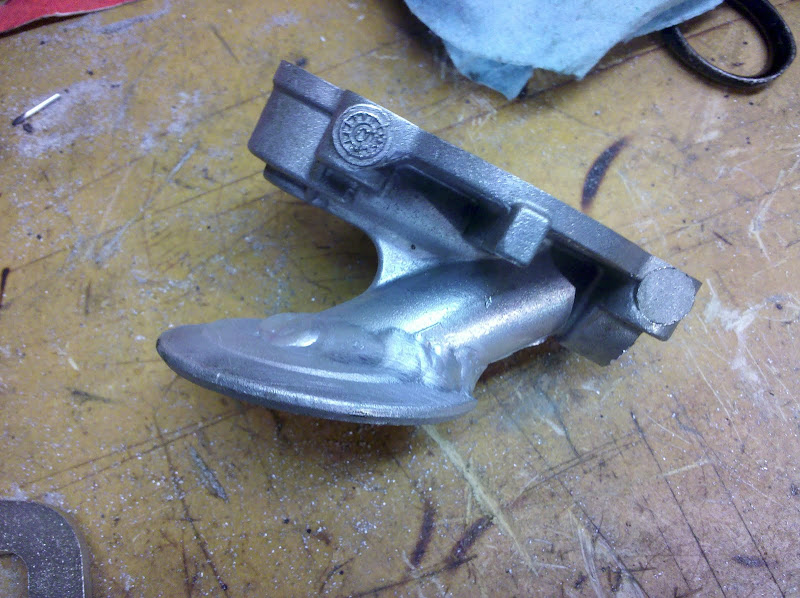
The engine block I will be using is a B230 that has been modified and fitted with BMW piston oil squirters. The crankshaft is from the Volvo Penta AQ171C, with 86mm stroke. The forged H-beam rods are 158mm c-c length from RSI. The pistons are Wiseco, also purchased through RSI. ARP rod bolts, head studs, and main studs were sourced from RSI as well. I am mounting the engine vertically instead of at a slant, so an oil pump was modified to allow this. I have gone back and forth on whether to go dry sump or not, but right now I will stick with a wet sump with trap doors in the B20 pan.
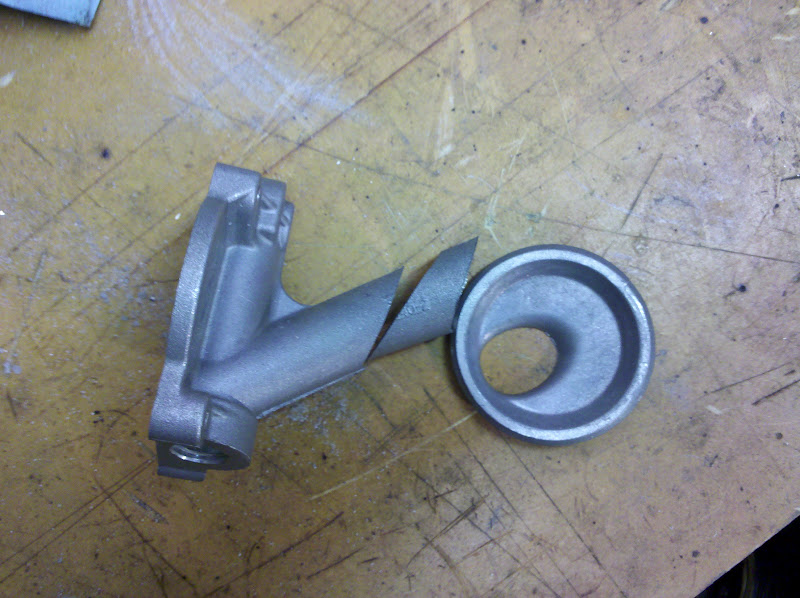
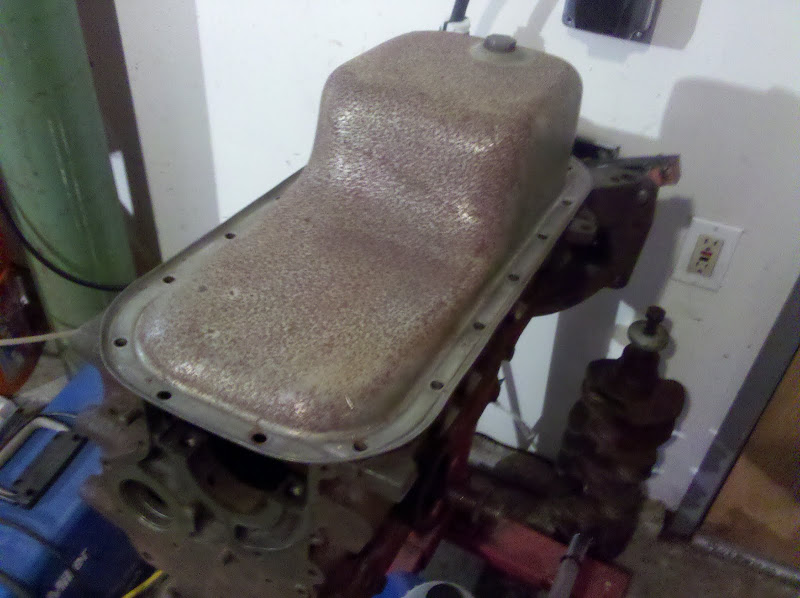
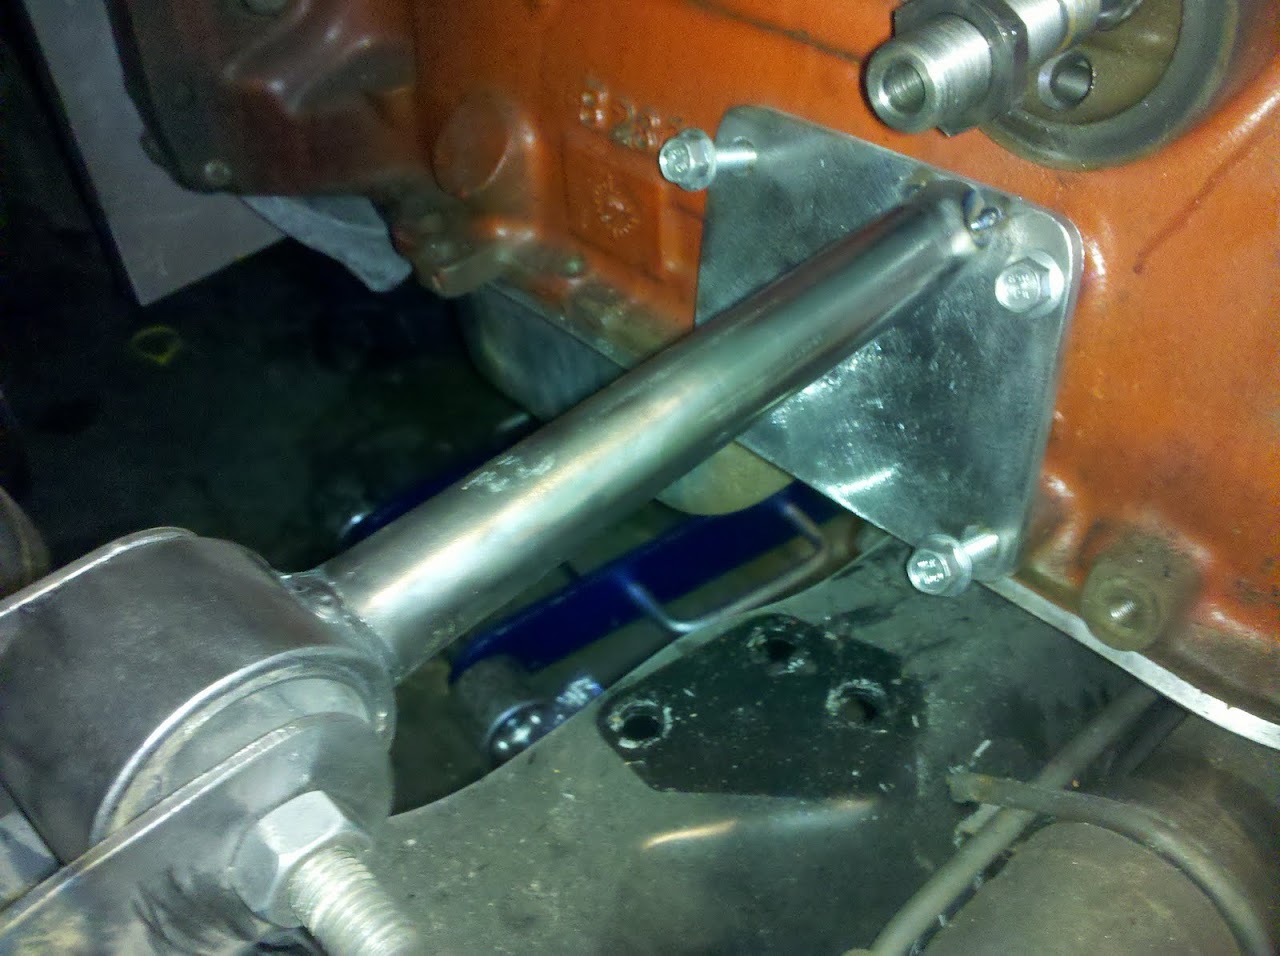
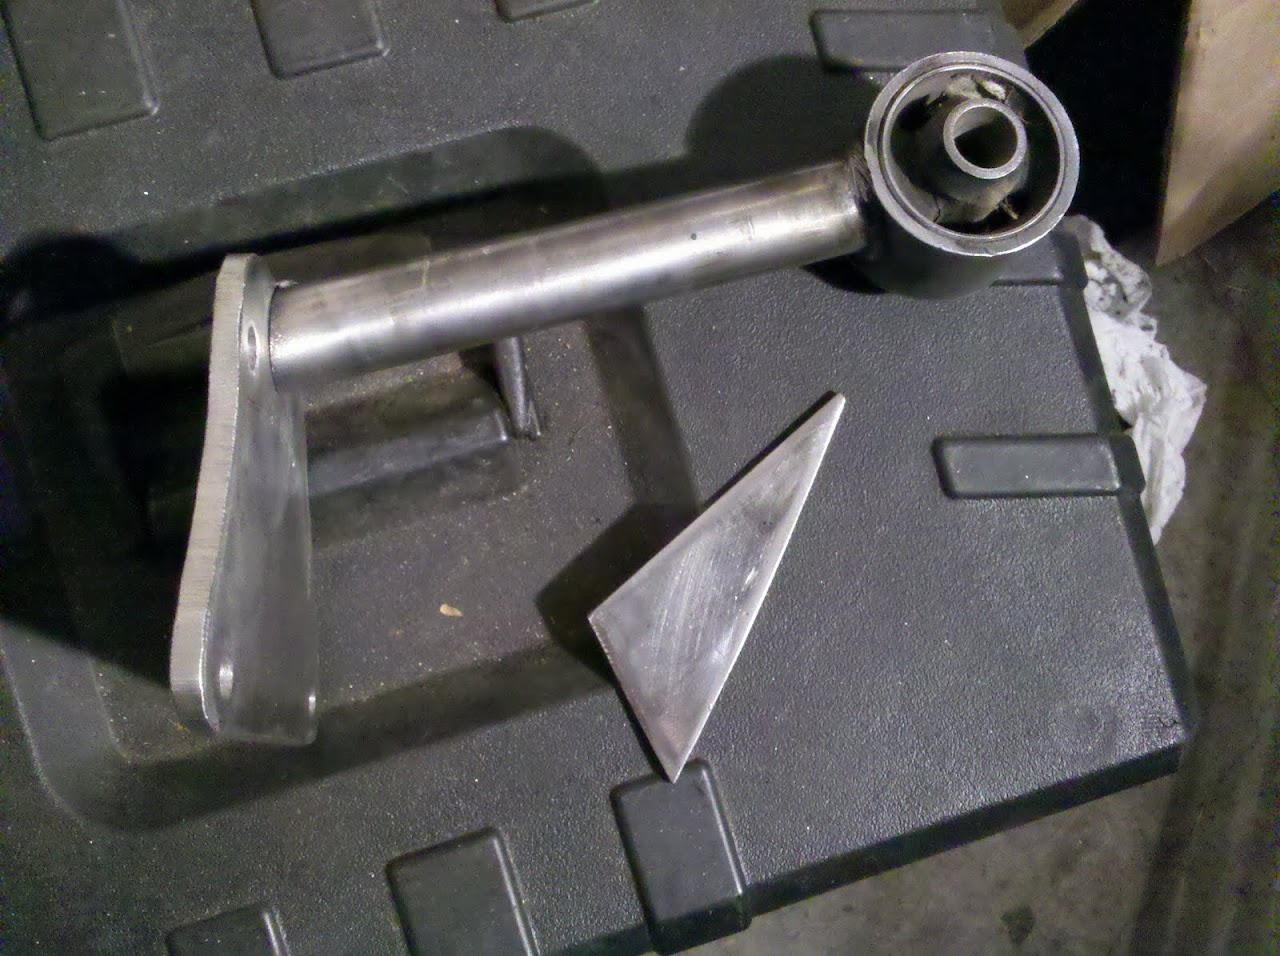
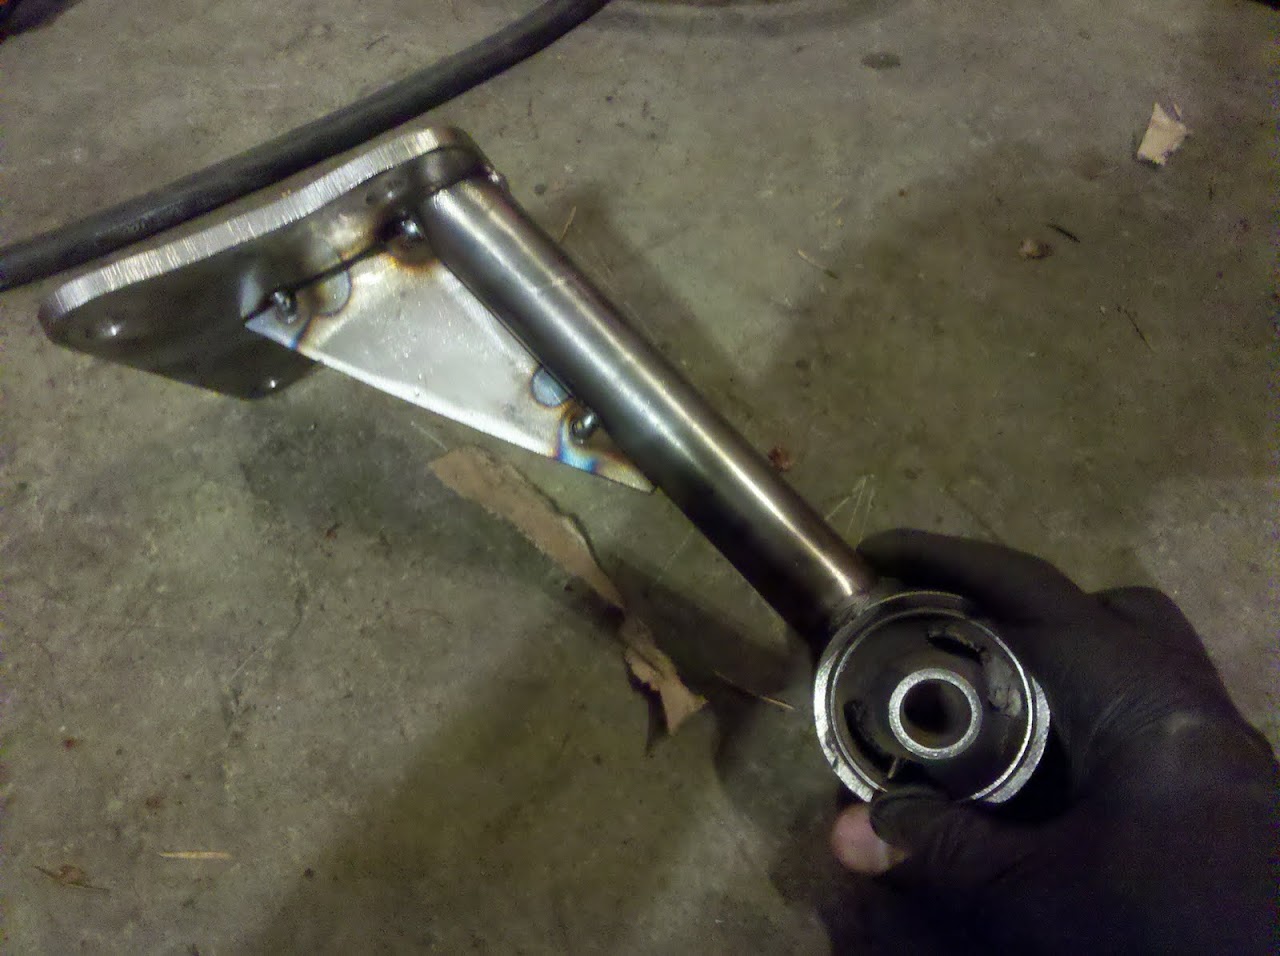
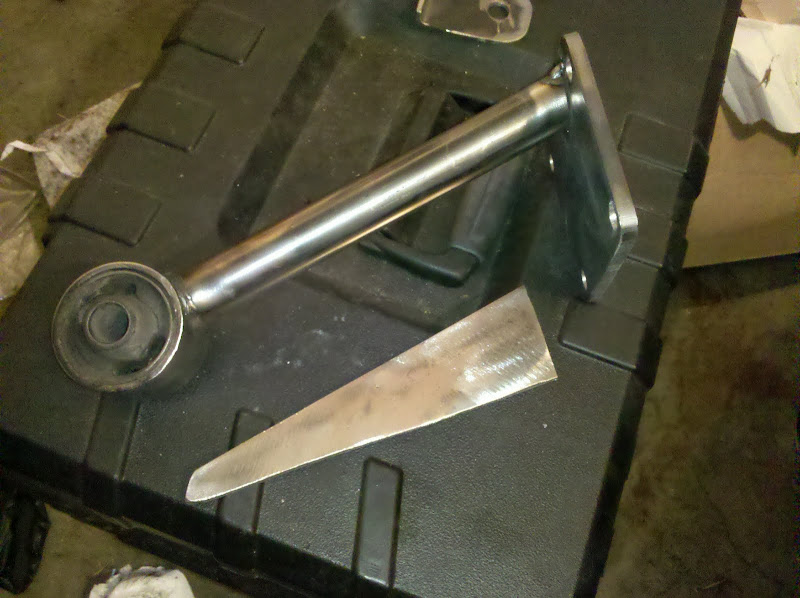
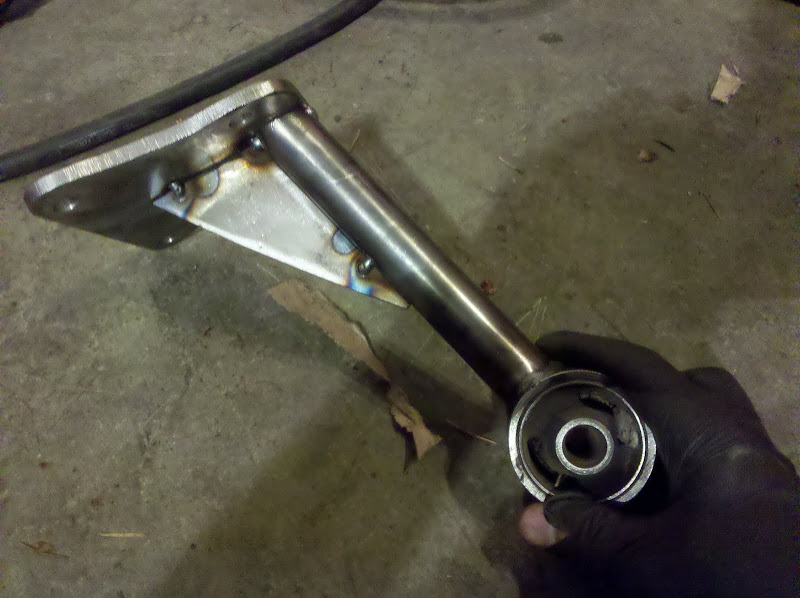
I also made some engine mounts out of some old 240 torque rods. The engine mounts turned out pretty good, but I will be redoing the body mounts that accept them because I am not satisfied with how they turned out. By mounting the engine upright instead of at a slant, and using the B20 oil pan, I was able to lower the centerline of the engine quite a bit, giving more room for the turbo and intake plenum.


The head is a DOHC 16v head from a Volvo B234F engine (casting 262, compared to AQ171C head casting 532). The head is getting stainless steel 37mm intake and inconel 33.5mm exhaust valves. Along with this, the head is getting a “Stage III” port job done at RSI. The “Stage III” porting means that material is added on top of the intake ports and in the chambers before porting so that maximum flow can be realized. The camshafts I have chosen right now are regrinds of my Folkrace FS324 8v cam that I had in my 740 Turbo. Dyno testing will determine if those are the cams I stick with or not.
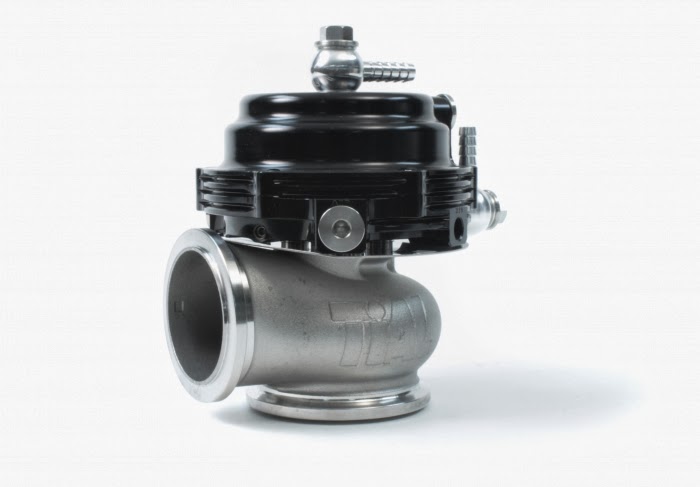
The exhaust manifold will be pulse-paired and divided to help spool up. It will be constructed from SCH40 mild steel weld-els and ceramic coated to prevent excessive heat in the engine bay. The wastegate that was purchased for the project is a TiAL MVR 44mm unit. After the exhaust does its magic in the turbocharger, it will head out through a stainless 4″ downpipe and dump to the side just rearward of the passenger door. This exhaust configuration has several advantages compared to routing the exhaust all the way out to the rear of the car. It’s less weight, decreases the inertia, is easier to package, and is less restrictive. It makes it a lot easier to make a good rear diffuser as well, since exhaust piping and hot air will no longer be an issue back there.

The intake manifold will be fabricated from aluminum and have velocity stacks about 150mm in length and a large tapered plenum. The throttle body I have chosen to use is a stock LS1 75mm throttle body. I chose this one because there are plenty of upgrades using the same footprint if I decide I need a bigger one later. Also, this throttle body has a built in idle air controller, strong return spring, and TPS. Since at the time I did not have the resources to shape my own plenum,
Nathan Kahler helped me out and made me a plenum according to my design. Now it all just needs to get welded together.


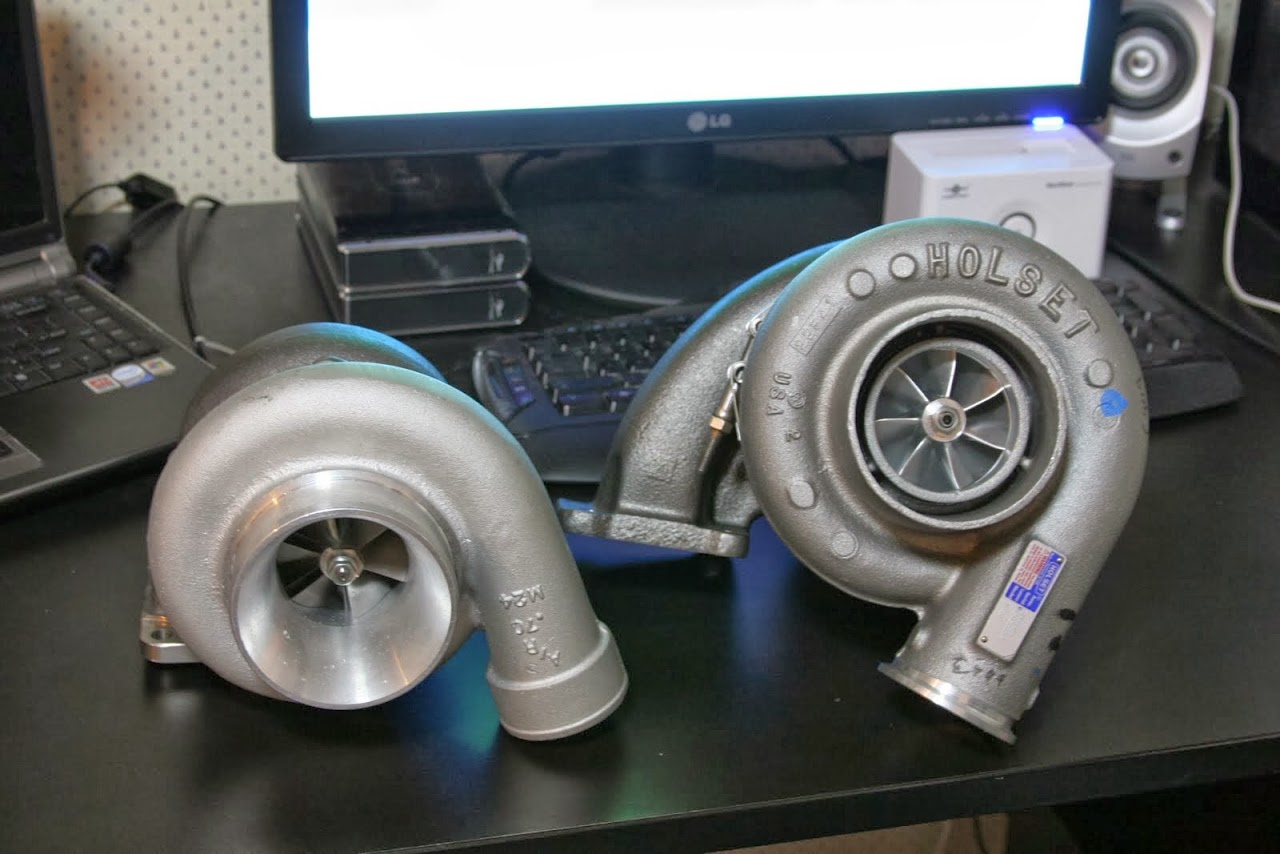
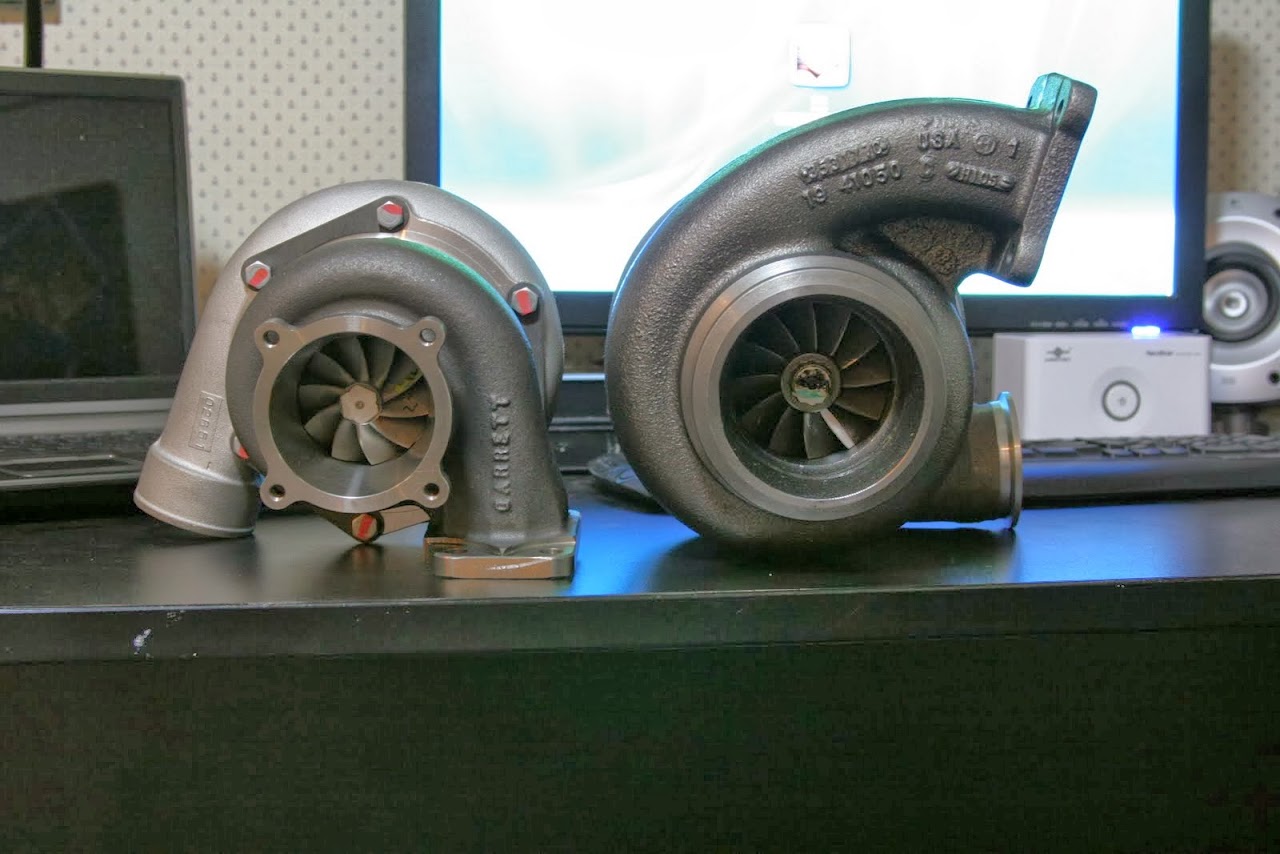
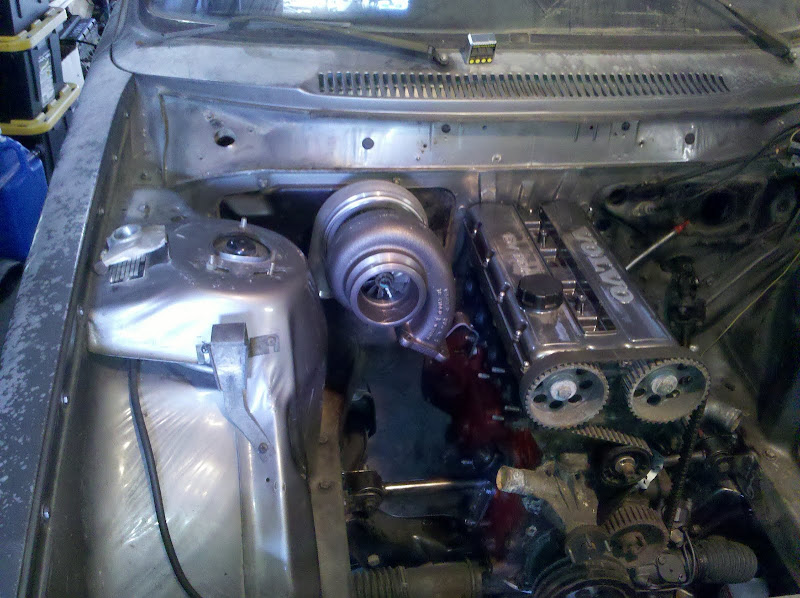
The turbocharger I have for the car is a Holset HX50. My version of this turbo has a 19cm² non-wastegated turbine housing, as well as a billet aluminum compressor wheel. The compressor wheel has an inducer of 66mm and an exducer of 99mm. This turbo is rated to flow 0.75kg/s, so it has potential for more power than I need. Oh, and I’m mounting it backwards.

In my series compound charged setup I will initially use a 3rd generation Eaton M90 roots-style supercharger. This will be mounted on the intake side of the engine below the manifold. By using both the turbocharger and supercharger to compound charge the engine, the difference between exhaust backpressure and boost pressure will be huge, and huge power across the rpm band will come with it. Depending on the success of the M90, my ideal supercharger to upgrade to would be the new Eaton TVS series. If I start generating a lot of disposable income, I see a Harrop HTV1320 in my future.
I do not have all the details worked out for the charge air coolers yet, but will most likely run a water-to-air cooler between the stages, and an air-to-air cooler after the supercharger. For the air-to-air cooler I have a CVPT core from Treadstone Performance. Air flows from bottom to top through this core, which allows me to make custom end tanks that will work well for my packaging needs.
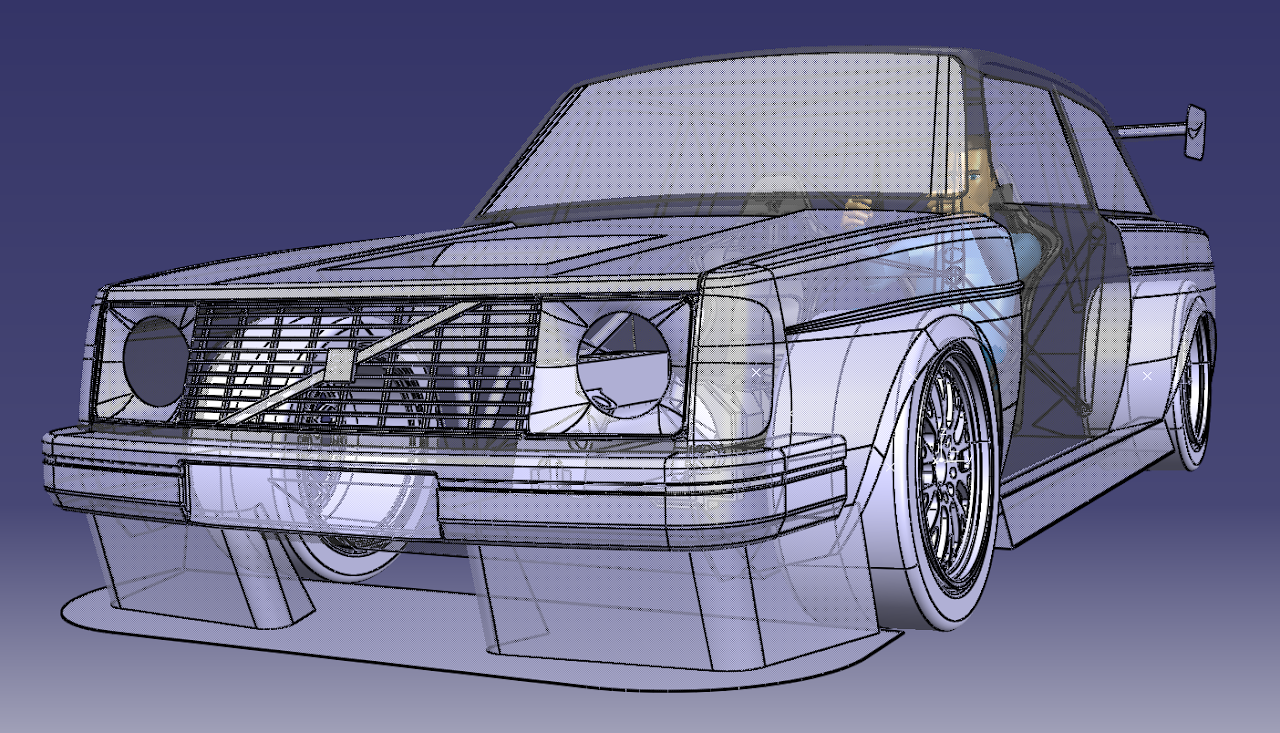
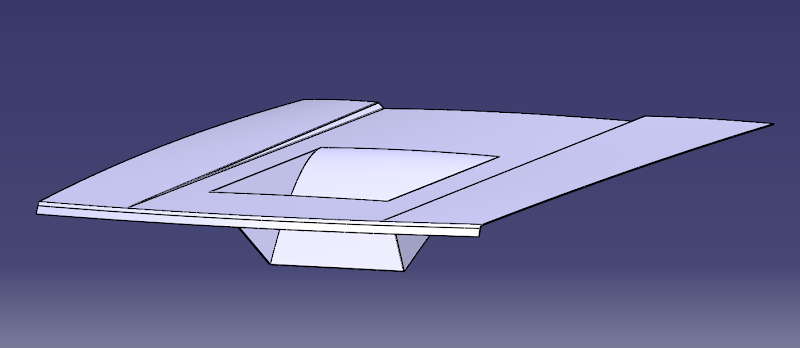
All that heat will be taken care of with a BeCool BCI-35005 radiator tilted towards the front of the car, with a vent in the hood for heat extraction. Initially I will modify the stock steel hood in order to validate the design of the scoop, but when I have time and space I will use that as a plug to make a carbon fiber version.
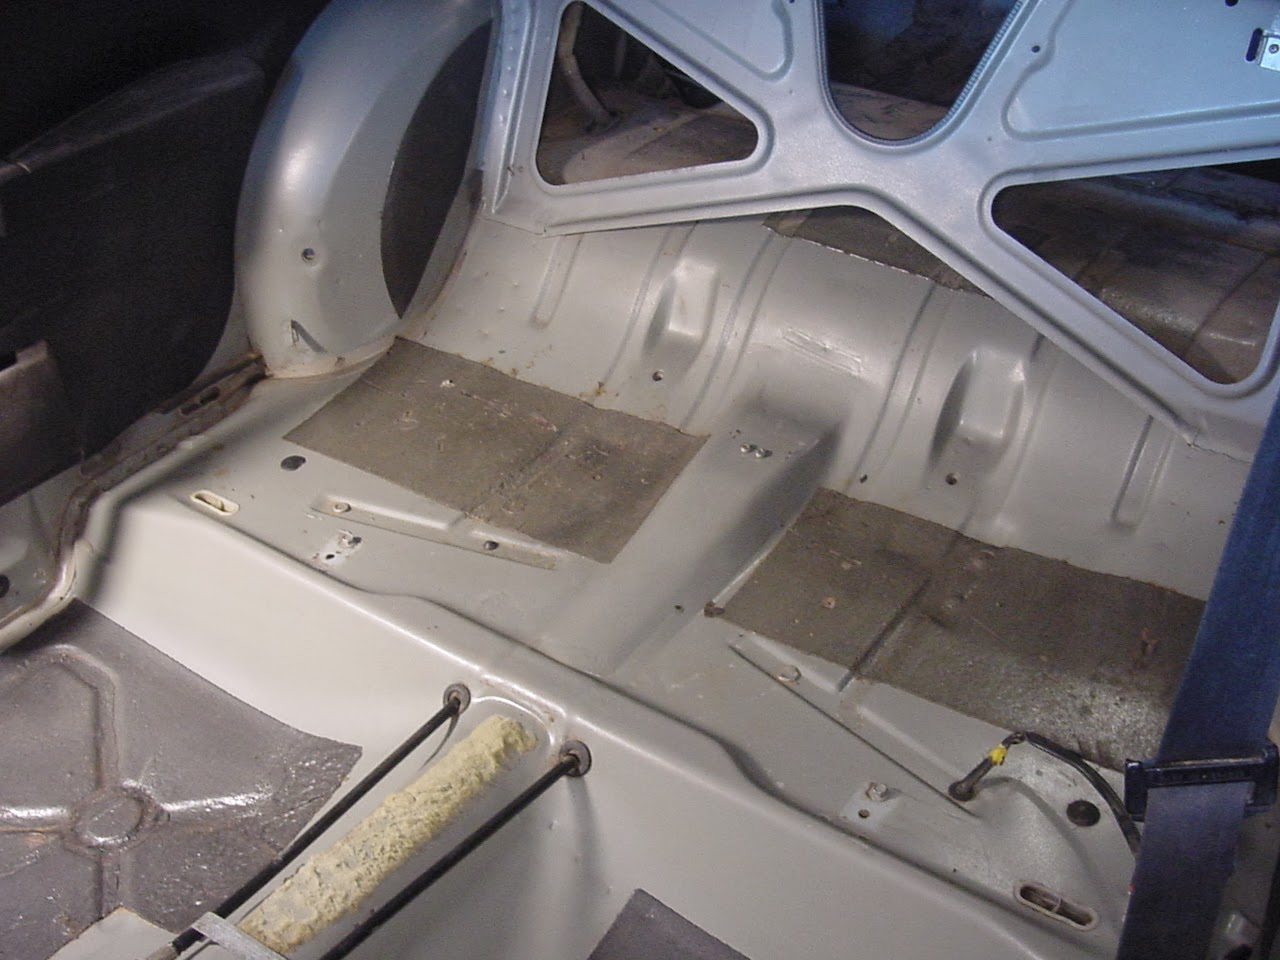
The fuel system will consist of either one 16 gallon fuel cell mounted under the floor behind the driver, or two 12 gallon fuel cells mounted behind the driver and passenger. I will be running E85 in this car, and would like to participate in the Silver State Classic or Pony Express 130 open road races, so I will need to have a decent fuel capacity. By moving the fuel cell forward in the car the inertia is decreased, but also the fuel cell will then be inside the safety cage structure. Dual Bosch 044 pumps will supply fuel via a stainless steel 1/2″ hardline. Fuel injectors have been chosen but not purchased, and will be Injector Dynamics 2000 injectors. Fuel pressure regulator will be an Aeromotive 13114.
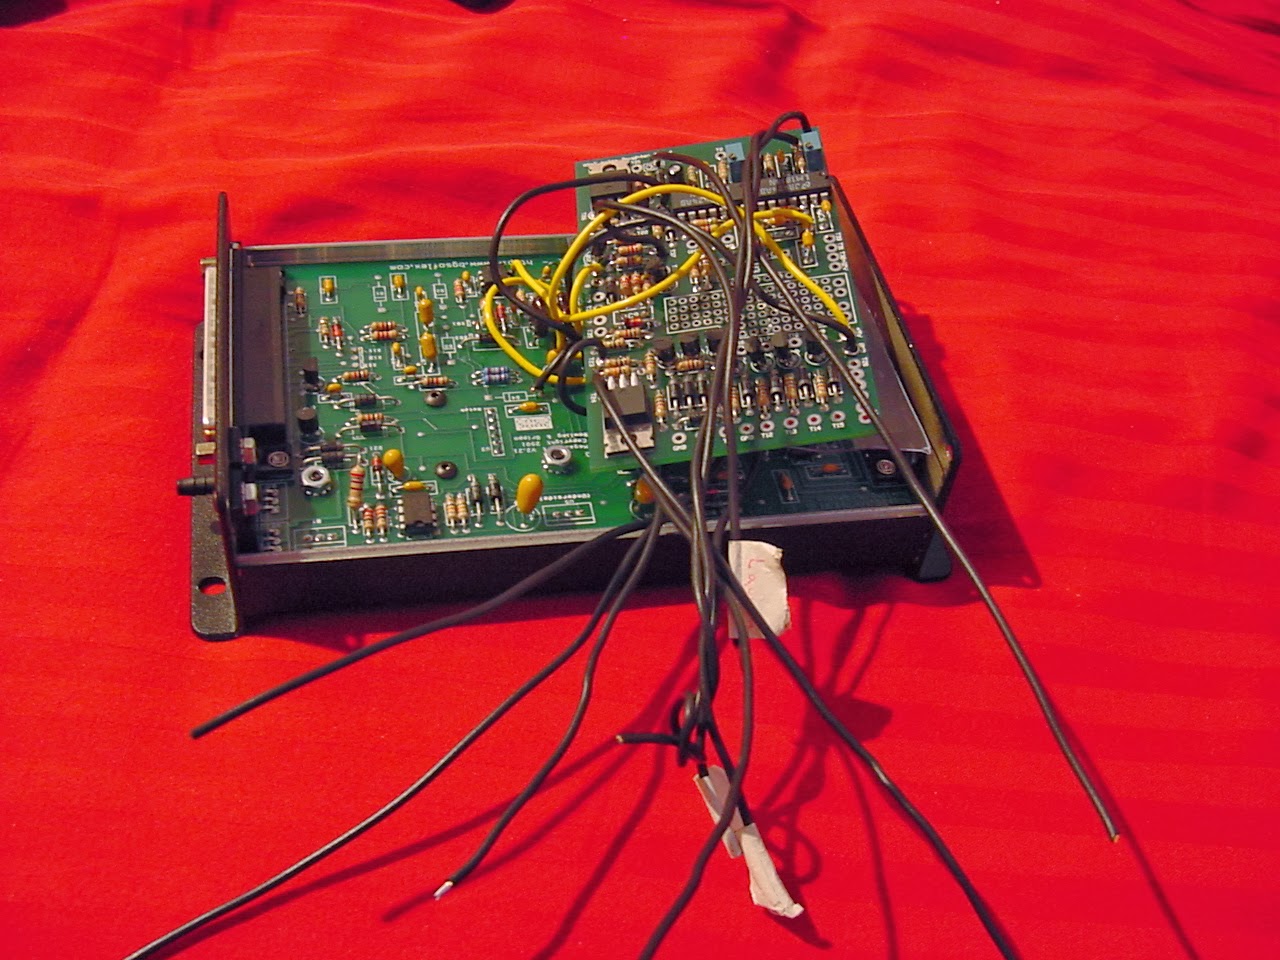
The engine management system for this car will be VEMS v3. I wanted to move away from the crappy connectors of MegaSquirt, and this was a great way to do that. MS3-Pro looks pretty good now too, but it’s pretty expensive.
Transmission
One of my first decisions regarding the drivetrain was to use a Tremec T56 transmission. Having owned a Camaro with one, I knew that the transmission was extremely durable and had a large aftermarket available for gear ratios, upgraded shift forks, etc. The 6th gear wasn’t as big of a selling point to me as the strength of the transmission and the great gear ratios. The f-body T56 is rated to hold 450lb-ft of torque from the factory, but is known to be reliable with much more than that. The other common options for transmissions to retrofit into 240s just did not appeal to me. The Getrag 265 has pretty bad gear ratios even though it is fairly strong, and the T5 would cost just as much if not more than the T56 to upgrade in order to hold the same amount of torque. I was able to find a low mile T56 from a 2002 Pontiac Trans Am which I added to my pile of parts ready to go on the car. Years later, I had an opportunity to buy a T56 from a Pontiac GTO from another Volvo enthusiast Nathan Kahler. The GTO uses the same updated version of the T56 as the Corvette Z06. This includes triple cone carbon fiber synchronizers and excellent gear ratios of 2.97, 2.07, 1.43, 1.00, 0.84, 0.57. Even better for my application is that the shifter position is further back on the GTO T56, which means it will work better for my rearward seating position.

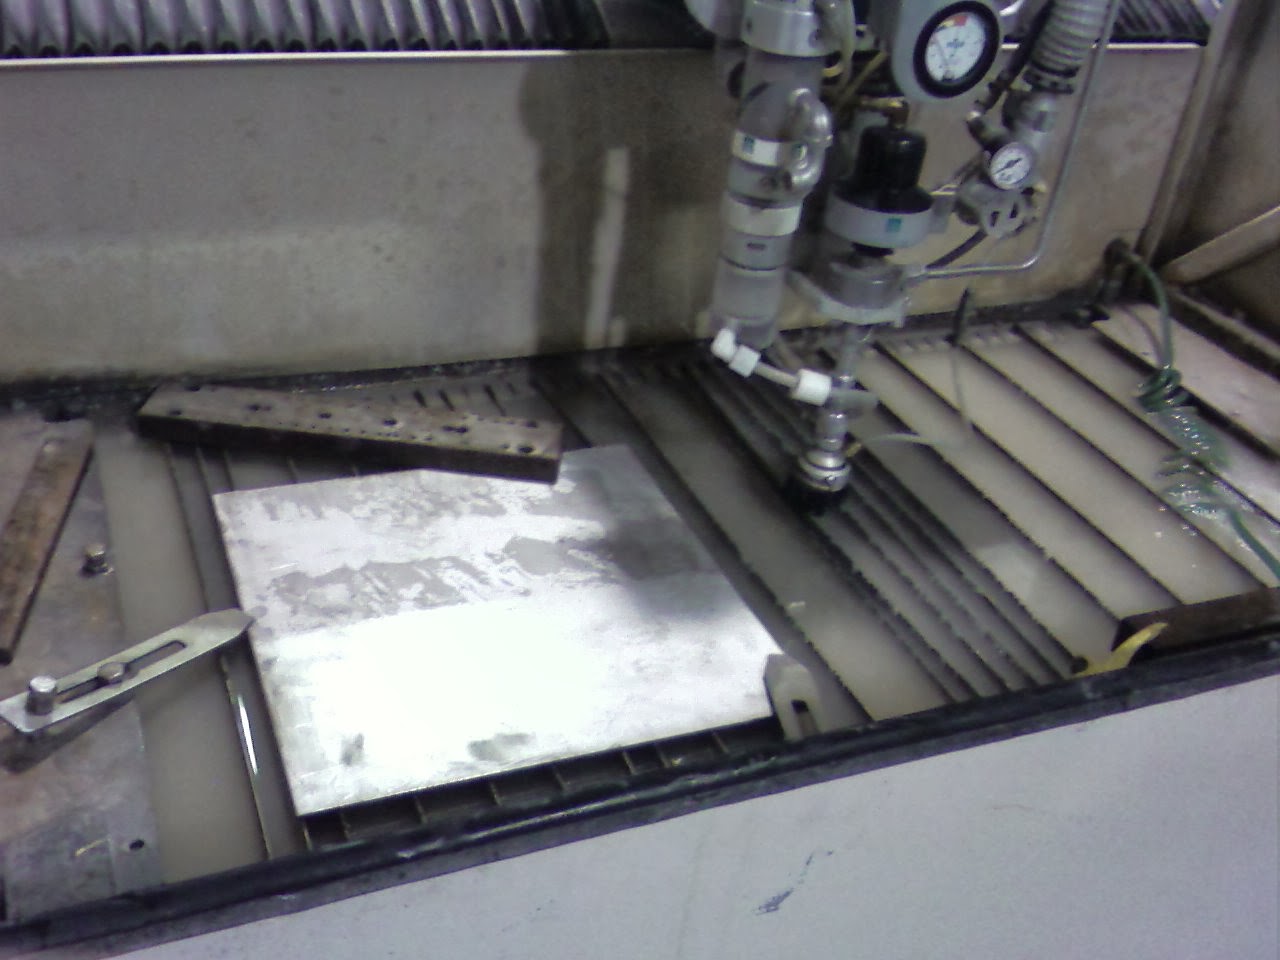
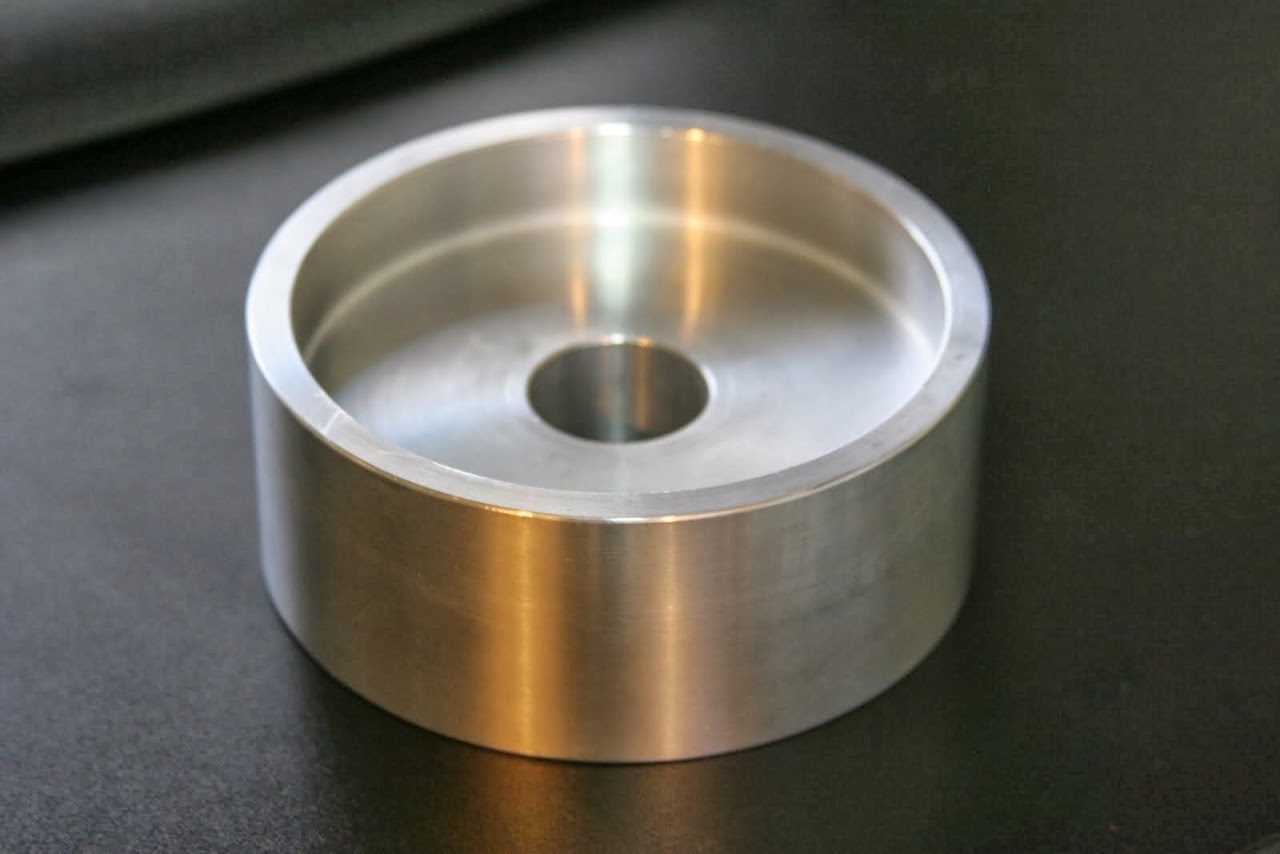
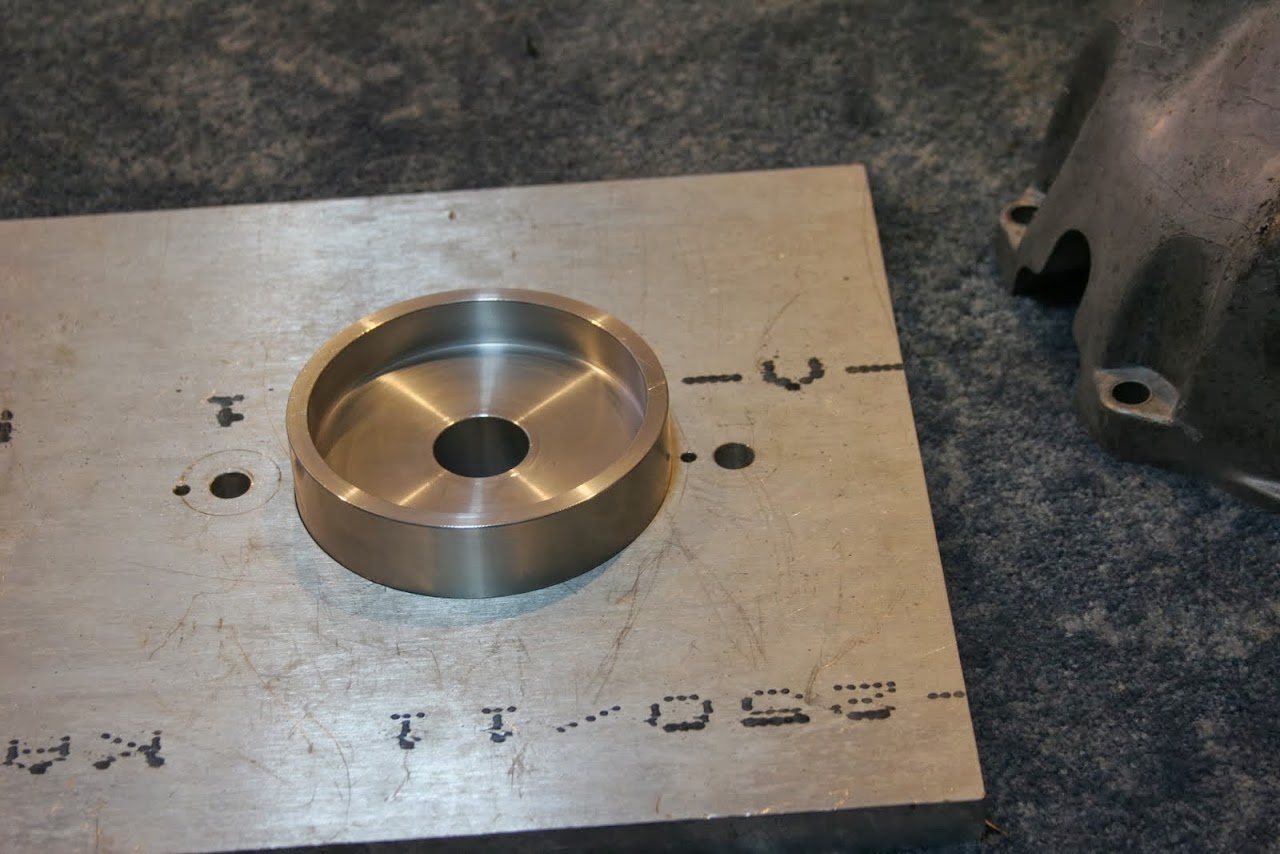
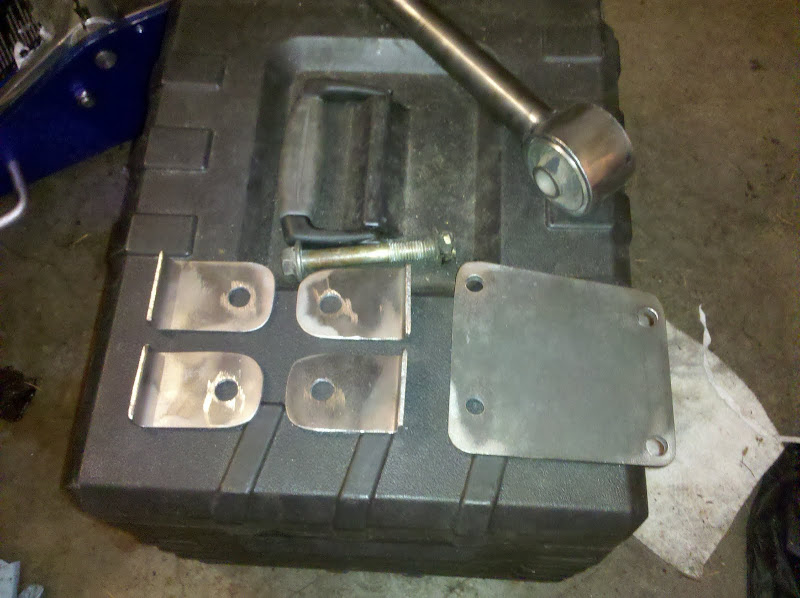
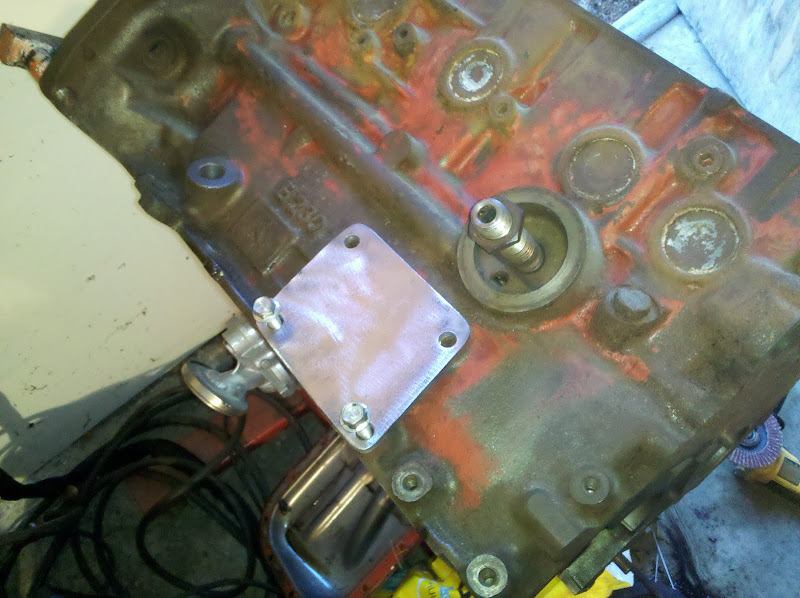
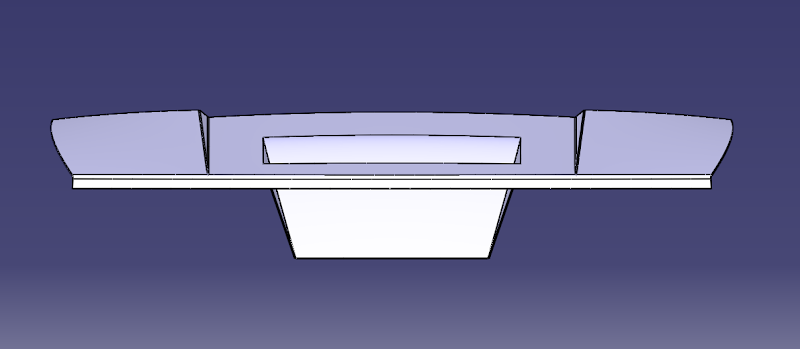
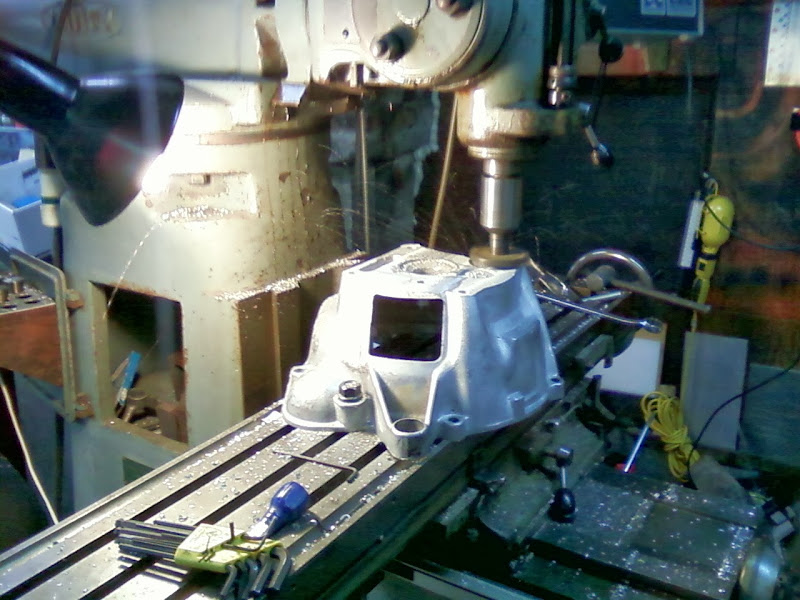
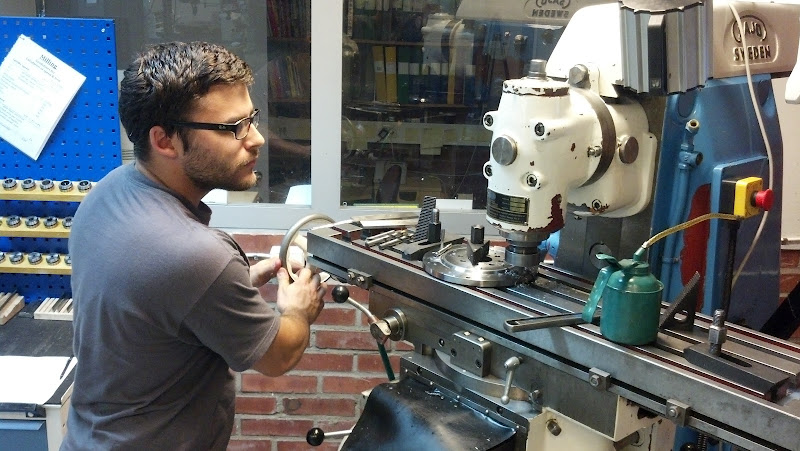
To adapt the T56 to the B230 engine I measured both bellhousings and input shaft lengths. It was not possible to use an adapter plate with the M46 bellhousing from the Volvo because the total height of the new bellhousing needed to be shorter than the Volvo bellhousing. So the next step was to mill away a bit of the Volvo bellhousing so that an aluminum plate could be welded to it. Care was taken to preserve the centering hole of the bellhousing so that the plate could be properly aligned with a centering jig. A 5.000″ hole was milled in the plate that would be welded to the bellhousing to provide clearance for the slave cylinder, but also to act as a centering hole.

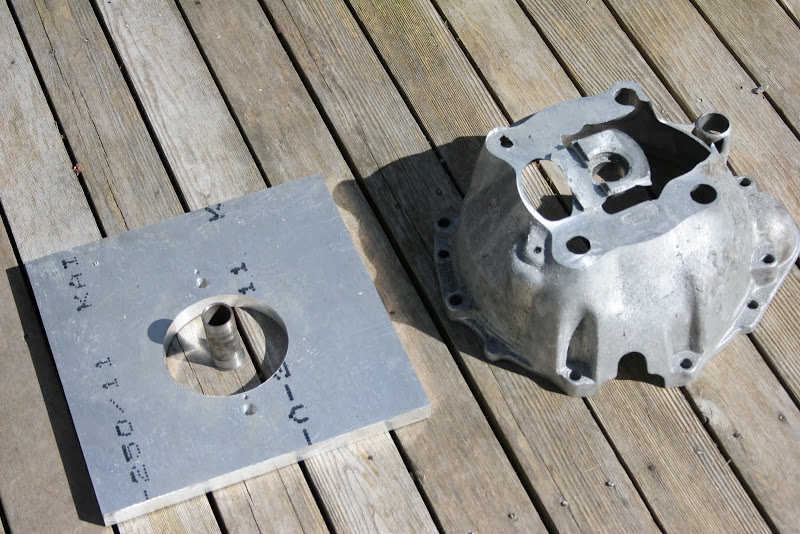
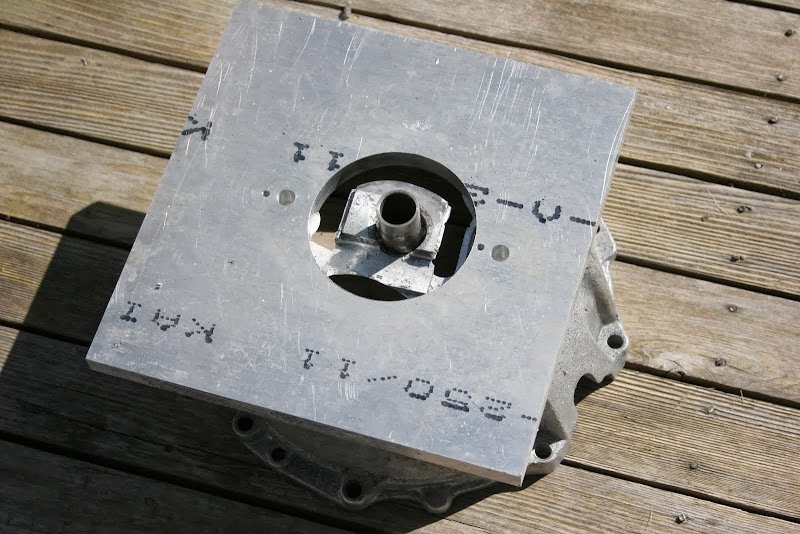
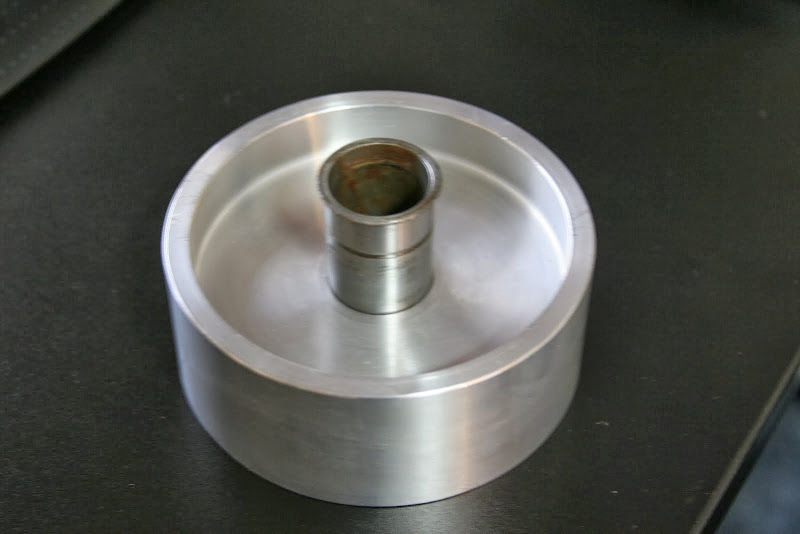
A centering jig was then turned on the lathe. The jig serves two purposes: to align the adapter plate to the bellhousing before welding, and to align the adapter plate to the transmission in order to center punch the bolt hole pattern. The jig uses the factory M46 steel sleeve that is pressed into the bellhousing in order to center the plate to the bellhousing. When centering the plate to the transmission, the jig has a stepped inner diameter in order to center the plate to the machined ring on the transmission for the slave cylinder.

 Clutch/Flywheel
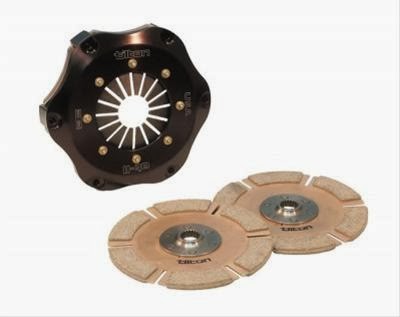
Knowing that I needed a strong clutch to hold the torque I was planning to put through the drivetrain, I investigated several options for clutches. I have previously run 4 and 6 puck clutches in different cars of mine, both with stock and upgraded pressure plates. These hold power fairly well, but driveability suffers. A multi-plate clutch seemed like the way to go for me, as I had very good experience with the one I installed in my Evo. I started scouring ebay for used Nascar Tilton/Quartermaster/Sonic clutch covers and discs. I ended up winning the auction of a brand new Tilton OT-II 7.25″ 3-disc clutch cover including pressure plate and floater plates for $200. This also included the “Gray” diaphragm spring in the clutch cover, which is the second stiffest available. Quite a steal considering retail is almost $600! This was the 3-disc sintered metallic clutch though, which is what Nascar uses, and basically acts as an on-off switch for power delivery. By slipping this clutch, the discs would not be able to take the heat, and the clutch would soon be ruined. Tilton also sells twin-disc cerametallic clutches for rally and club racing use. These use the same clutch cover, just a different pressure plate and discs. I bought new discs to fit the T56 transmission and an Ultra High Ratio pressure plate for the rally clutch. The Ultra High Ratio pressure plate holds a little bit more power than the standard High Ratio, but also allows for better slippage and modulation of the clutch, resulting in better driveability.

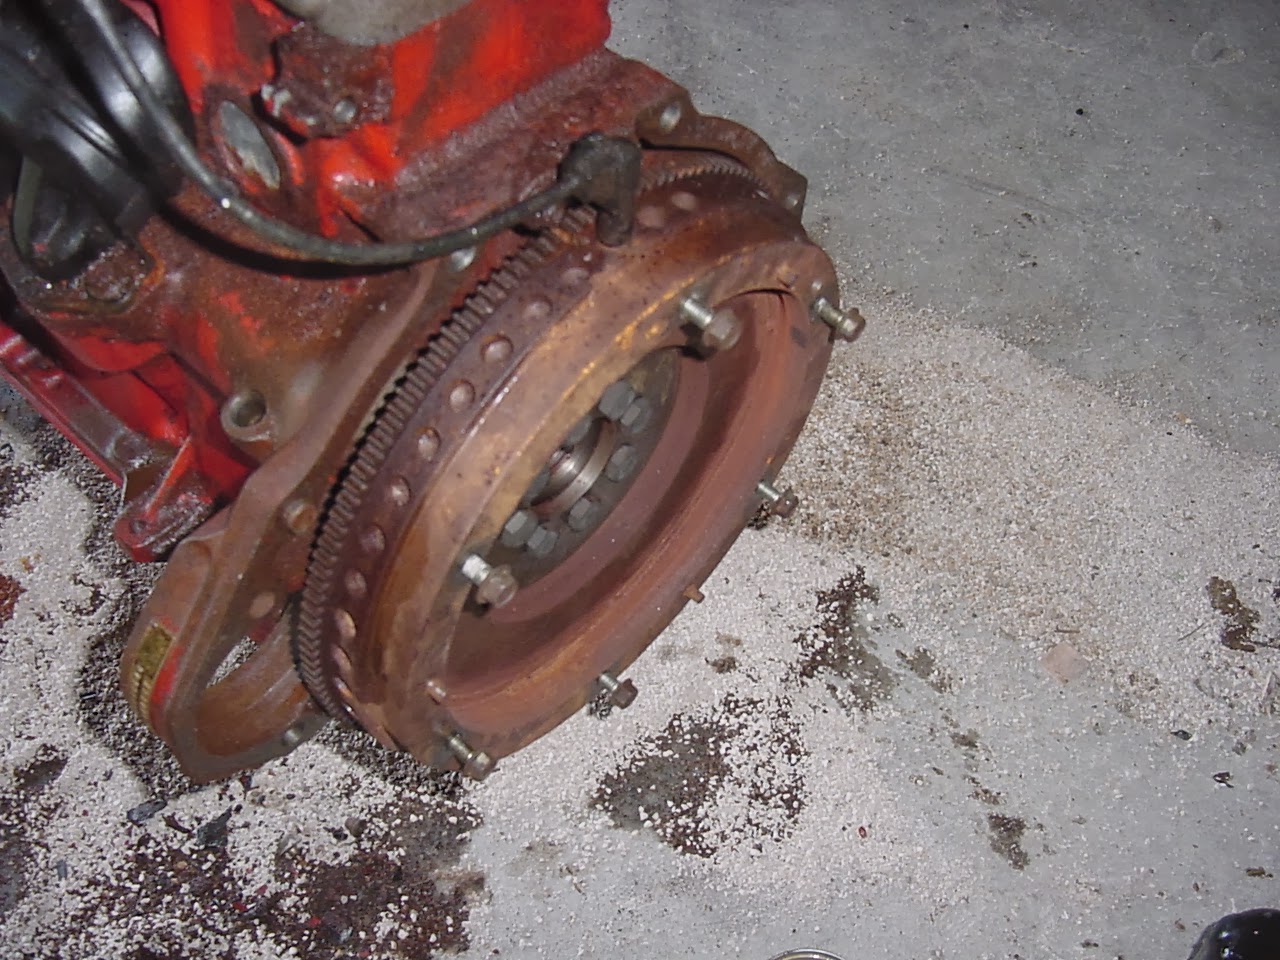
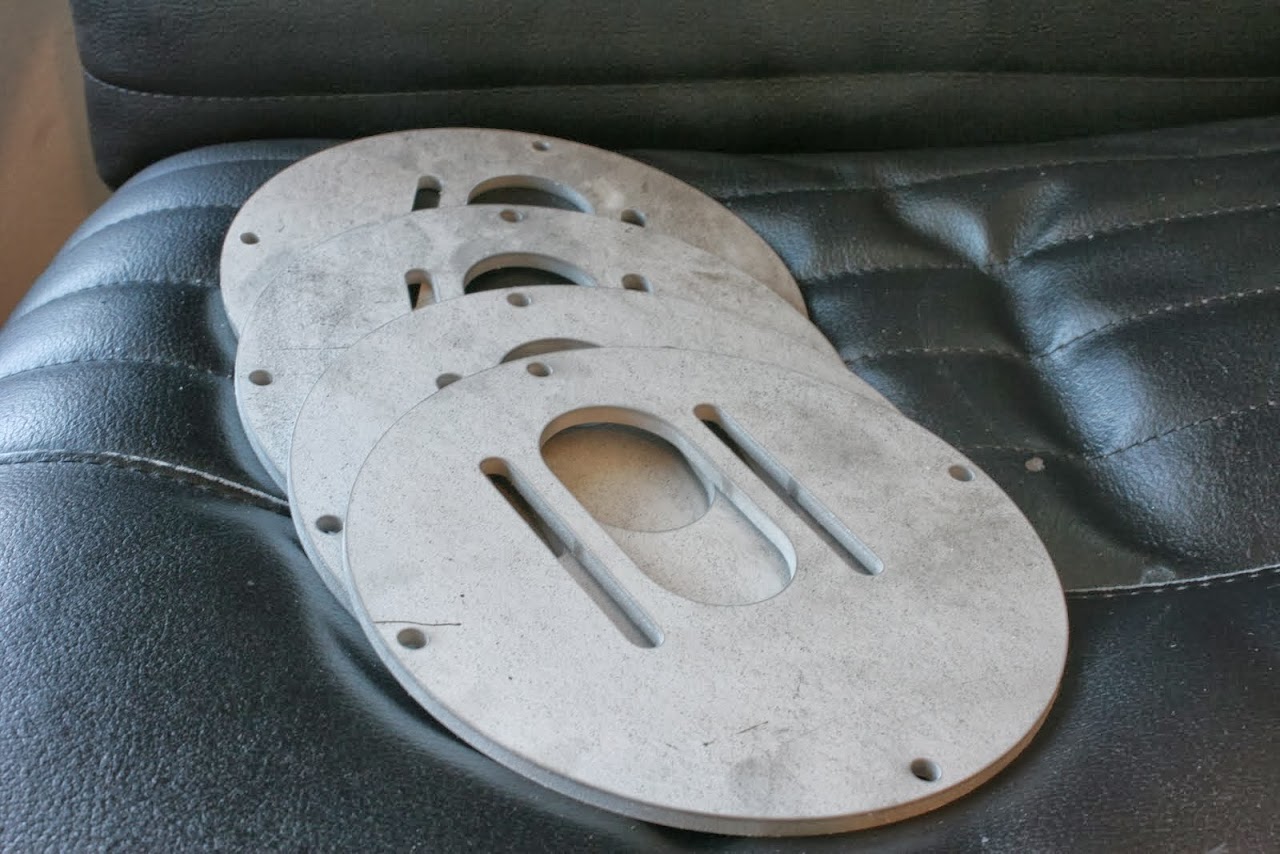
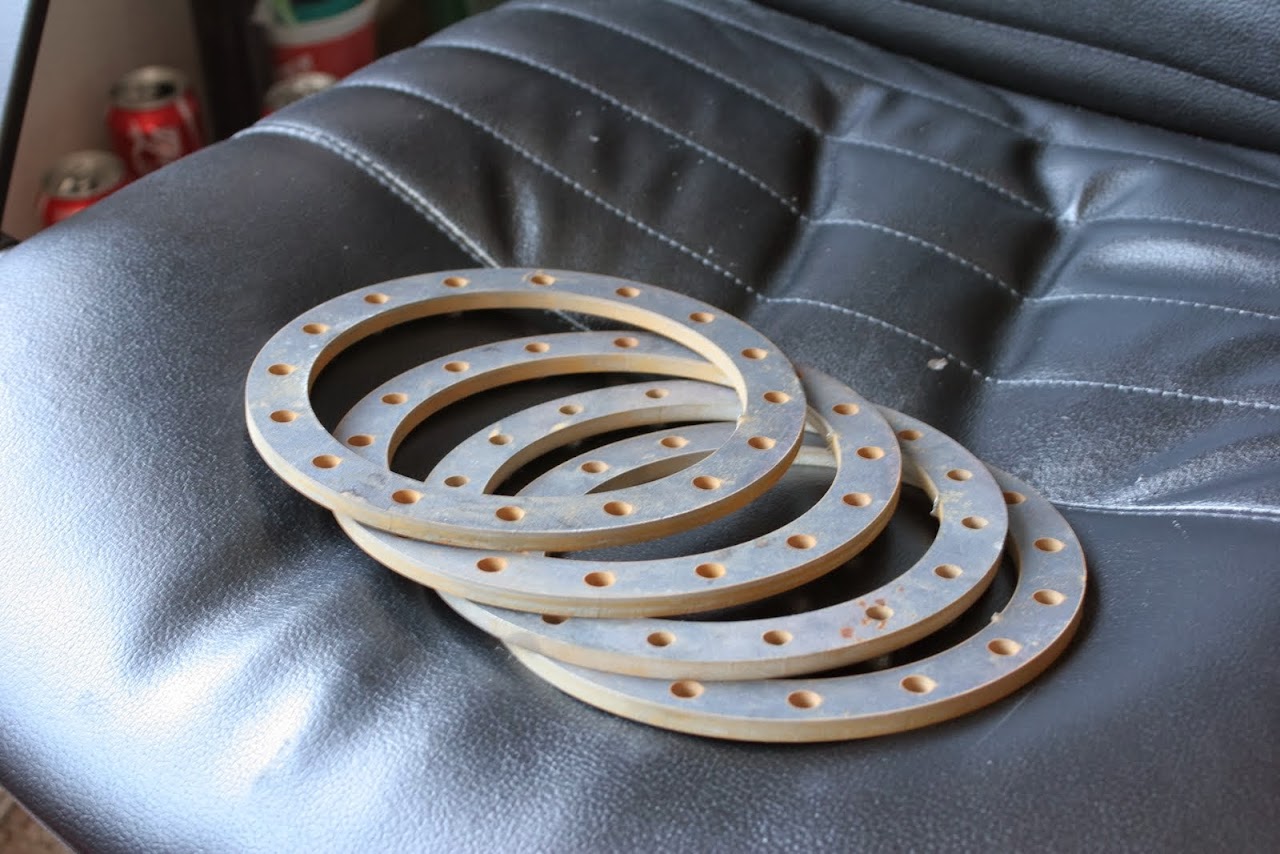
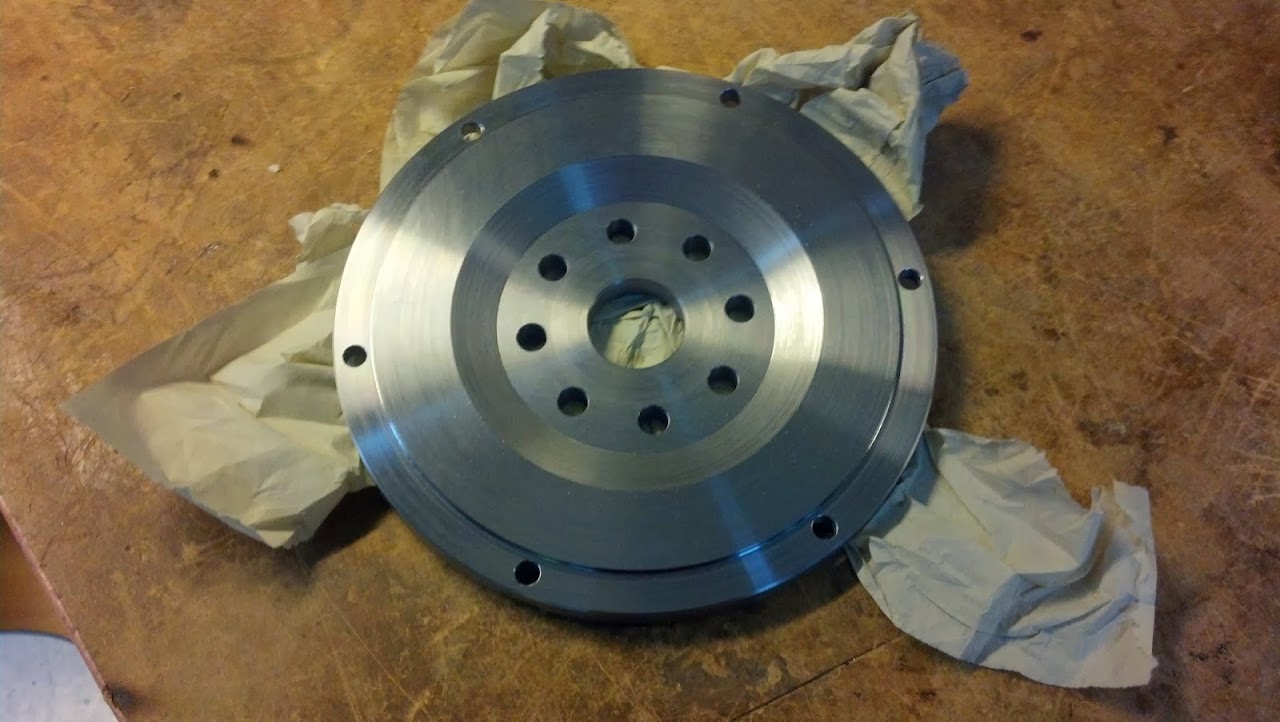
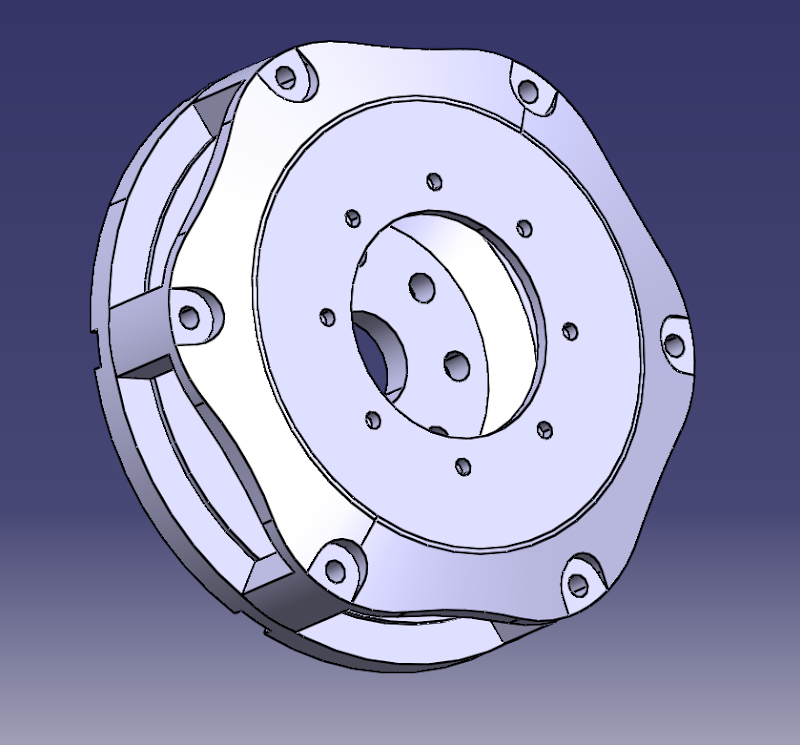
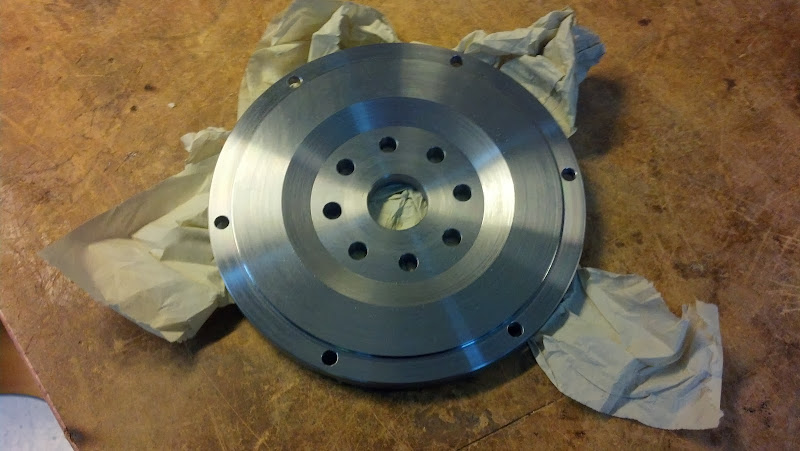
In order to use this clutch on the B230, I either needed to redrill a stock flywheel for the new bolt pattern, or have a custom flywheel made. I went with the latter, as the stock flywheel is cast iron and known to fly apart in certain high rpm situations. At the same time,
Alex Buchka was making a similar flywheel to use on his Volvo B8444S in his 242, so I made my own design for the B230 and we made them in the workshop at Chalmers together. This flywheel will be used together with the flexplate from an automatic B230 car in order to keep the ring gear and crank sensor holes.


The Tilton clutch needs a 44mm diameter radiused contact surface on the throwout bearing. The stock LS1 T56 slave cylinder has a much larger diameter than this, so I have not yet decided if I will make a spacer with the correct diameter, or fit one of the off the shelf units available from Tilton or Quartermaster.
Differential
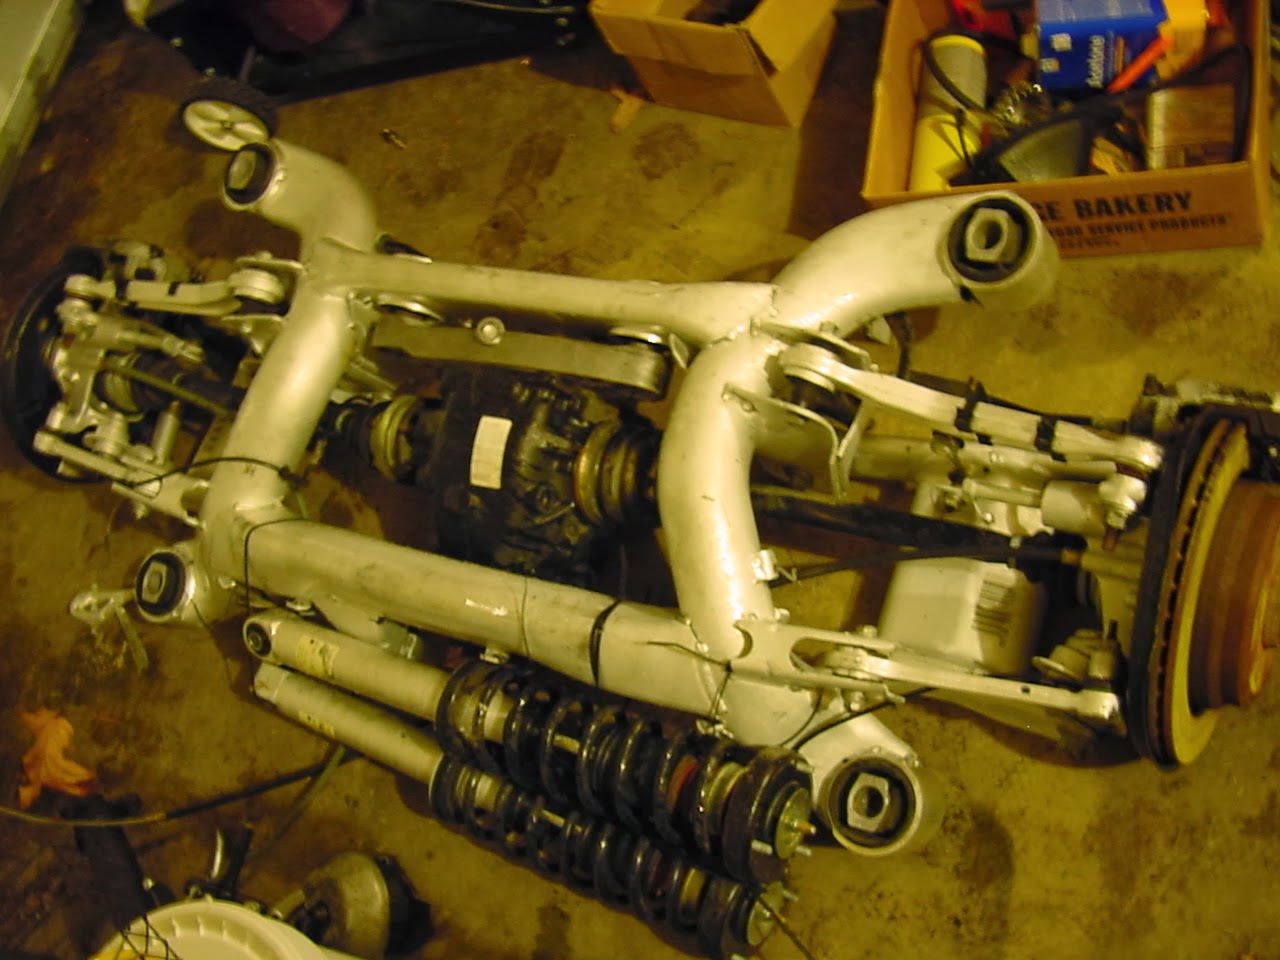
The rear suspension that I purchased came from an E39 528i, so it came with the weak BMW 188mm ring gear open differential. I knew that this would not do, so I searched out replacement differentials that I could put in its place. I found that the E39 M5 has a strong 210mm limited slip differential, but the going rate for one of these used differentials was about $1000. On top of that, the gear ratio the M5 comes with is 3.15, which would not work very well at all with my T56 gear ratios. I looked into the cost of changing the gear ratio on these differentials, and it is insane. I need to go into the BMW modification business. For just a gear ratio change the cost is close to $2000. This differential was not an option for me. I kept searching, looked into fitting a Ford 8.8 from the 2003-04 Mustang Cobras since upgrades for them are much cheaper, but these differentials have their problems as well.
I found the best solution to be an E46 M3 differential. This is a
nice limited slip differential that comes in a 3.62 gear ratio which will be great with my transmission. However this differential does not simply bolt in to the E39 subframe because the bolt holes through the ears of the differential cover are offset about 15mm compared to the E39. This is an easly problem to fix by making some solid aluminum bushings with an offset hole to replace the stock rubber bushings. The forward mount of the E46 differential is also different than the E39, but is easily solved with a custom bolt-on bracket. Another cool added benefit of the E46 M3 differential is that it has a nice heatsink built into the differential cover to help cool the differential oil.

But there was one thing left to figure out: axles. The axles that came on the 528i did not bolt up to the larger differential, so I needed to find if there was an OE option I could use or if I needed to go custom. By searching through RealOEM, I was able to find out that even though the differential size is the same between the E46 M3 and the E39 M5, they do not use the same flanges. I thought I would have to get custom axles made, or make flange adapters, but then I found that the E39 540i uses the same inner flanges as the E46 M3. A little searching on Bimmerforums and a few weeks later and I had a pair of nice used E39 540i axles for $95 shipped to my door.
Brakes
At first when I was benchmarking choices for brake calipers I was trying to decide between OE Brembo or Wilwood. I briefly looked at aftermarket Brembo, StopTech, and MOV’IT brake systems, but felt that for the price I could piece together a kit that would be cheaper and perform better for my application. I looked at Volvo S60R calipers, but soon learned that they consistently sold for more money on ebay than Mitsubishi Evo 8/9 and Subaru STI calipers (which are of the same design). Cadillac CTS-V calipers were also an option for me. After some research I found that the S60R has 42/38mm pistons in the front calipers, the CTS-V has 44/40, and the Evo and STI both use 46/40. I ended up winning an auction on ebay for a complete set of Evo 8/9 calipers that turned out to be about 5 minutes from my house, so I even saved on shipping.

For awhile I thought I would stick with the 2-piston rear Brembo calipers from the Evo, but eventually decided to go for a 4-piston caliper. More research ensued, and I settled on the rear calipers from the Dodge/Chrysler SRT-8 vehicles. This is a Brembo F40 caliper and has 32/28mm pistons. After watching a few sets of these go on ebay for more than I was willing to pay, I checked on car-part.com if anything was available. I ended up buying a pair of rear calipers for $150 shipped from a wrecking yard on there.
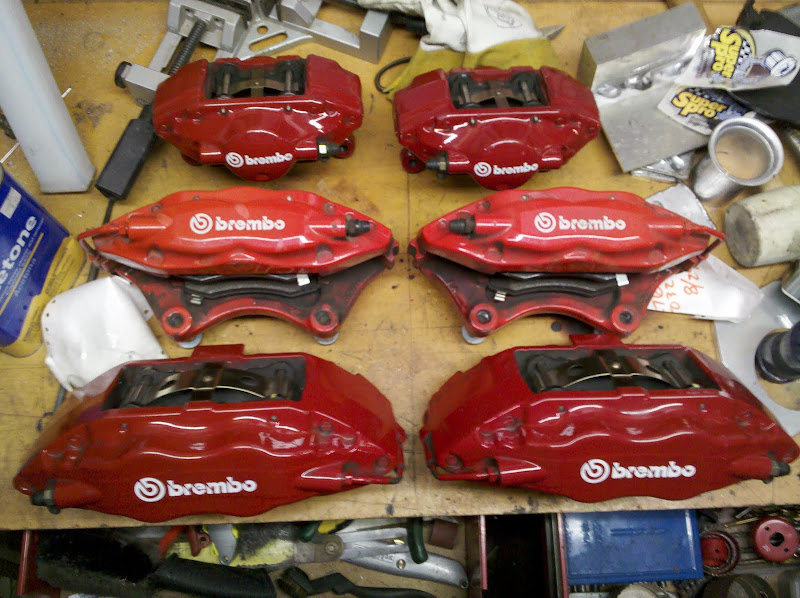
The red paint of the SRT8 calipers is different than the deeper red on the Evo calipers, but they will all get painted anyways.
For rotors I am still undecided, but am leaning towards StopTech AeroRotor 355x32mm front rotors (6.92kg/15.25lbs each), and StopTech AeroRotor 345x28mm rear rotors (5.5kg/12.12lbs each). My other option is the Euro E39 M5 rotors, which are two-piece floating rotors with aluminum hats, 345x32mm (8.7kg/19.2lbs each) front and 328x20mm rear. The Euro M5 rotors would require me to run a spacer between the hub and rotor on the E36 spindles, whereas with the StopTech rotors I would be making my own custom rotor hats so that would not be an issue. Availability of the Euro M5 rotors has really gone down in the last few years (especially in the US) so I am pretty sure I will end up going with StopTech rotors (which are much lighter as well).
Driver Safety and Controls
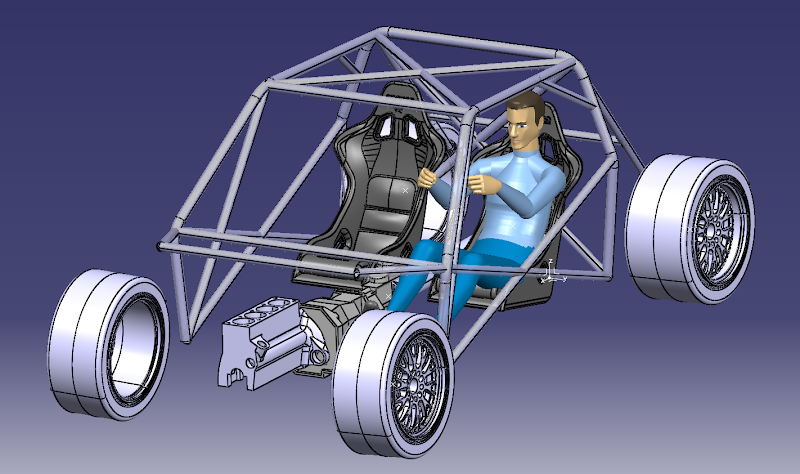
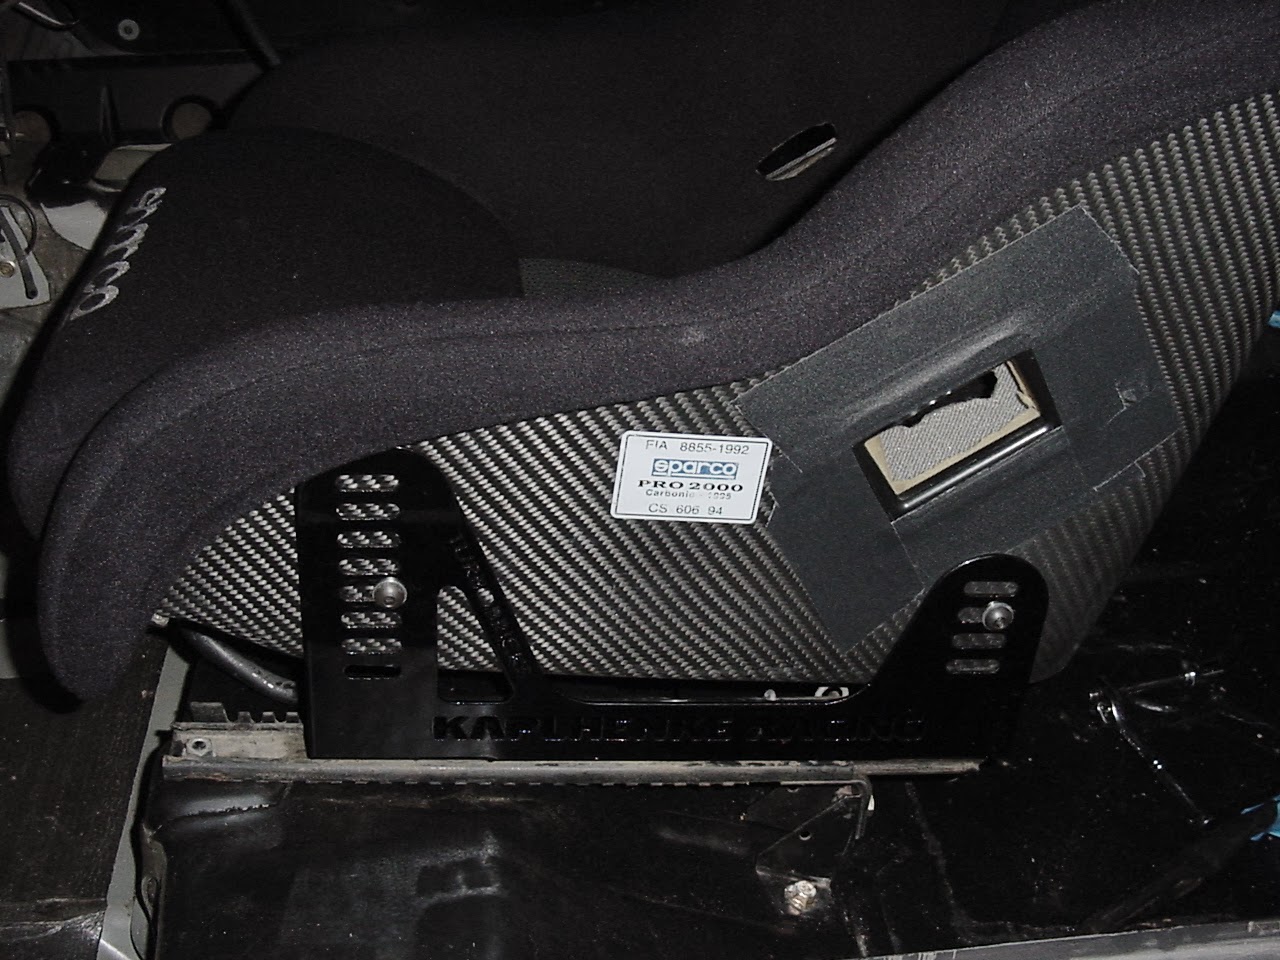
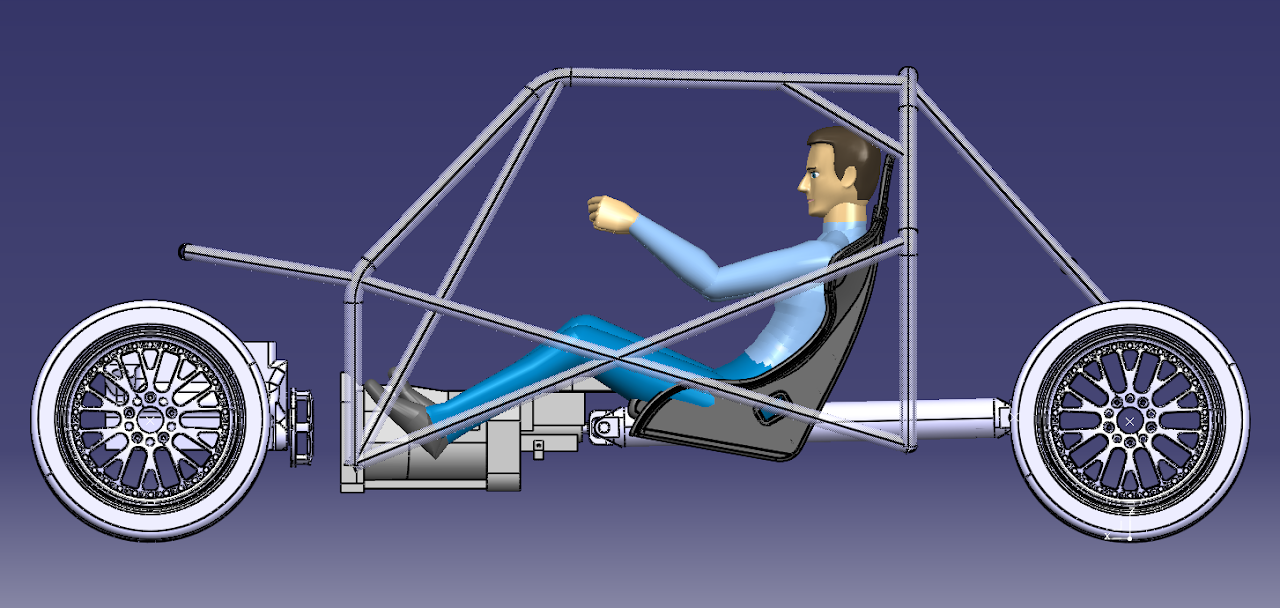
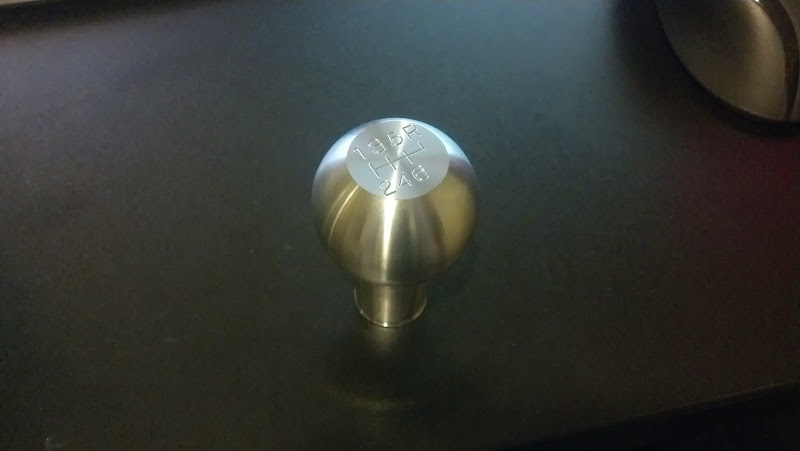
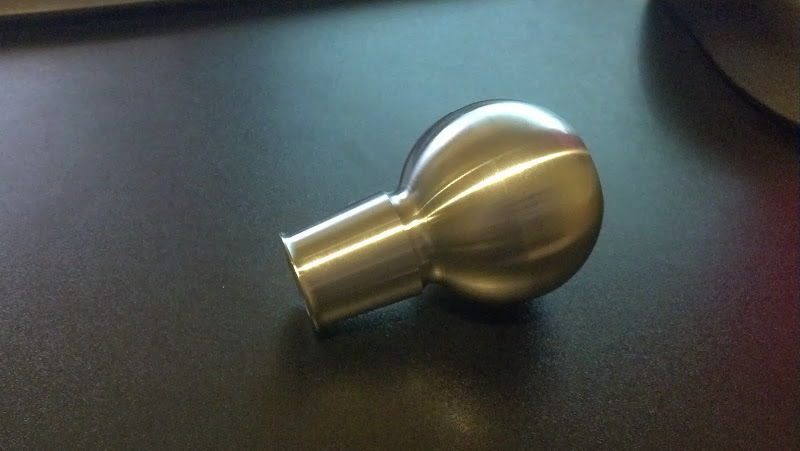
In order to shift weight rearward, provide better driver feeling, and reduce the inertia of the car, the driver seating position has been moved rearward quite a bit. The new seating position is also lower to decrease the center of gravity height. The seat is a carbon fiber Sparco Pro2000, which I was able to get for an excellent deal from a Porsche guy who didn’t need it anymore. A Sparco 6-point competition harness is what I have for the restraints. The steering wheel I have chosen to use is a Sparco 325, which is a 350mm diameter wheel with 95mm dish. The steering column I have is from a Vauxhall Corsa C, and has electric power assist built in. This will eliminate the need for a power steering pump in the engine bay, which frees up space for other goodies. I have not decided what I will do for the shifter yet. I have a Pro5.0 shifter for the T56, but I may end up making my own and selling that one to provide a better solution. I did however get a sweet custom shift knob made by
Roger at DeeWorks with the T56 shift pattern engraved on the top.


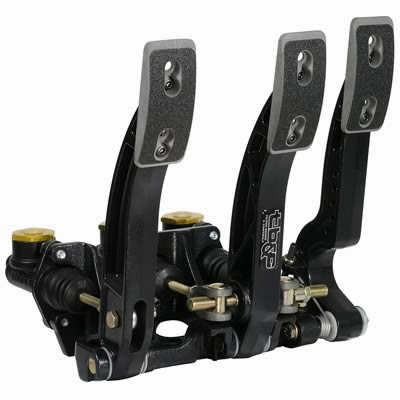
Originally I had purchased a Tilton hanging pedal set from ebay, but later decided that floor mount would be the way to go for ease of adjustment, packaging, and weight distribution. So I sold that one to a friend and bought a new Tilton 72-603 aluminum floor mount 3 pedal set for the car.
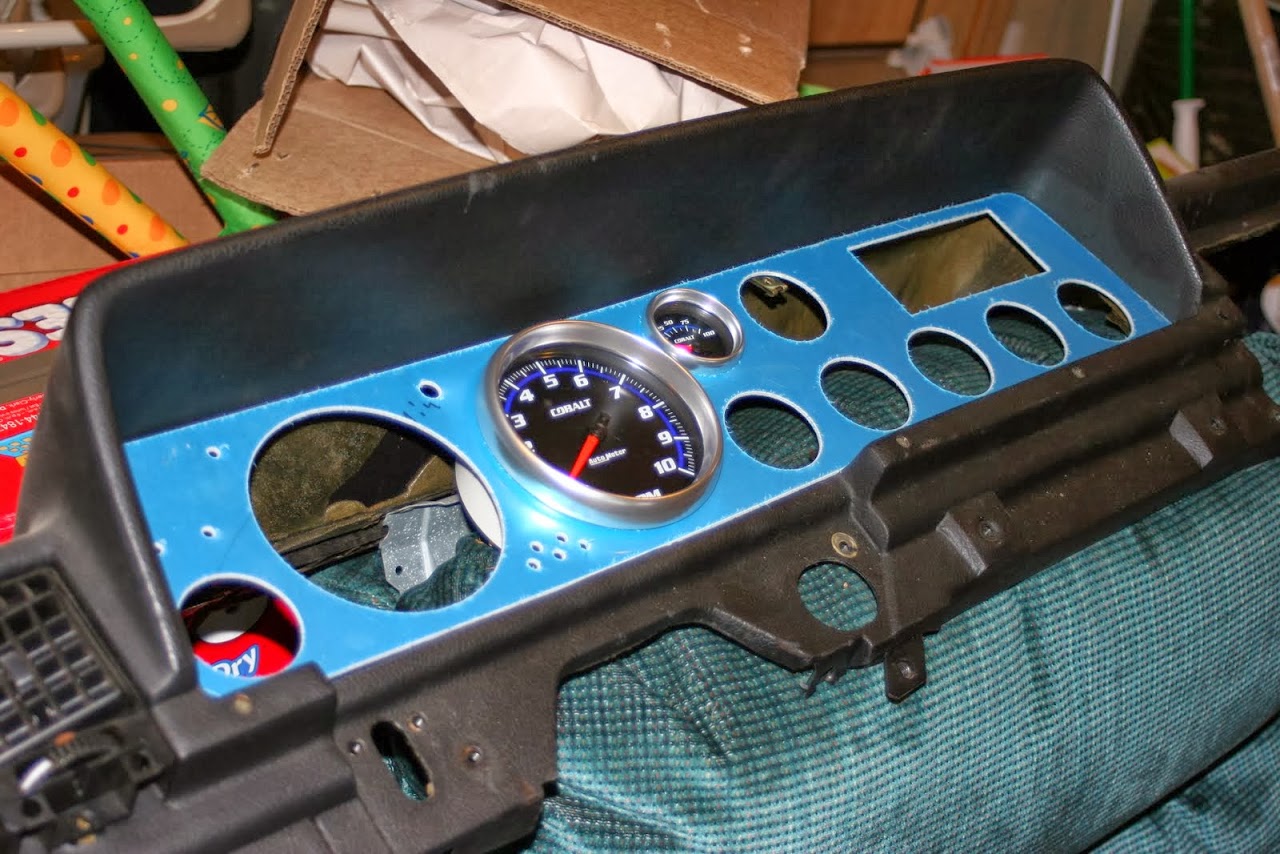
I have a very nice black dashboard from a 1993 240 that will be flocked before being installed in the car. For gauges I initially thought I would use Autometer Cobalt gauges in a custom gauge panel I made, but have since decided to go with a more integrated gauge cluster. I will most likely go with the Race Technology DASH2 Pro, as it provides a datalink to VEMS, has inputs for the sensors I would like to monitor, and I have experience with the datalogging software. The DASH2 Pro is a full featured data acquisition system, with high bandwidth GPS, accelerometers, and plenty of inputs for optional sensors like a gyro, wheel speed sensors, and damper potentiometers.


Originally I planned to use a Painless 18-circuit wiring harness, but have now changed my mind and will make my own harness using Bussmann RTMR fuse blocks for a weather sealed solution.

The roll cage has been designed but not yet fabricated. It conforms to FIA Article 253 specifications for Group N touring car roll cages. The design has been made with a balance between stiffness, safety, and weight in mind. Finite element analysis has not been completed on the frame yet due to the difficulties of modeling the stock sheetmetal chassis. Eventually I’ll get there.