ZoomSpeed
New member
- Joined
- Sep 14, 2009
- Location
- Vancouver, BC
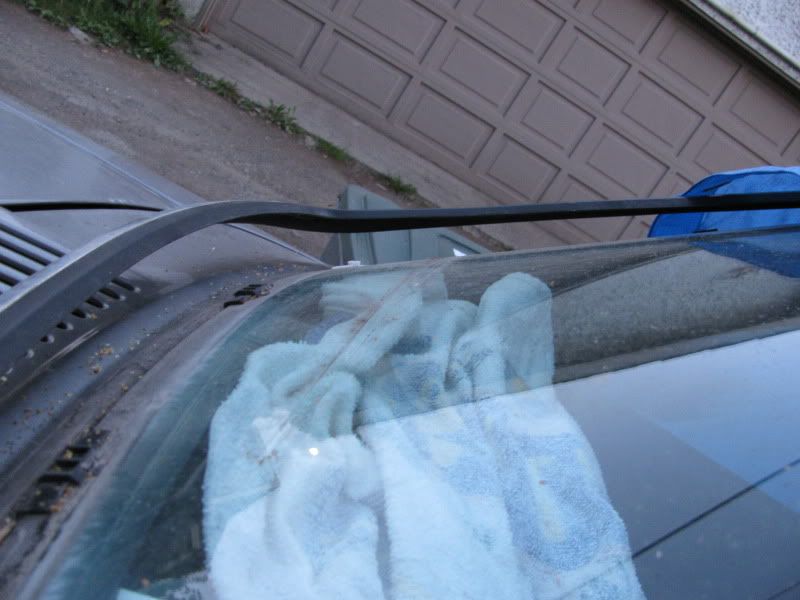
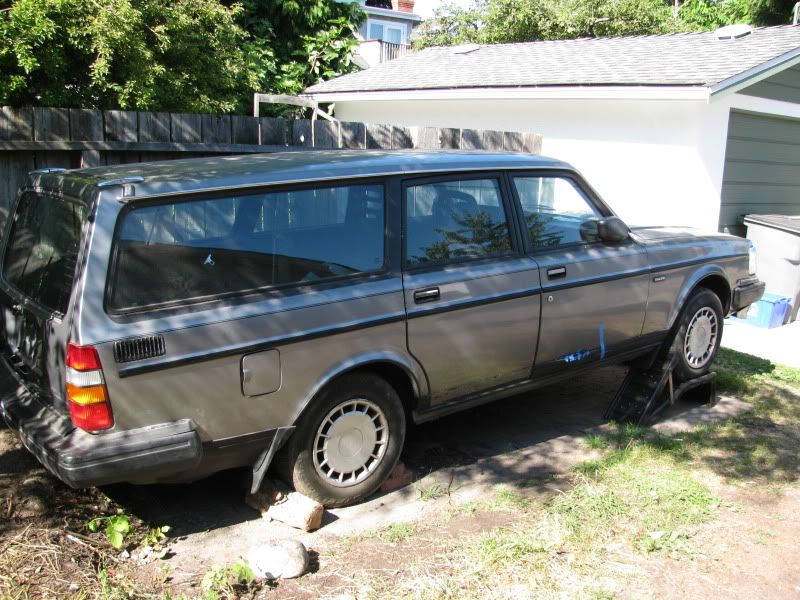
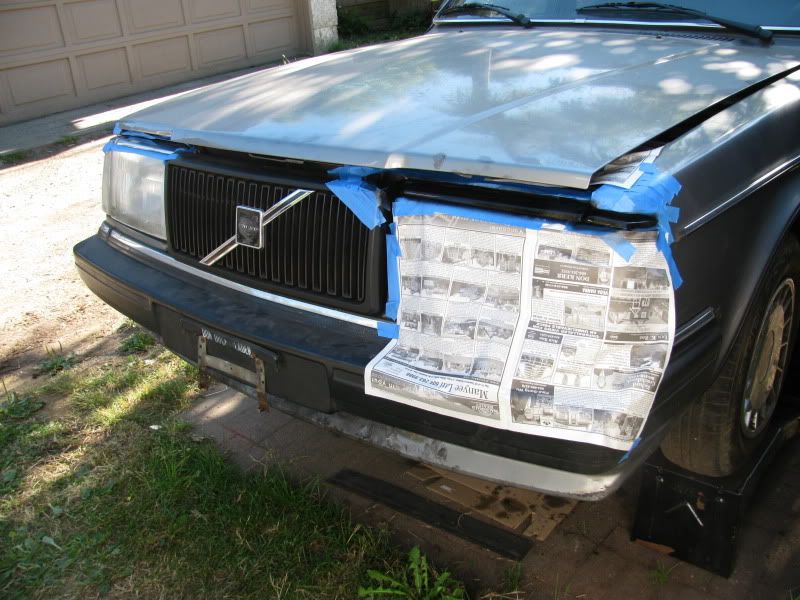
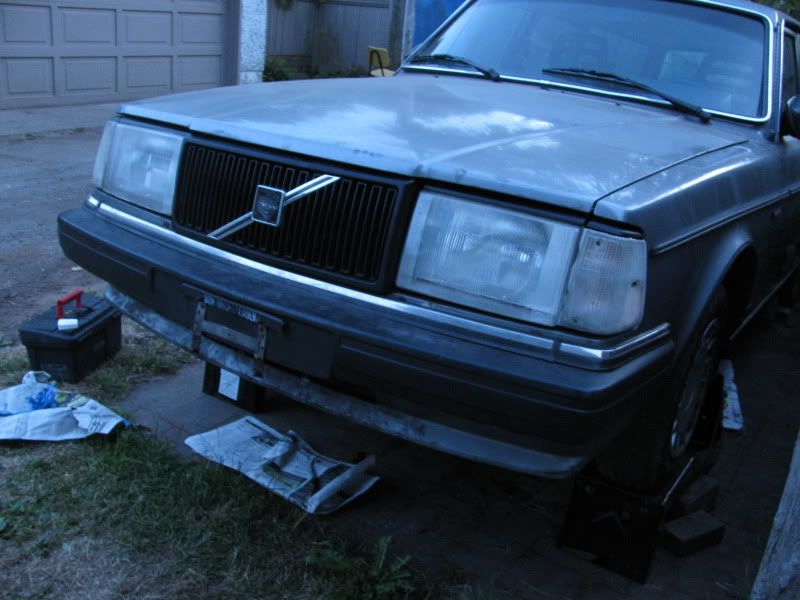
More trim painting
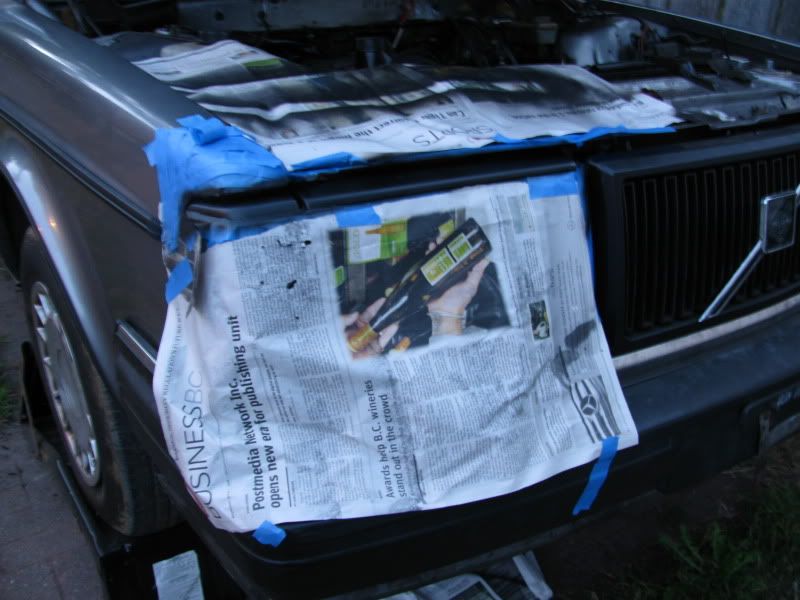
First did it this way
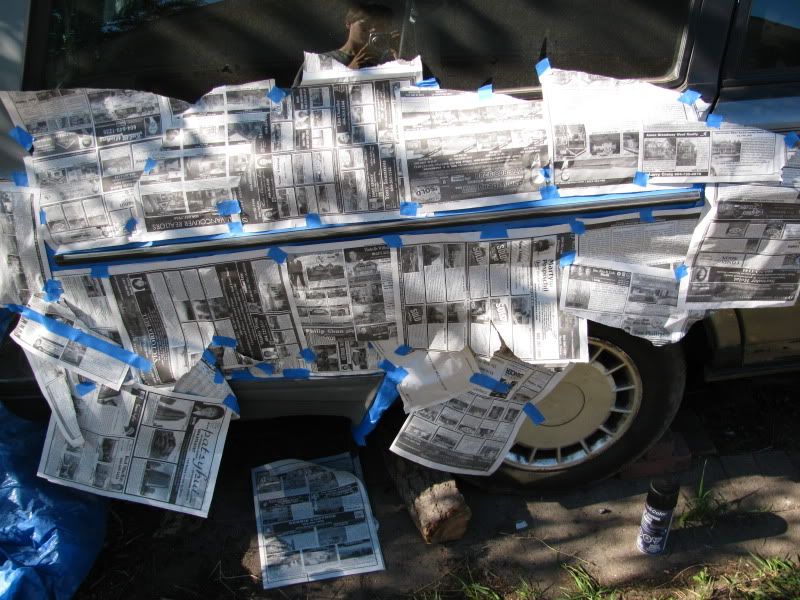
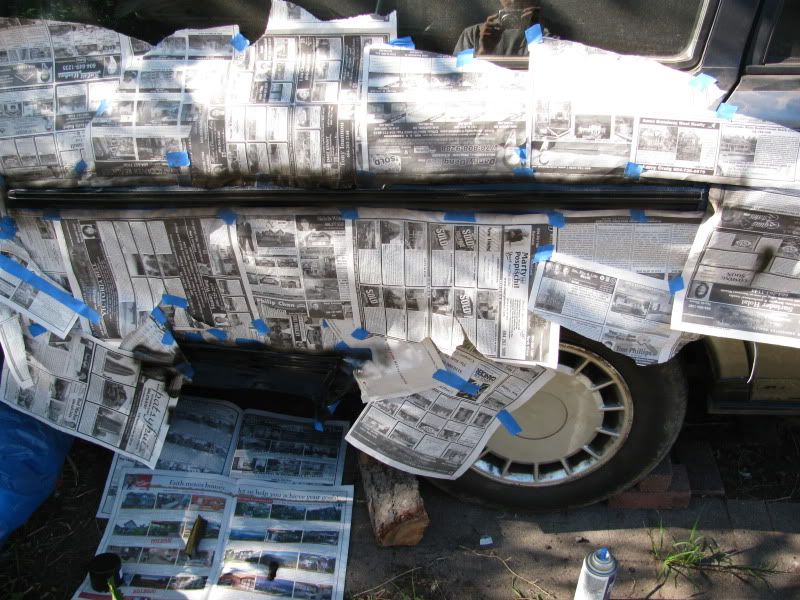
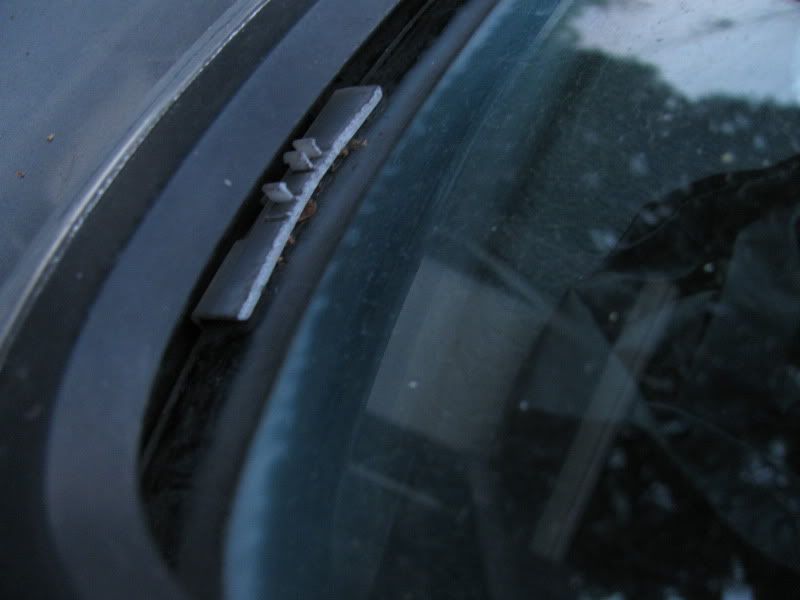
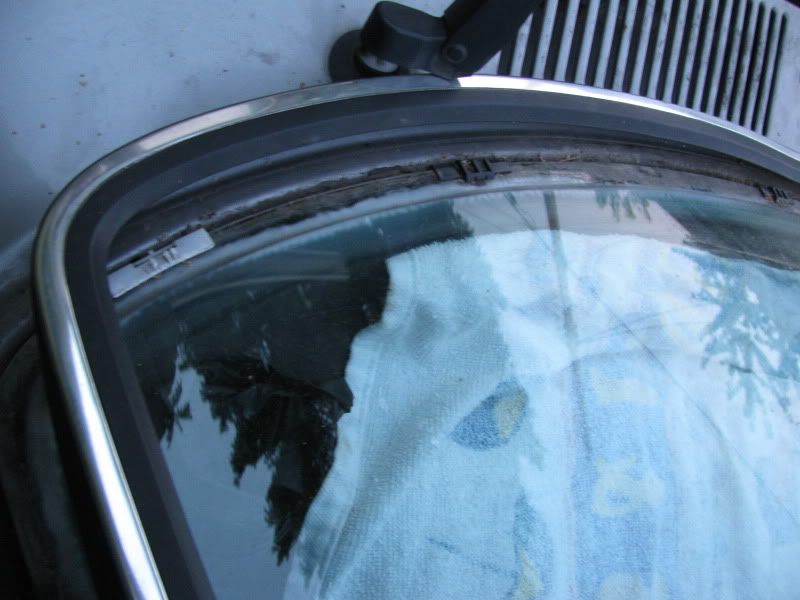
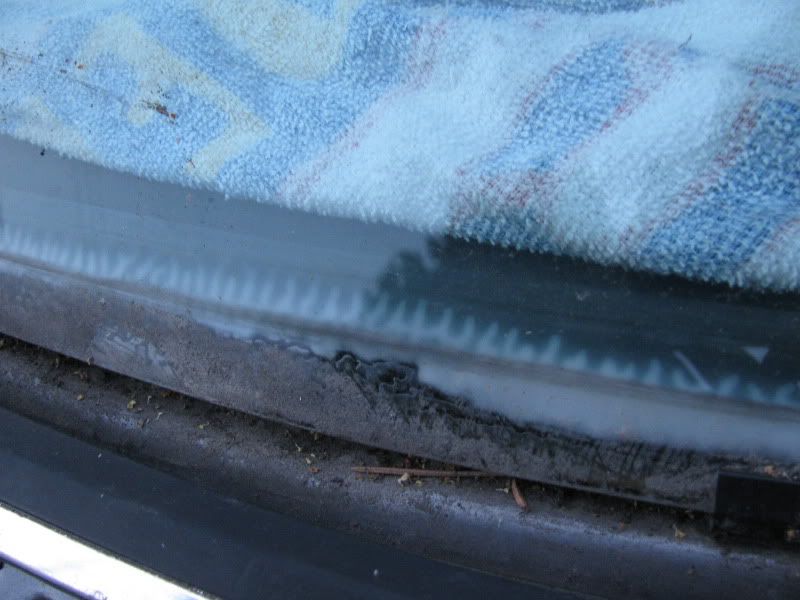
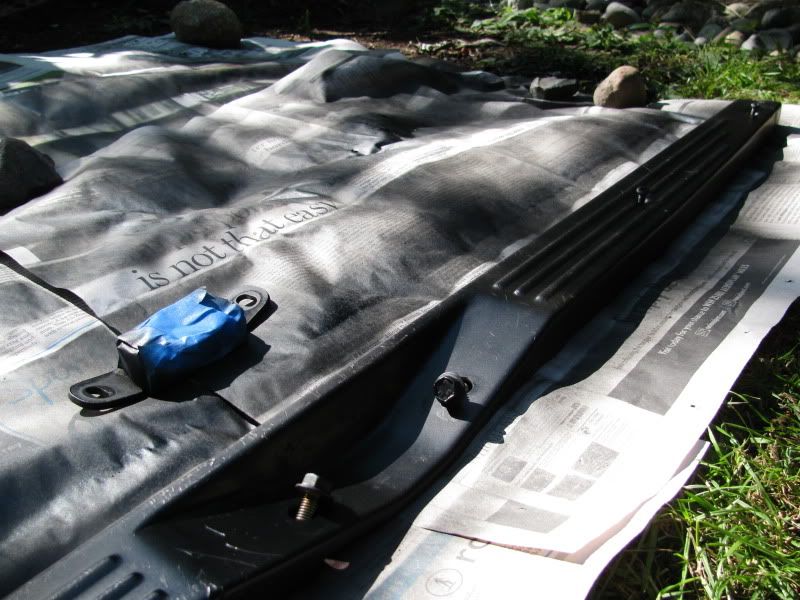
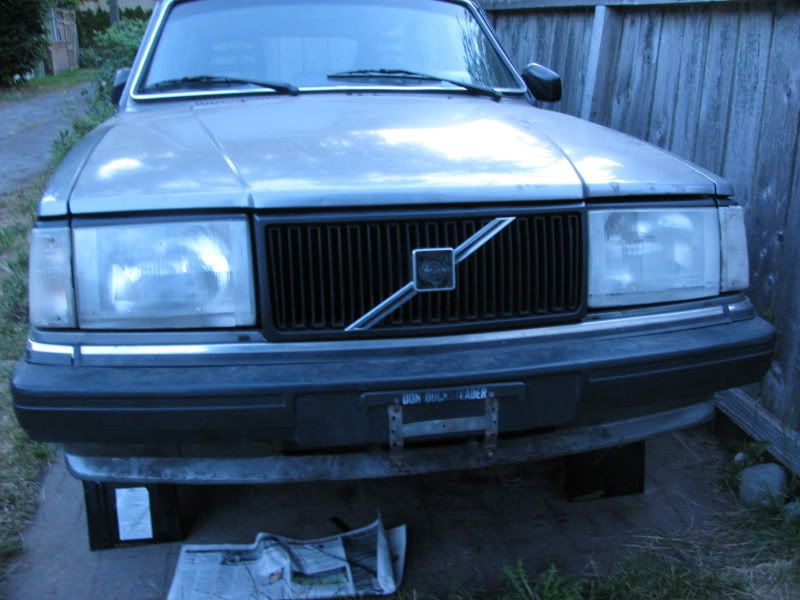
Then found a better way, by removing all the trim and painting it.
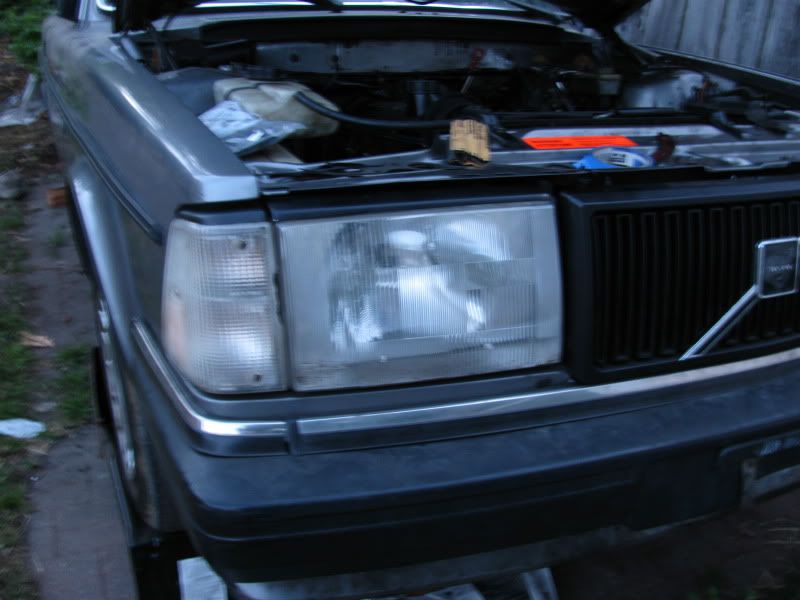
I bought some adhesive double sided tape to stick the trim the the car. I've a few peices on and I am going to see if it can stand up the the heat.
I also painted this
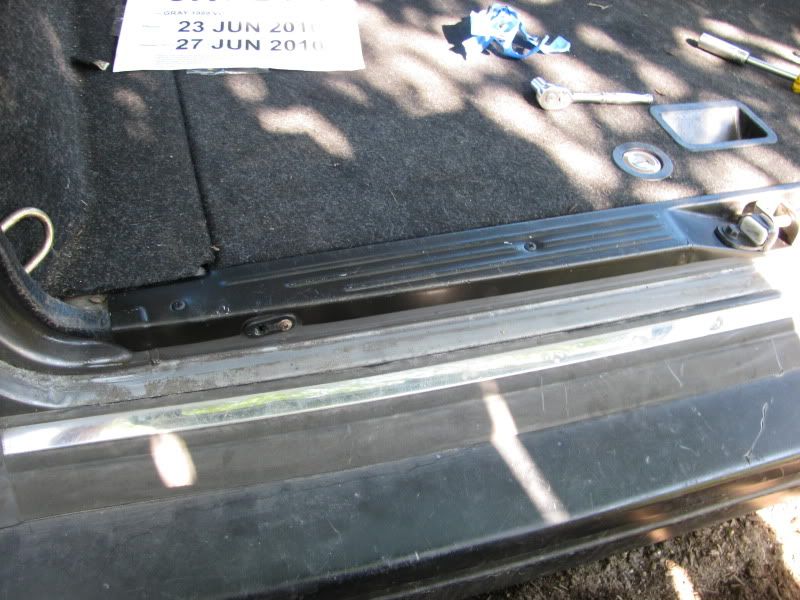
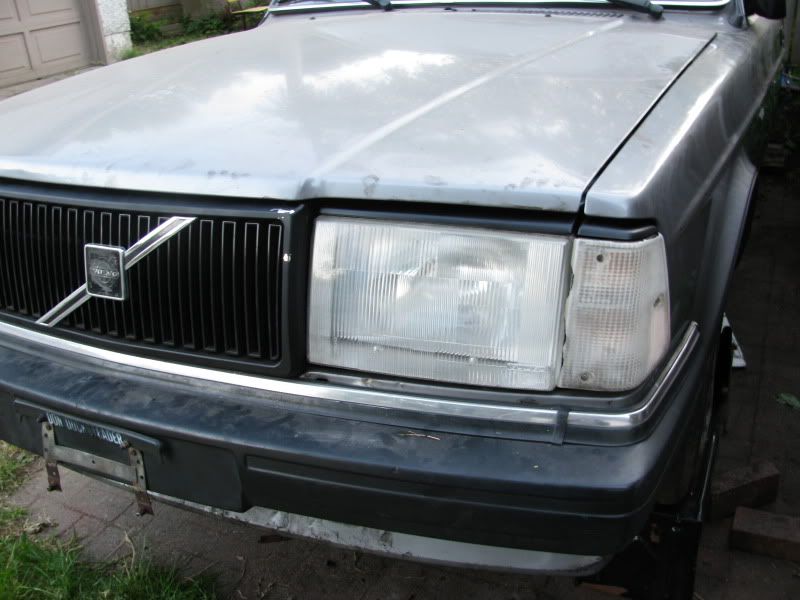
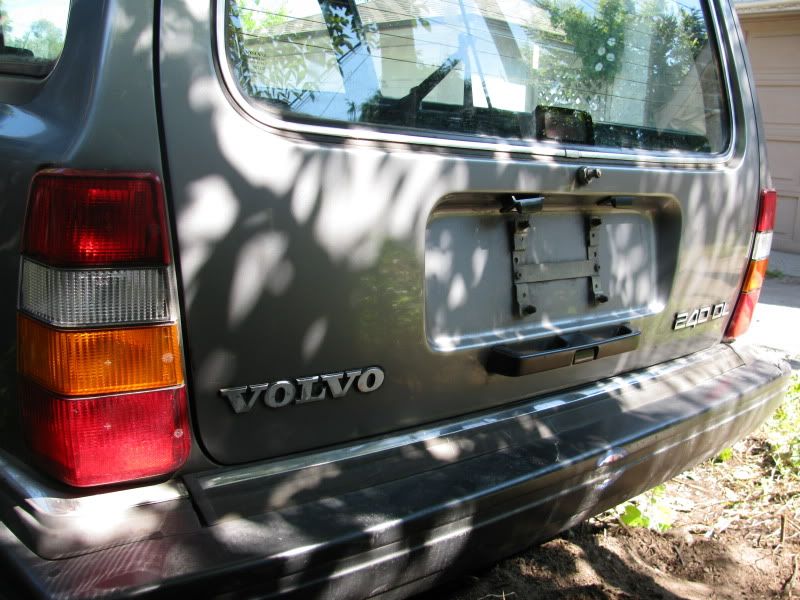
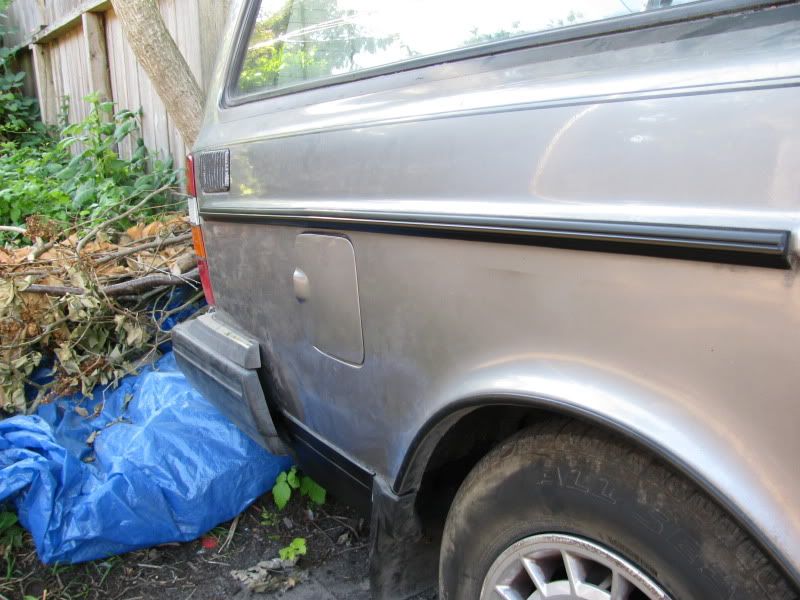
Debadged
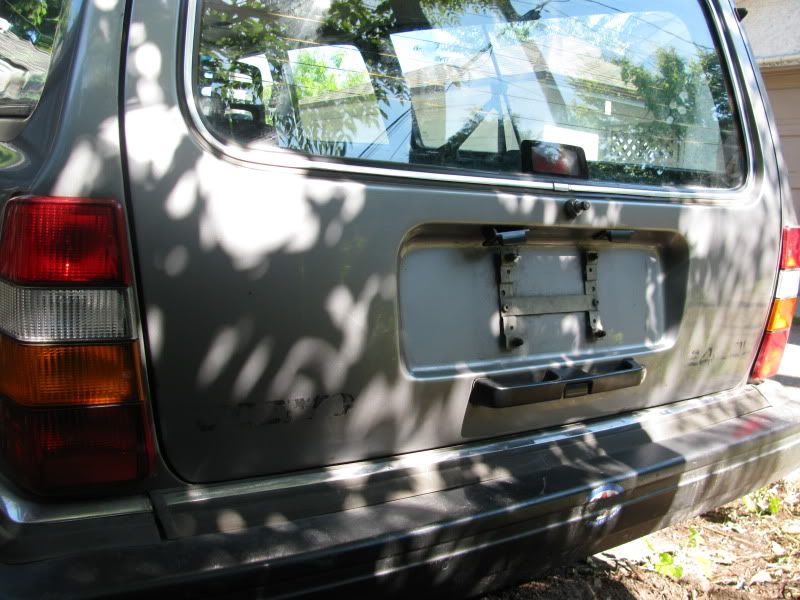
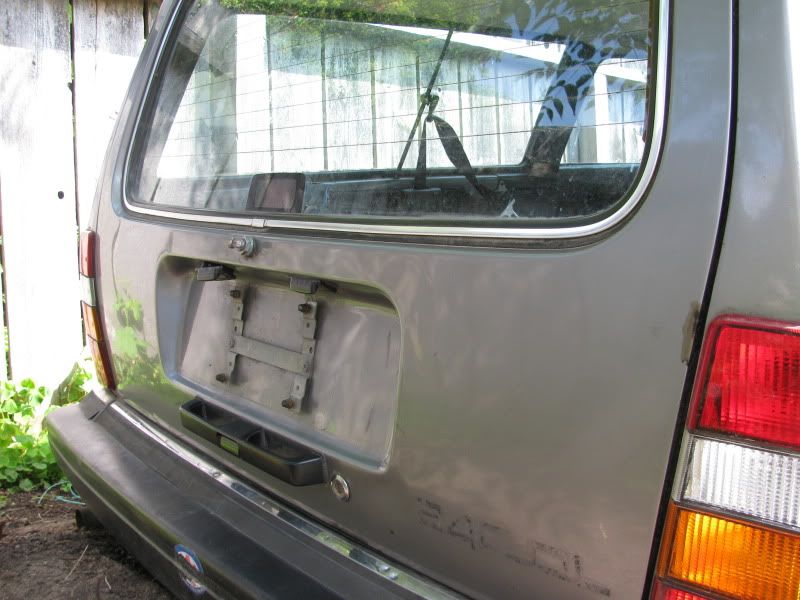
I've now gotten all the residue off.
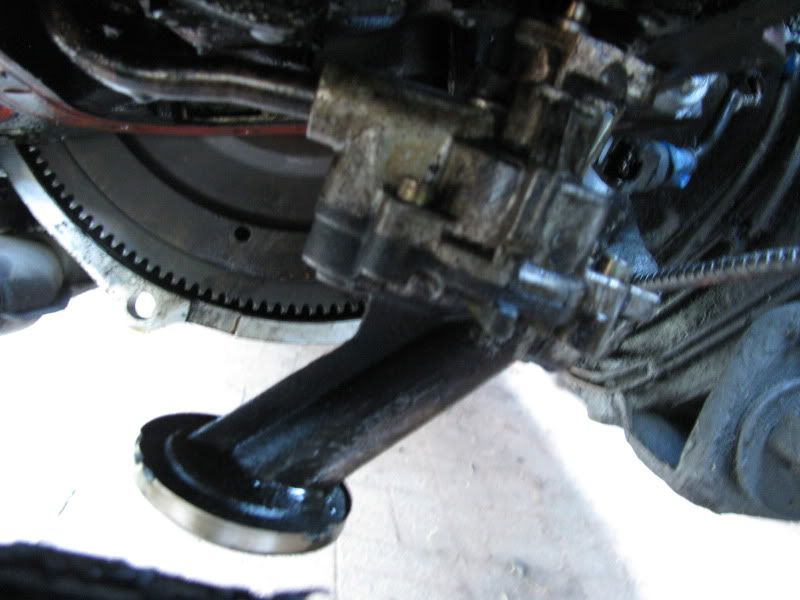
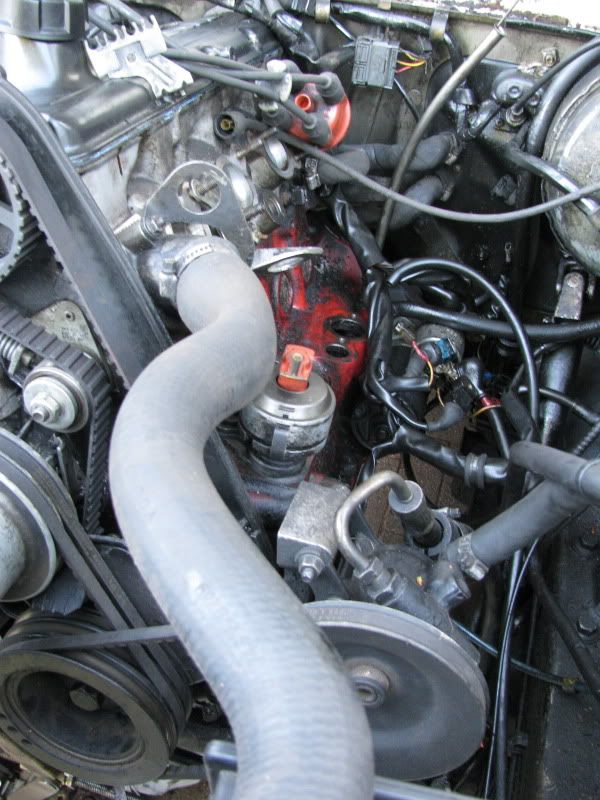
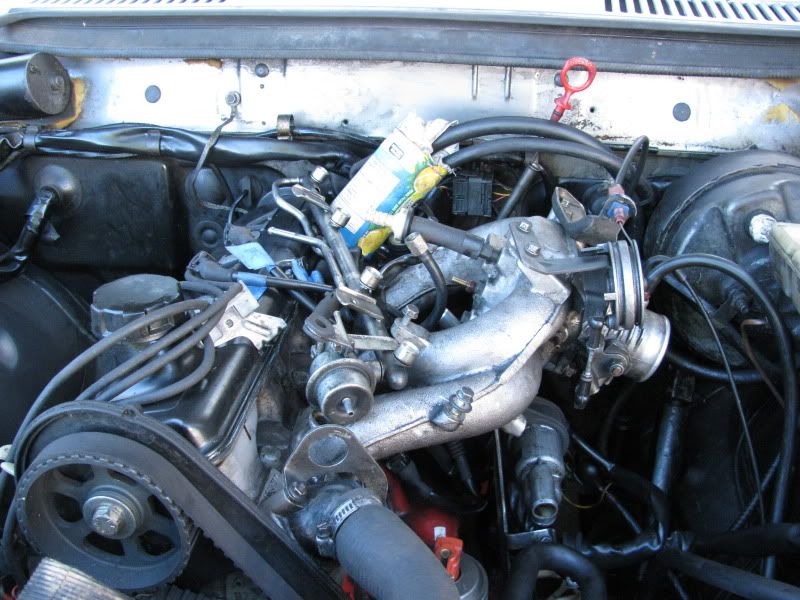
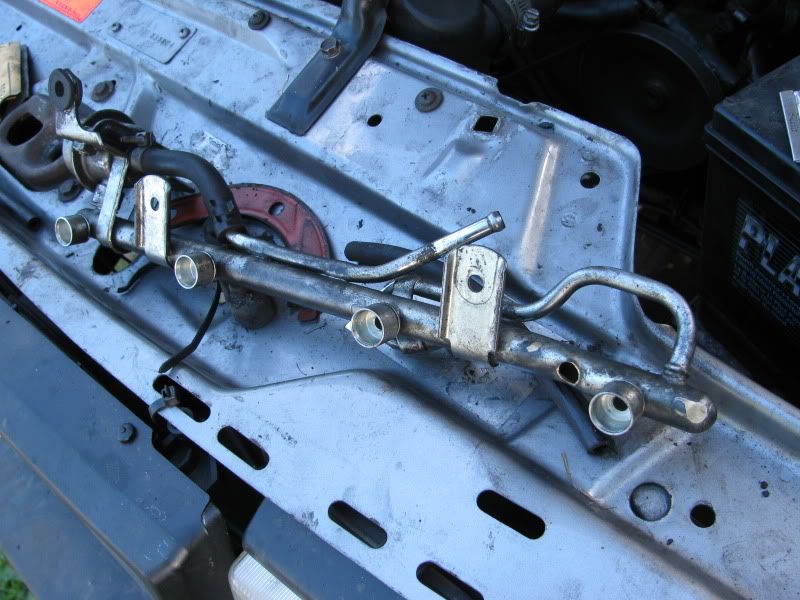
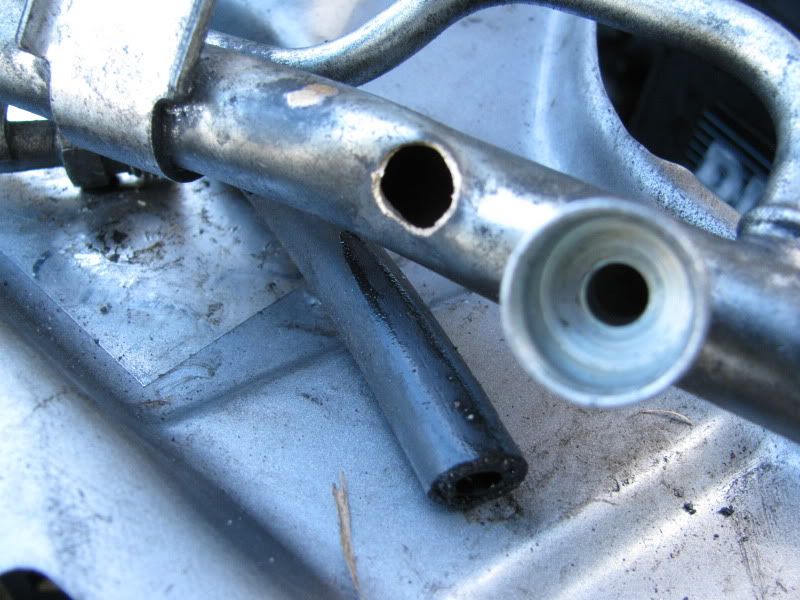
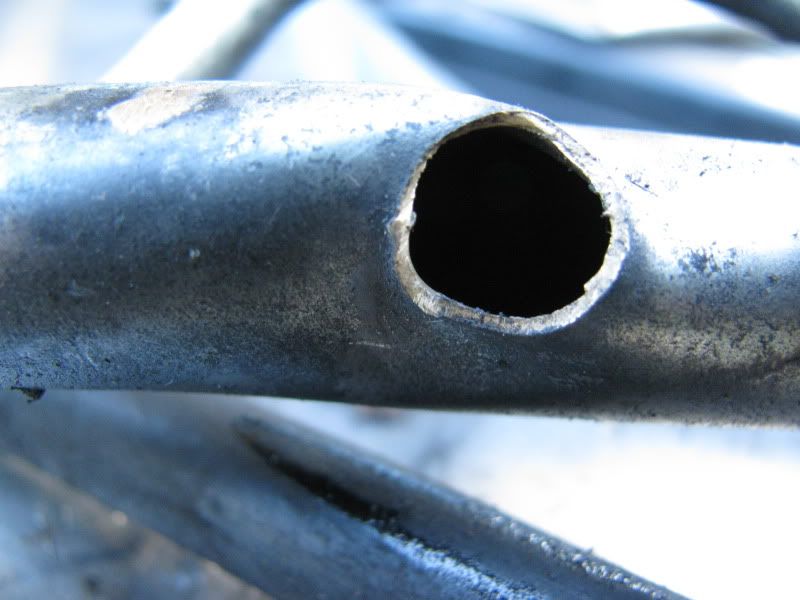
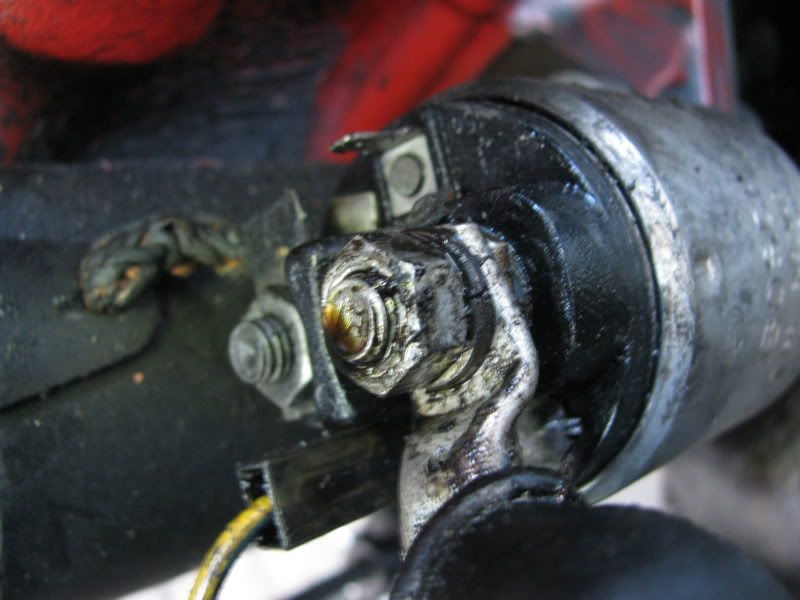
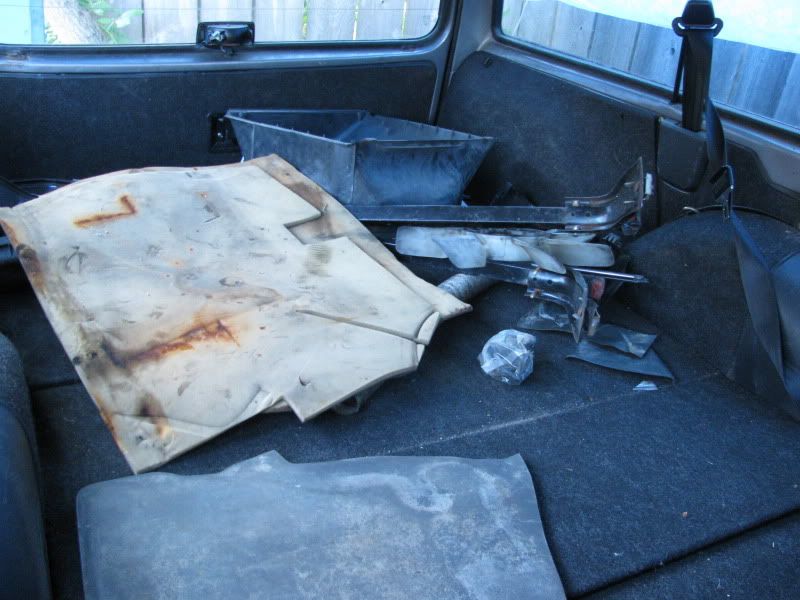
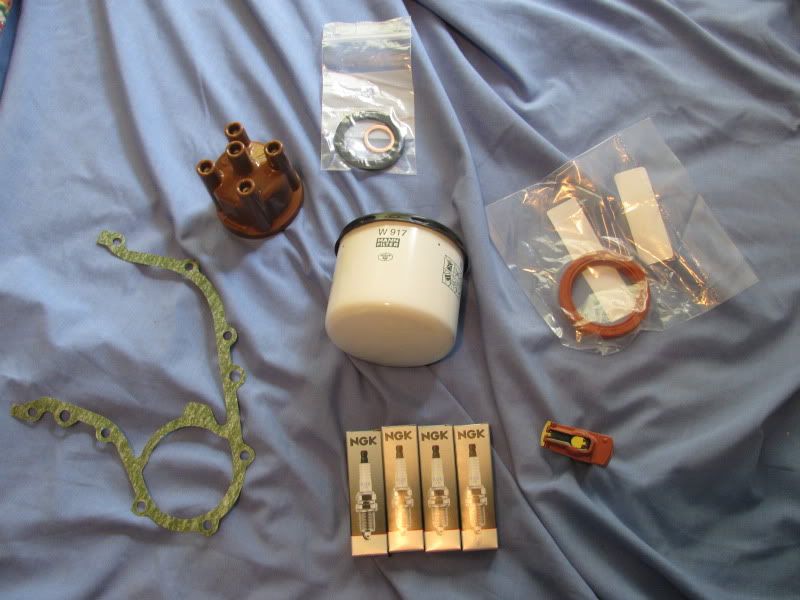
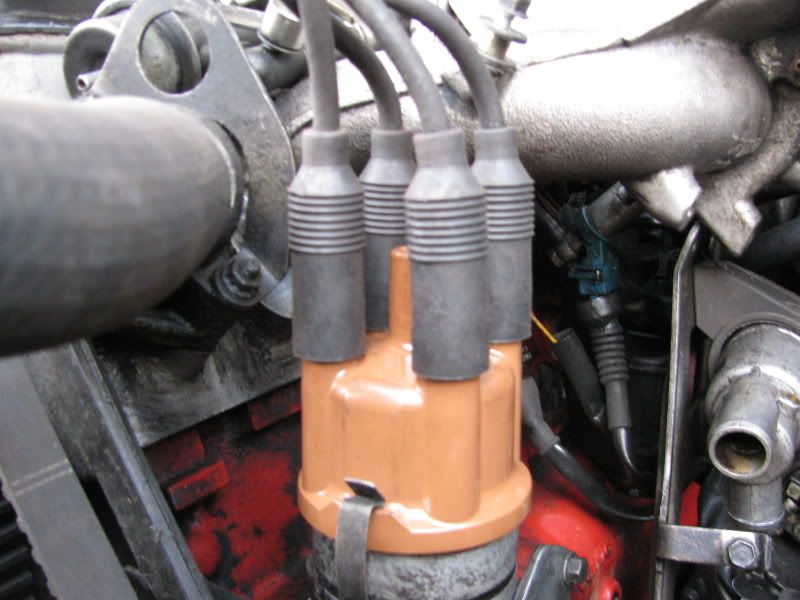
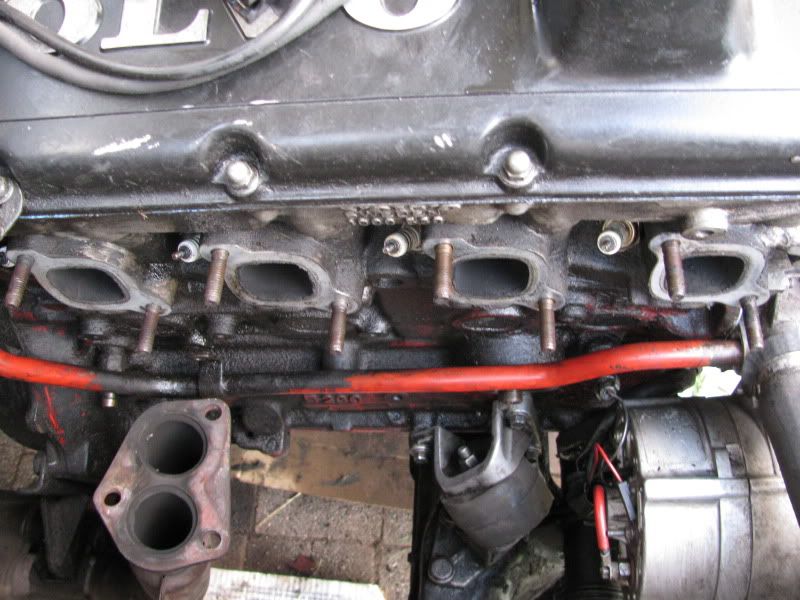
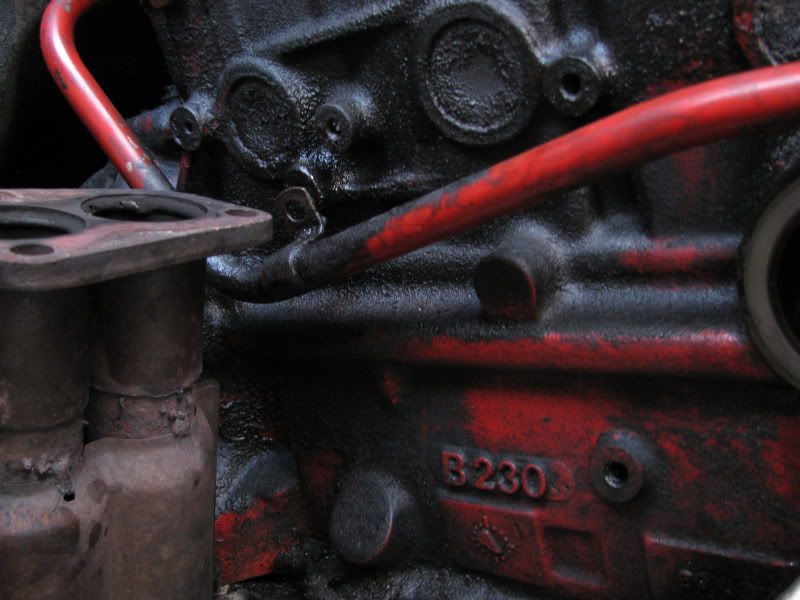
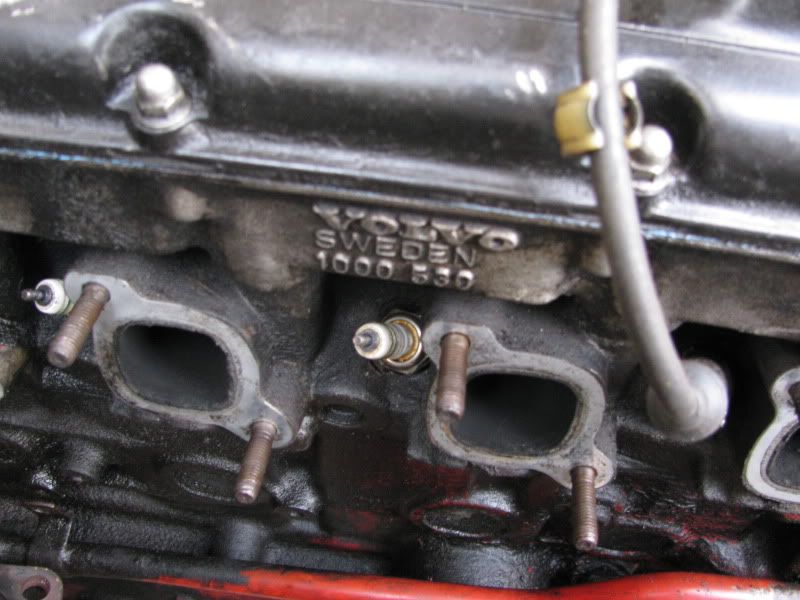
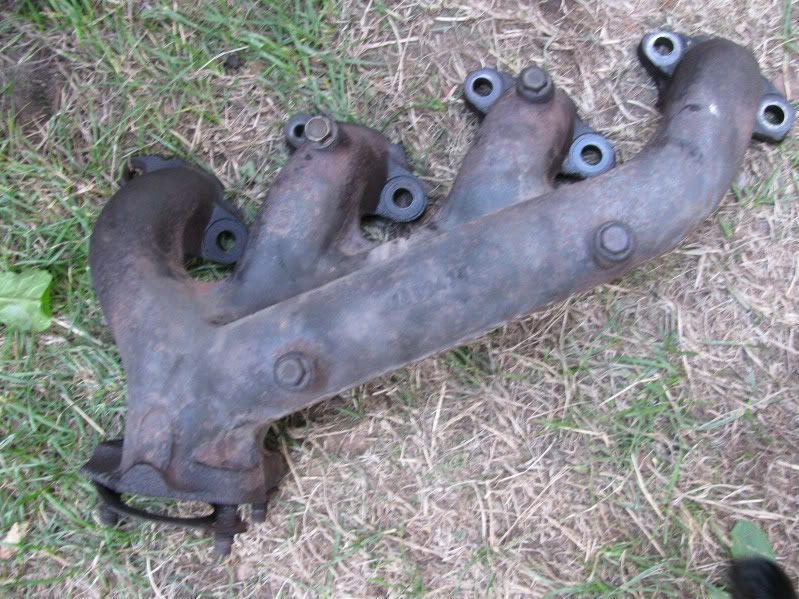
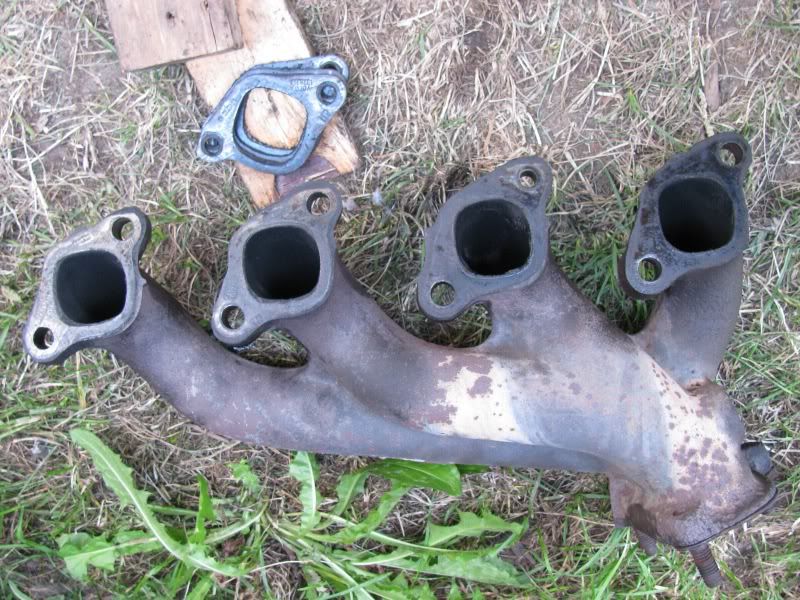
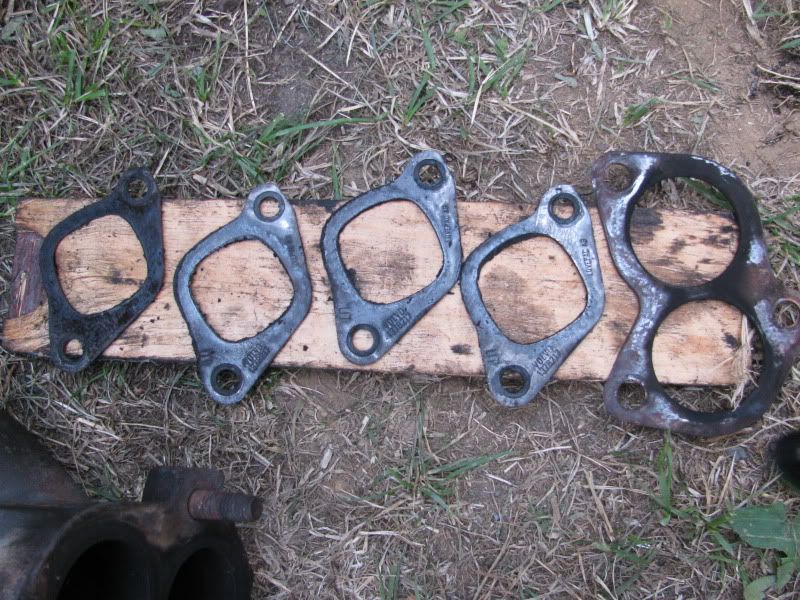
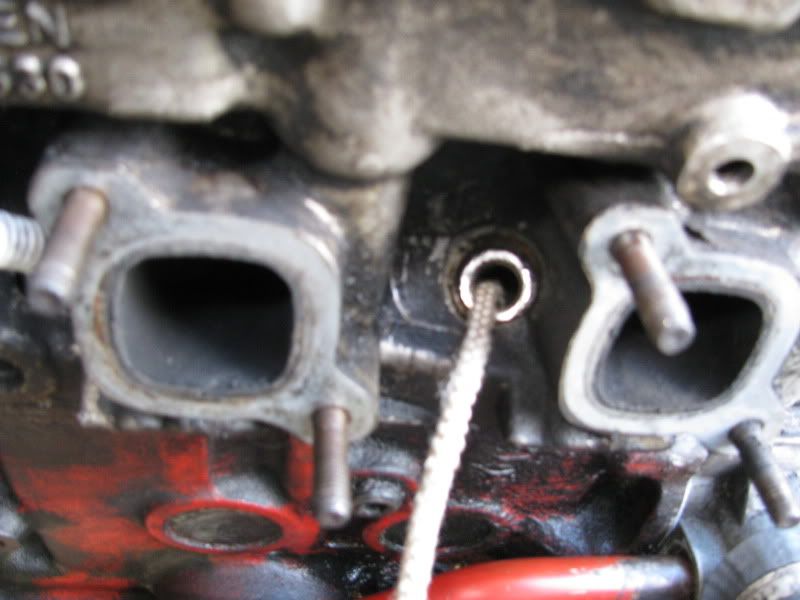
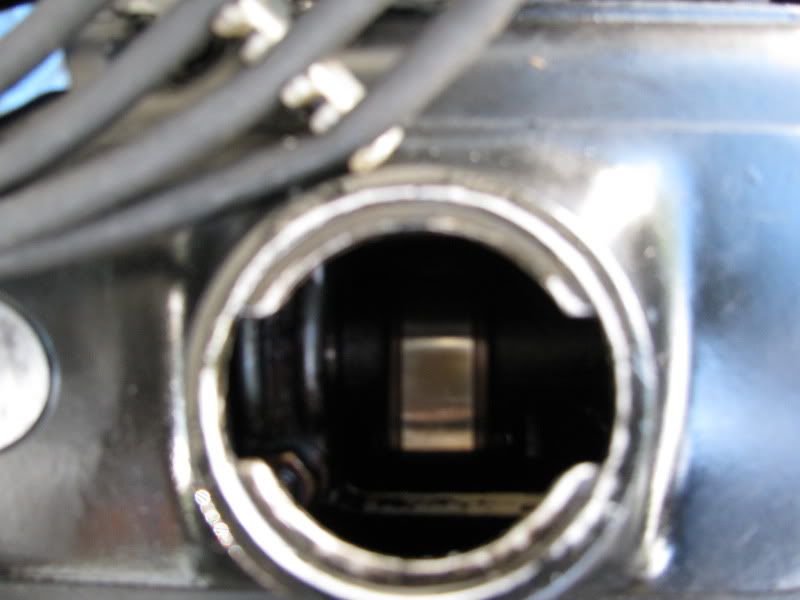
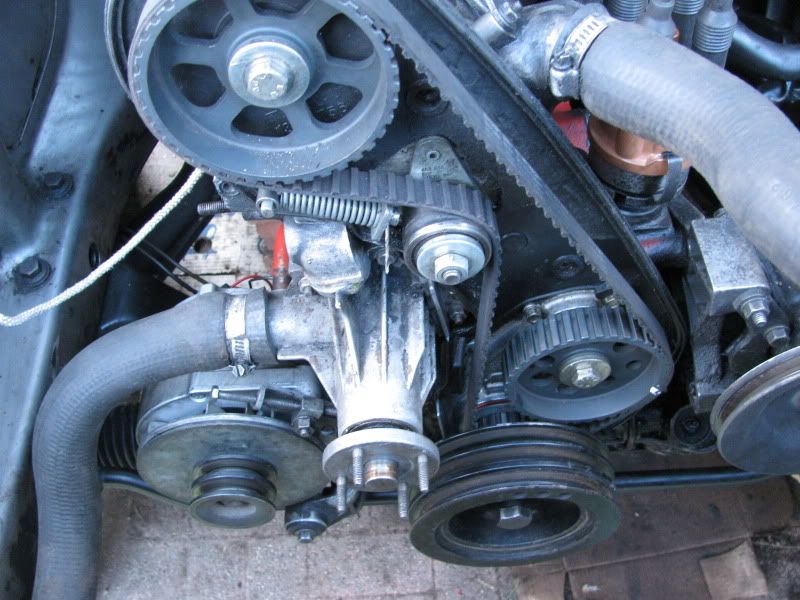
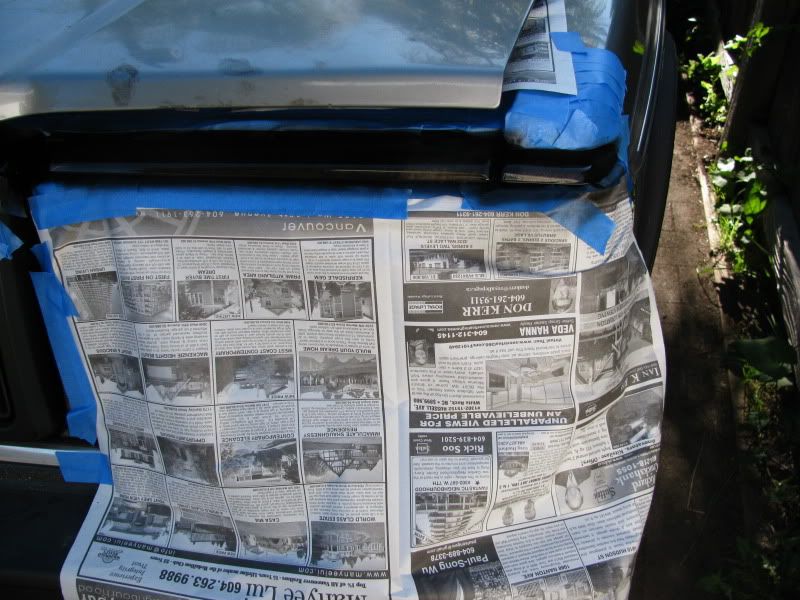
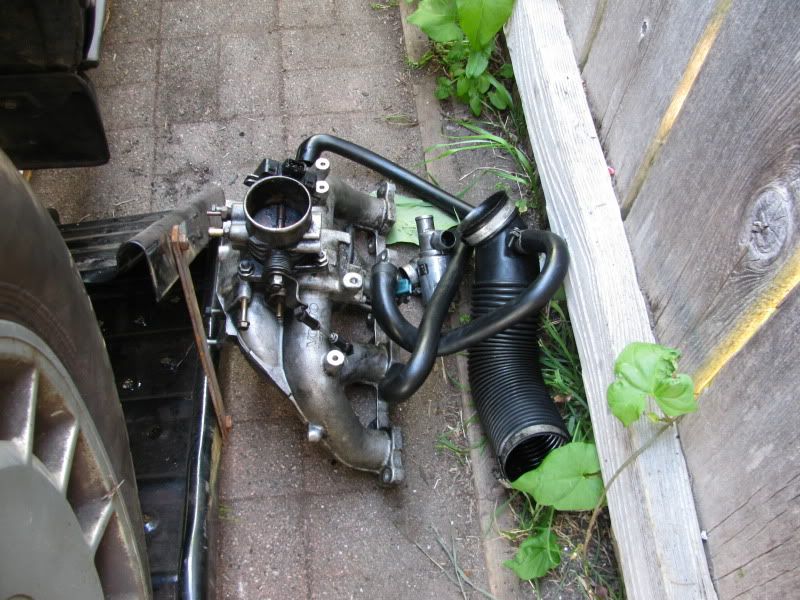
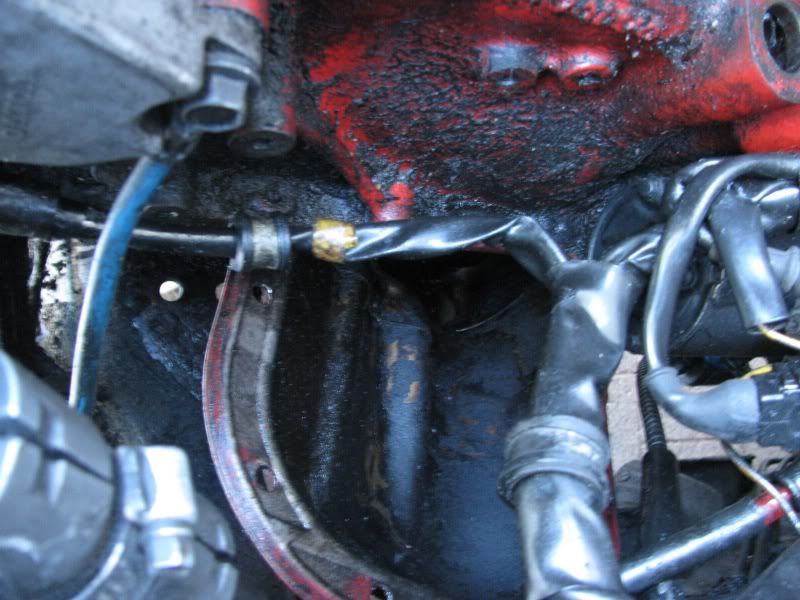
I've removed this to do the PCV system and to clean the engine bay.
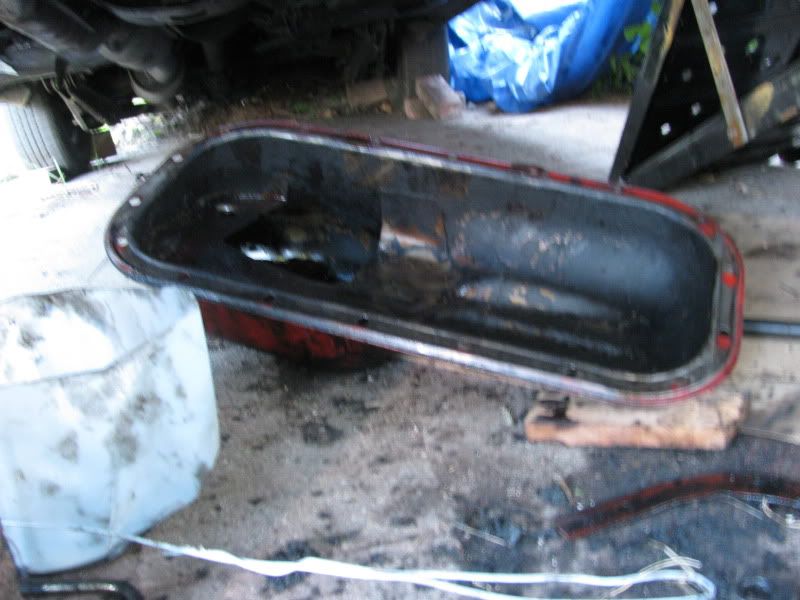
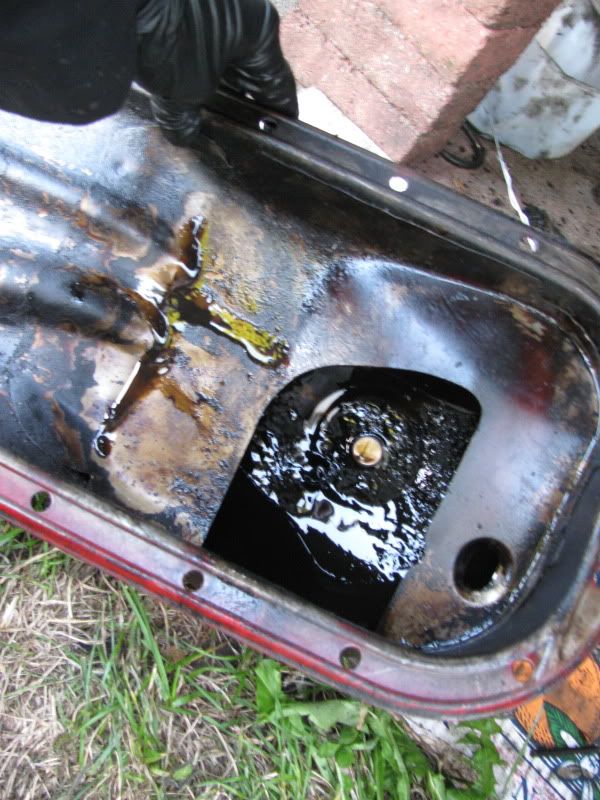
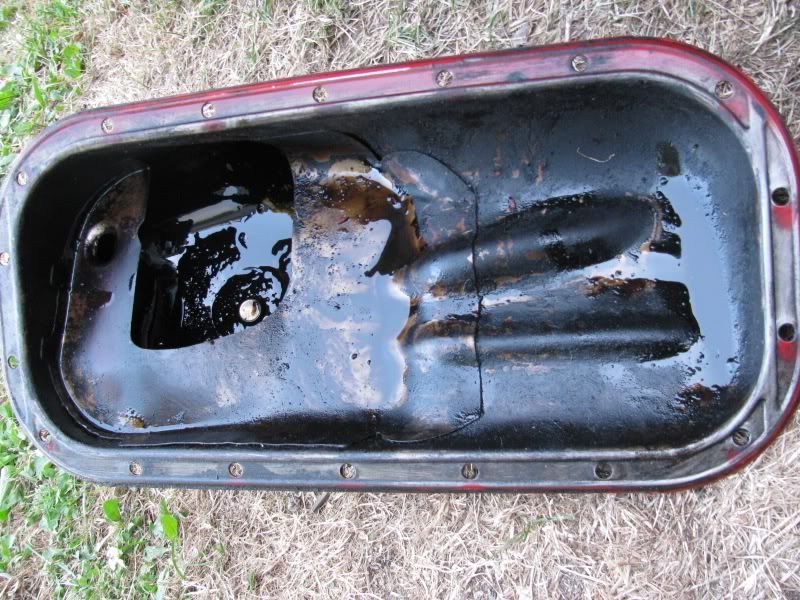
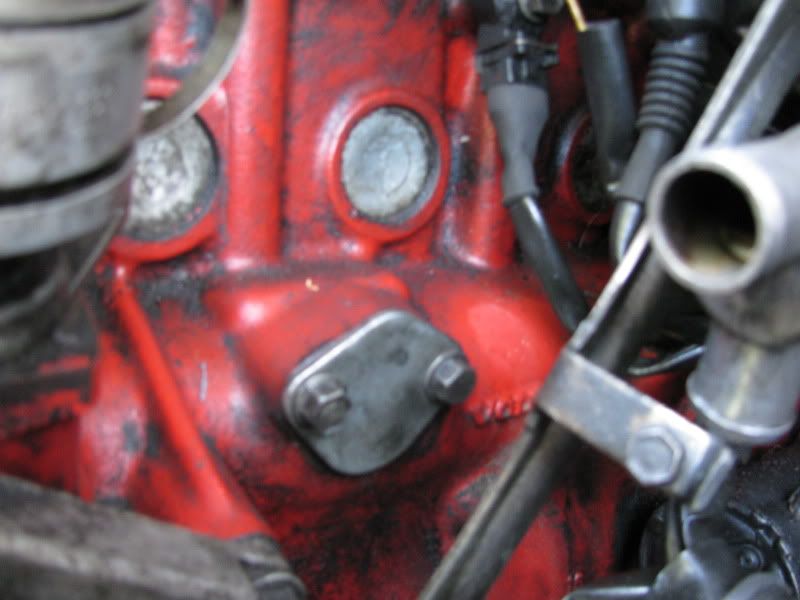
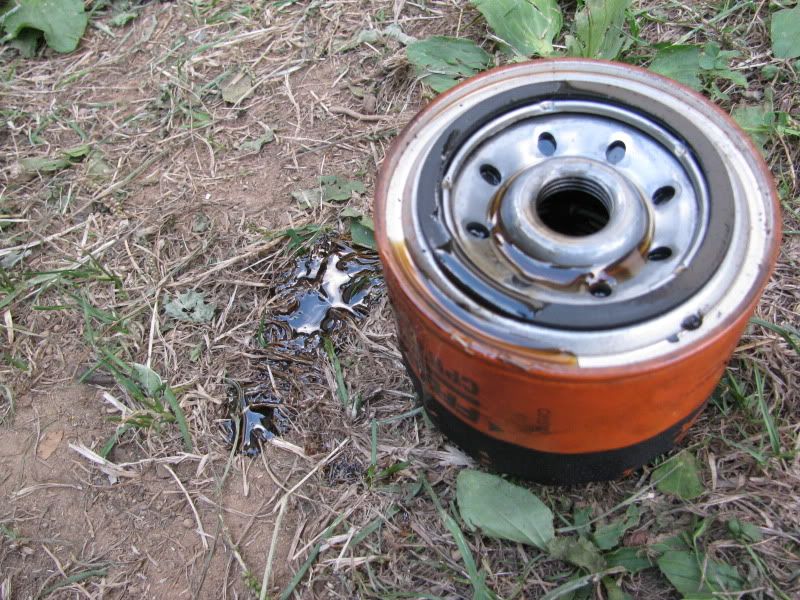
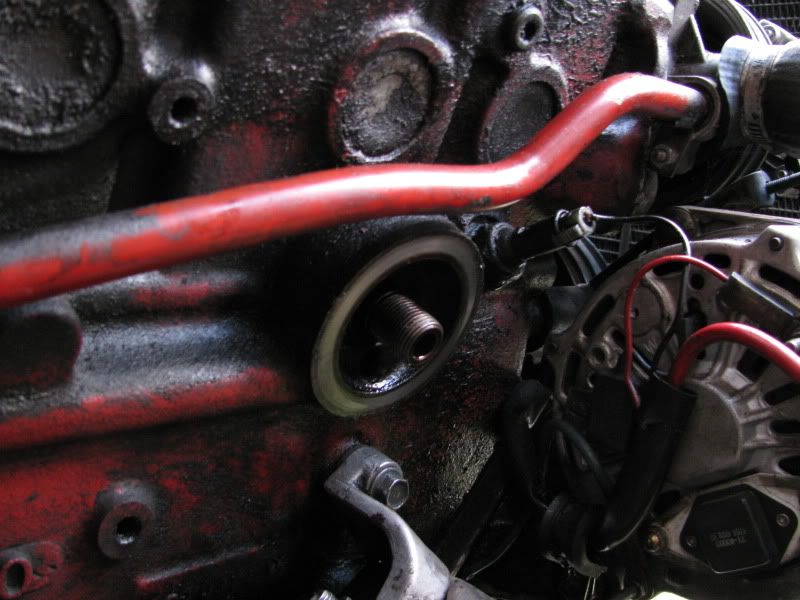
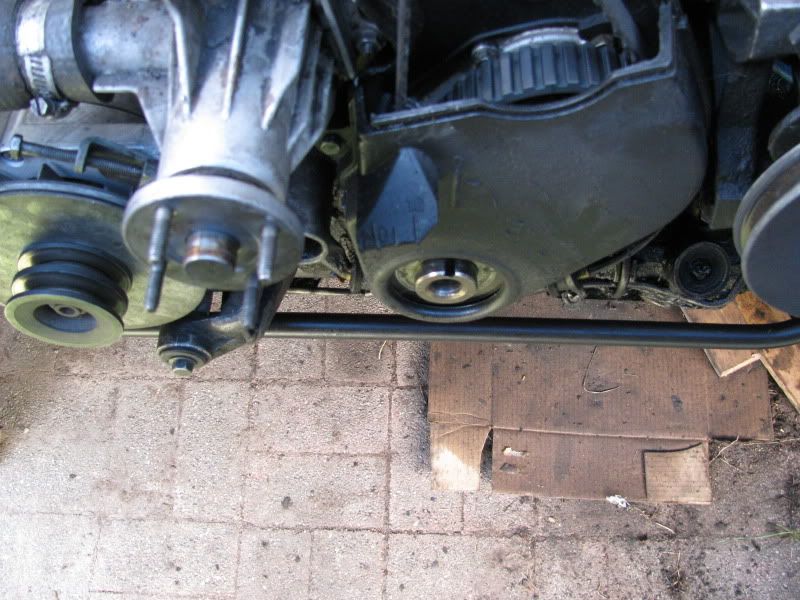
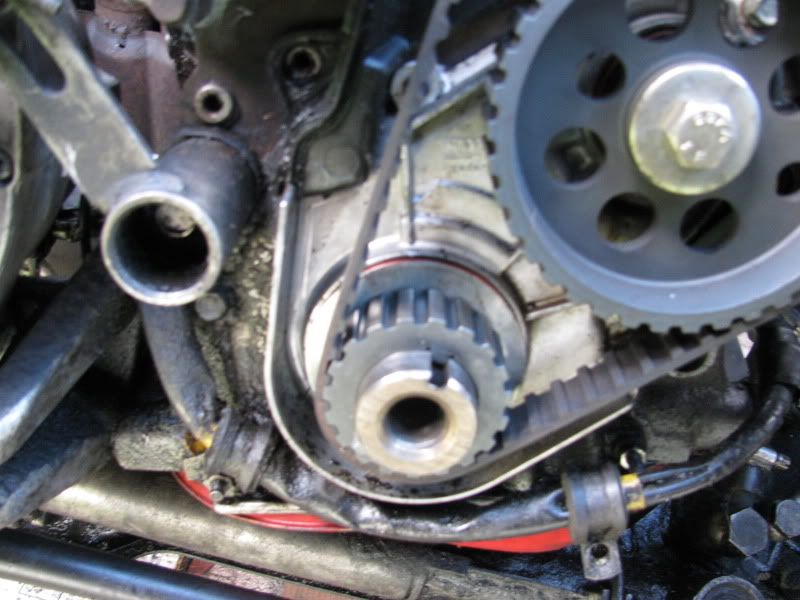
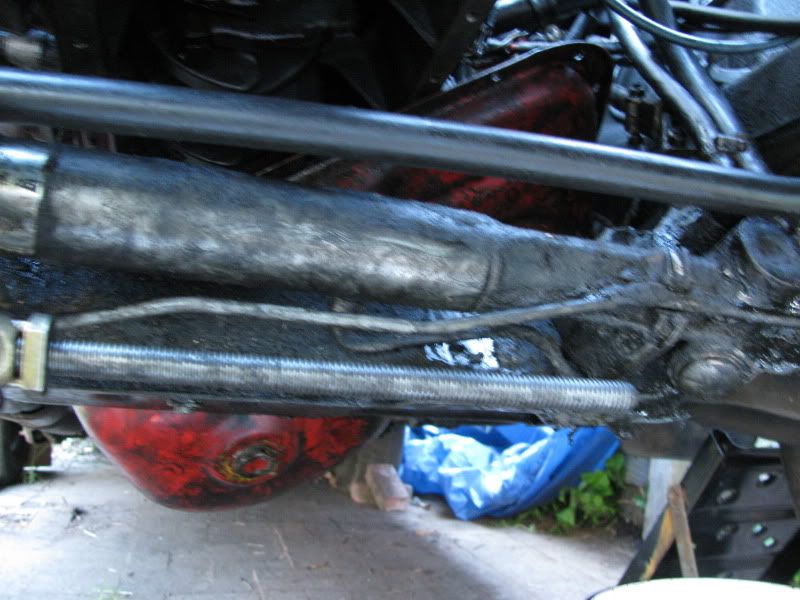
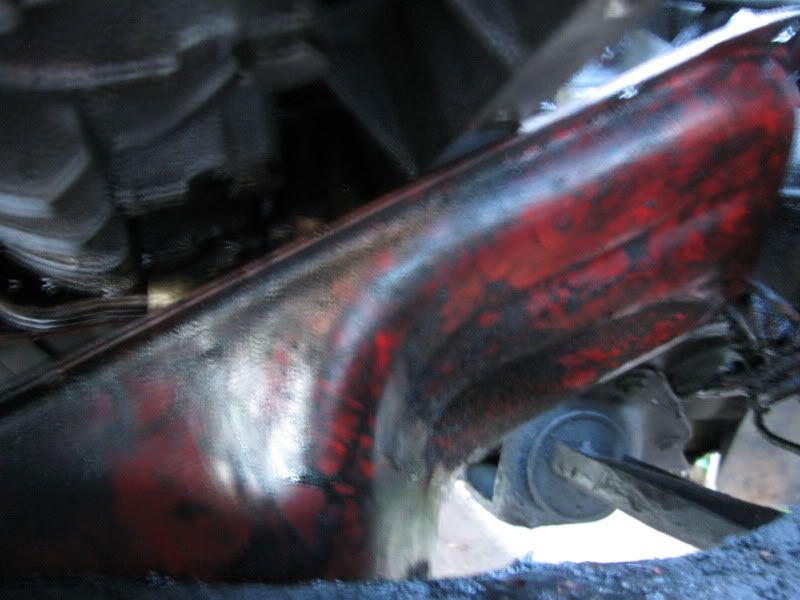
I am also replacing the oil pan gasket
First did it this way
Then found a better way, by removing all the trim and painting it.
I bought some adhesive double sided tape to stick the trim the the car. I've a few peices on and I am going to see if it can stand up the the heat.
I also painted this
Debadged
I've now gotten all the residue off.
I've removed this to do the PCV system and to clean the engine bay.
I am also replacing the oil pan gasket